Many people think glass bottles break “because glass is fragile,” but in most failures the real culprit is poor design, not the material itself.
Design controls where stress flows, where cracks start, and how much real-world abuse a glass bottle survives. Geometry, heat treatment, coatings, and packaging together decide its true durability.

When we treat the bottle as a full system—not just a pretty shape—we can cut breakage, use less glass, and still keep production performance strong from furnace to pallet.
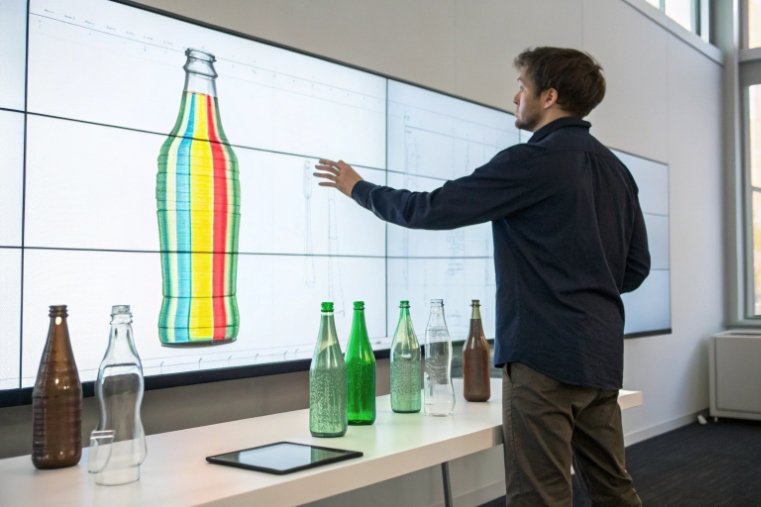
Which geometries—shoulder radius, punt, and base thickness—improve impact resistance?
Many customers ask for “thicker glass” when they see breakage. In practice, thickness alone is not the main solution. Shape matters more.
Bottle geometry—especially shoulder radius, punt, and base thickness 1—decides how impact and internal pressure spread through the container and where cracks start.
How geometry guides stress instead of concentrating it
The bottom area carries most abuse in real life. Bottles hit conveyors, pallets, and floors first with the heel and base. If the design is weak there, no extra thickness in the sidewall will save it.
1. Shoulder and heel radii
Sharp angles act like “stress amplifiers.” When sidewall meets base or body meets shoulder with a tight corner, stress lines bunch together. Even a small impact can then exceed local strength.
Smooth, generous radii in these zones do three things:
- Spread the load into a wider area.
- Cut peak tensile stress at the inner surface.
- Reduce the chance that a tiny surface flaw becomes a running crack.
This is why good pressure bottles show clear, rounded shoulders and heels when you look at the profile. Many standardized returnable glass bottle designs 2 specify minimum radii in the heel and shoulder for this reason.
2. Punt / push-up and base profile
For wine, spirits, and some premium beverages, the punt (push-up) in the base is not just tradition. It reshapes the stress field:
- Glass moves from the center to the outer heel where strength is needed.
- The base becomes more dome-like, which carries internal pressure better than a flat slab.
- Contact points on conveyors and tables focus closer to the strong heel ring.
Food jars often use a smaller push-up or shallow dome instead of a deep punt. The logic is the same: avoid large flat areas that flex or show “oil can” movement under load.
3. Base thickness and its distribution
A thick base helps, but only when combined with the right shape. A very thick, flat base may still crack at the heel if the corner is sharp or the inner radius is tight.
Better:
- Slightly thicker glass at the heel ring.
- Smooth transition between base center and heel.
- Enough thickness to resist chipping if the bottle lands on an uneven or rough surface.
4. Round vs angular footprints
Round cross-sections distribute internal pressure and external impact evenly. Square or sharp-cornered designs create natural weak points at the corners and edges. If we need a square look, we can still hide a round “pressure body” inside a sculpted outer shape, but this needs careful engineering.
| Geometry Element | Poor Choice | Better Choice | Effect on Durability |
|---|---|---|---|
| Shoulder | Tight, sharp angle | Large, smooth radius | Less ring cracking at shoulder |
| Heel / base edge | Sharp outer corner | Rounded heel with thicker ring | Better impact resistance at bottom |
| Base center | Flat, thin slab | Domed center with punt / push-up | Less flex, better pressure performance |
| Footprint | Sharp square with thin corners | Round or soft-edged square | Lower stress concentration at corners |
When geometry guides stress gently, bottles survive more drops, more line knocks, and more pressure cycles with the same total glass weight.
How do annealing, tempering, and surface treatments reduce breakage?
Design does not stop when the bottle leaves the mold. Internal stress and surface damage can quietly cancel out everything we did with geometry.
Annealing, tempering, and hot-end/cold-end coatings all help remove hidden weaknesses and protect the surface so the bottle can use its full design strength.

Heat treatments: fixing the inside
1. Annealing: removing residual stress
After forming, the outer surface of the bottle cools faster than the interior. This locks in residual stresses that we cannot see, but they still add to service stress from pressure, impact, or temperature change.
The annealing lehr 3 gently reheats and cools bottles so these internal stresses relax. Proper annealing:
- Reduces tensile stress peaks that cause random breakage.
- Stabilizes dimensions at the finish and neck.
- Improves both impact and thermal-shock performance.
Bad annealing is like building micro-cracks into every bottle. Even the best shape will then behave “brittle” on the line.
2. Tempering: adding surface compression
Tempering goes one step further. We heat the glass to a specific range and then cool the surface rapidly. The outer layer freezes in compression while the core stays slightly in tension.
Because cracks grow under tension, this compressive skin:
- Raises the energy needed to start a crack.
- Gives much better impact resistance.
- Improves thermal shock performance.
Tempered glass containers for food and drink 4 are used in special cases (for example, ovenware or certain returnable applications). Breakage pattern changes too: when failure happens, the glass fragments into smaller pieces instead of large sharp shards.
Surface treatments: protecting the outside
Glass strength is surface-driven. A deep scratch can reduce effective strength by more than half. The challenge is that bottles touch each other, metal guides, and conveyors hundreds of times before they reach the customer.
We protect this surface in two main stages:
1. Hot-end coating
Just after forming, bottles receive a very thin oxide or similar layer. This acts as a primer and improves the bond for the cold-end coating. It also gives some base lubrication.
2. Cold-end coating
At the cold end, we spray or apply an organic coating that:
- Reduces glass-to-glass friction in cases and on conveyors.
- Limits scuff marks that grow into cracks over time.
- Helps labels apply smoothly.
Modern hot-end and cold-end coating systems 5 are critical for high-speed lines because they help bottles keep the strength they were designed with.
These coatings do not make the glass “stronger” in theory. They help the bottle keep the strength it already has by preventing microdamage during handling.
Why finishing and design details still matter
The neck and finish are common failure points. Chipped finishes, too-sharp support rings, and poorly radiused thread designs all concentrate stress. With good finish geometry plus correct annealing and coatings, we can run bottles faster with less mystery breakage.
| Measure | Main Benefit | Where It Acts |
|---|---|---|
| Annealing | Removes internal residual stress | Whole wall thickness |
| Tempering | Adds surface compression | Outer skin of glass |
| Hot-end coating | Base for lubrication and protection | Outer surface |
| Cold-end coating | Reduces scuff and friction | Outer surface + contact zones |
| Finish/neck design | Lowers chipping and local stress | Top load and closure area |
When we combine good geometry with proper heat treatment and coatings, breakage rates drop without adding a gram of extra glass.
Can lightweighting maintain strength through optimized thickness distribution?
Almost every brand now asks for “lighter bottles” to cut cost and carbon. The fear inside the factory is simple: “lighter means weaker.”
With smart design and simulation, we can often reduce weight and still hit performance targets by moving glass to the right places instead of everywhere.
Lightweighting is not just “making walls thinner”
If we only thin the entire bottle uniformly, we lose strength across all critical zones. True lightweighting means:
- Mapping real stress from impact, top-load, pressure, and heat.
- Adding glass where stress is highest.
- Removing glass from low-stress areas that mainly influence aesthetics.
Many manufacturers now use finite element analysis of glass bottle designs 6 to predict stress and optimize thickness before cutting steel for molds.
In practice, this approach can produce:
- Slimmer body walls.
- Slightly thicker heel, shoulder, and finish.
- A more engineered push-up instead of a simple flat base.
When we run finite element analysis and line tests, this often shows that a modern 300 g bottle can perform like an older 400–450 g version in many wine and beverage applications.
Thickness distribution and thermal shock
Uniform thickness also matters for thermal behavior. A very thick zone next to a very thin zone heats and cools at different rates. This creates internal stress during hot-fill and pasteurization.
By smoothing the thickness profile, we:
- Reduce thermal gradients.
- Improve thermal shock resistance even with less total mass.
- Make annealing more effective and predictable.
This is one reason why modern lightweight bottles often survive thermal tests better than some old, heavy “traditional” models with uneven walls.
Where lightweighting works—and where it does not
Lightweighting works best when:
- The product is not extremely high pressure.
- Distribution is relatively gentle or well controlled.
- Palletizing and packaging are designed to support the new shape.
For very rough distribution chains, extremely high carbonation, or returnable pools with many trips, we sometimes accept a bit more glass for extra safety margin.
| Design Aspect | Heavy Traditional Bottle | Optimized Lightweight Bottle |
|---|---|---|
| Total weight | High | Reduced |
| Thickness distribution | Uneven, overbuilt in some areas | Targeted to stress hot-spots |
| Thermal shock behavior | Depends, sometimes poor | More controlled, smoother transitions |
| Impact resistance | Good, but not always efficient | Good if geometry and coatings are tuned |
| Material use per function | Inefficient | More efficient |
In other words, lightweighting is a design challenge, not just a raw-material decision. With the right tools and testing, we can give customers lighter bottles that still feel safe in their hands.
What packaging and palletization choices protect bottles in transit?
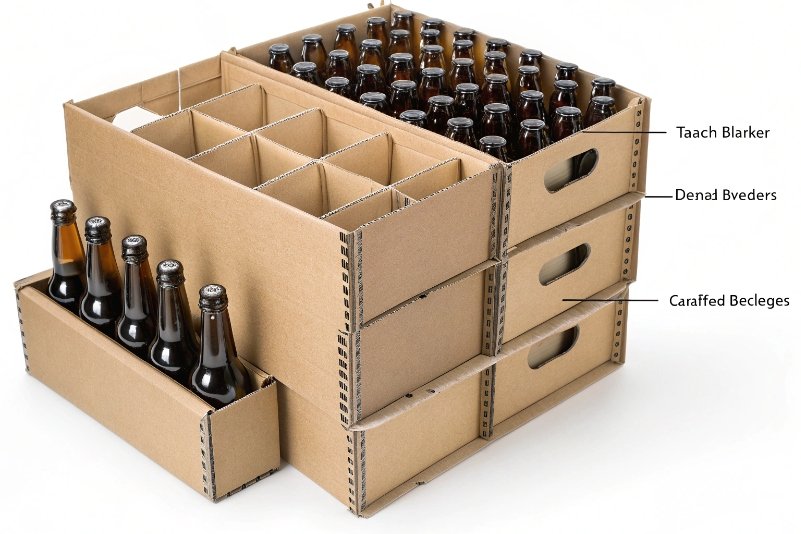
Even the strongest bottle will fail if the packaging around it is weak. Many “glass problems” are actually packaging and logistics problems wearing a glass mask.
Outer packaging, dividers, pallet patterns, and wrapping tension together decide whether bottles arrive intact or as a box of shards.
Primary and secondary packaging design
Inside the case, the goals are simple:
- Keep bottles from hitting each other hard.
- Keep them upright and aligned.
- Spread loads across strong areas, not fragile ones.
We usually rely on:
- Dividers and partitions (cardboard, molded pulp, or plastic) to separate bottles and absorb side impacts.
- Trays or full wrap cases sized to minimize movement but not over-compress the bottles.
- Top pads to distribute top-load evenly onto closures and shoulders.
The design must respect bottle geometry. For example, we avoid dividers that hit sharp embossed areas or weak shoulders. Industry palletisation guidelines for glass containers 7 often give practical limits on stacking height, case strength, and wrap tension.
Pallet patterns and stability
On the pallet, we balance stability and load paths:
- Column stacking puts weight directly over weight. Good when cases are strong.
- Interlock patterns improve stability but can place load on case corners and sidewalls.
For glass, we often prefer column stacking with good cases, plus:
- Corner posts and edge protectors.
- A solid top board for extra compression strength.
- Slip sheets between some layers if needed.
Stretch-wrap or shrink-wrap tension must be tuned. Too loose, and loads shift. Too tight, and the wrap crushes the outer layer of cases and bottles.
Transport and handling practices
Design also includes how pallets are handled:
- Forks must support the pallet fully, not just the center.
- Drivers should avoid sudden braking and harsh impacts.
- In warehouses, pallets should not be dropped or pushed roughly into position.
Sometimes a simple change—like using better pallets, adding anti-slip sheets, or adjusting wrap pattern—cuts breakage more than any extra glass would.
| Protection Layer | Design Focus | Impact on Durability |
|---|---|---|
| Bottle geometry | Shoulders, heel, base, finish | Base mechanical strength |
| Coatings and treatments | Friction, scuff resistance | Keeps surface strength during handling |
| Case and dividers | Bottle separation, load spread | Reduces impact and rubbing |
| Pallet pattern | Stable stacks, correct load paths | Prevents crush damage |
| Wrap and handling | Controlled compression and movement | Limits hidden damage in transit |
When bottle design and packaging design are developed together, we see the biggest drop in breakage rates with the smallest extra cost.
Conclusion
Durable glass packaging comes from smart geometry, correct heat treatment, careful lightweighting, and protective packaging working together—not from “just making it thicker.”
-
Technical overview of how shoulder radius, punt and base design influence glass bottle impact performance. ↩︎ ↩
-
Reference designs for returnable glass bottles showing standard heel, shoulder and base geometries for durability. ↩︎ ↩
-
Explanation of glass bottle annealing lehrs, temperature profiles and their effect on internal stress. ↩︎ ↩
-
Overview of tempered glass containers and their mechanical and thermal advantages for packaging. ↩︎ ↩
-
Guide to modern hot-end and cold-end coating systems that protect glass packaging in high-speed lines. ↩︎ ↩
-
Case study on using finite element analysis to optimize glass bottle thickness and reduce weight. ↩︎ ↩
-
Practical palletisation guidelines for glass containers covering stacking patterns, case strength and wrapping. ↩︎ ↩


