Impact breaks often feel random, but they follow clear rules. A small flaw, the wrong strike angle, or a weak heel radius can turn a perfect bottle into a failure.
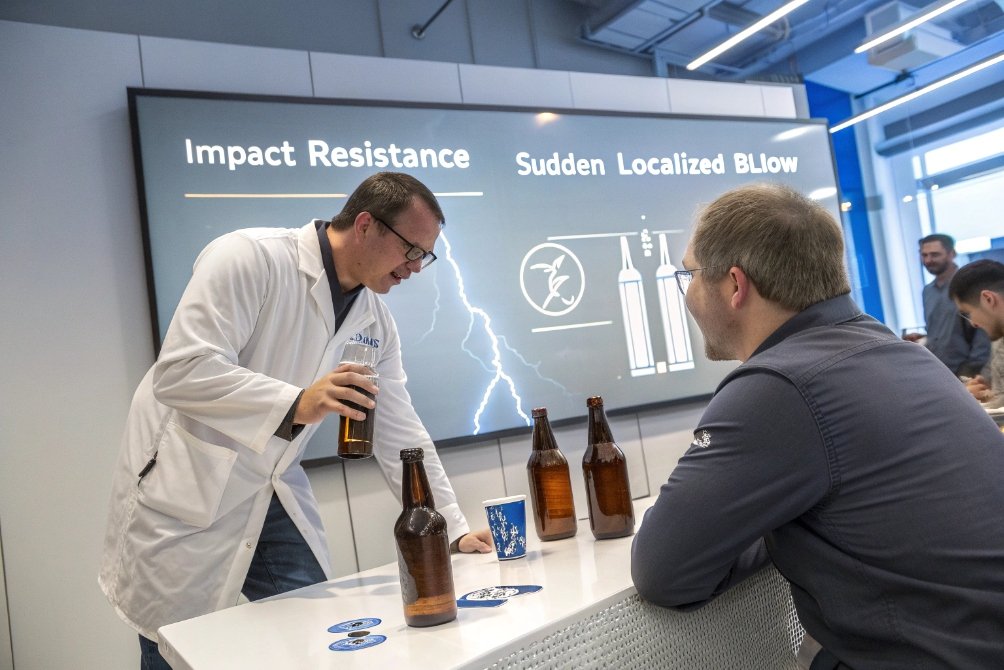
Impact resistance is the bottle’s ability to survive a sudden, localized blow. Pendulum and free-fall tests strike defined zones like the heel or shoulder and measure the energy level that causes failure.

When we understand how a bottle reacts to impact, we can design safer shapes, apply better coatings, and control stress patterns from annealing. This reduces line breakage and protects the final product.
How do pendulum and free-fall tests evaluate impact zones?
A glass bottle rarely fails under slow loads. It breaks when something hits it hard and fast. That is why impact tests focus on sudden blows, not slow squeezing.
Pendulum and free-fall tests deliver controlled impacts to specific locations. They confirm whether each zone can survive a set energy level or identify the energy where failures start to appear.
How pendulum and free-fall methods work
1. Pendulum impact test 1
A weighted striker swings from a defined height and speed and makes a single hit on the bottle. The machine usually has guides so the blow lands exactly on the chosen zone. The result is either:
- Pass at a set energy, or
- Energy at which 50% of samples fail.
In many beverage plants, the requirement is stated as a minimum pendulum speed (for example 30 IPS). If the bottle survives this impact at each required position, it passes.
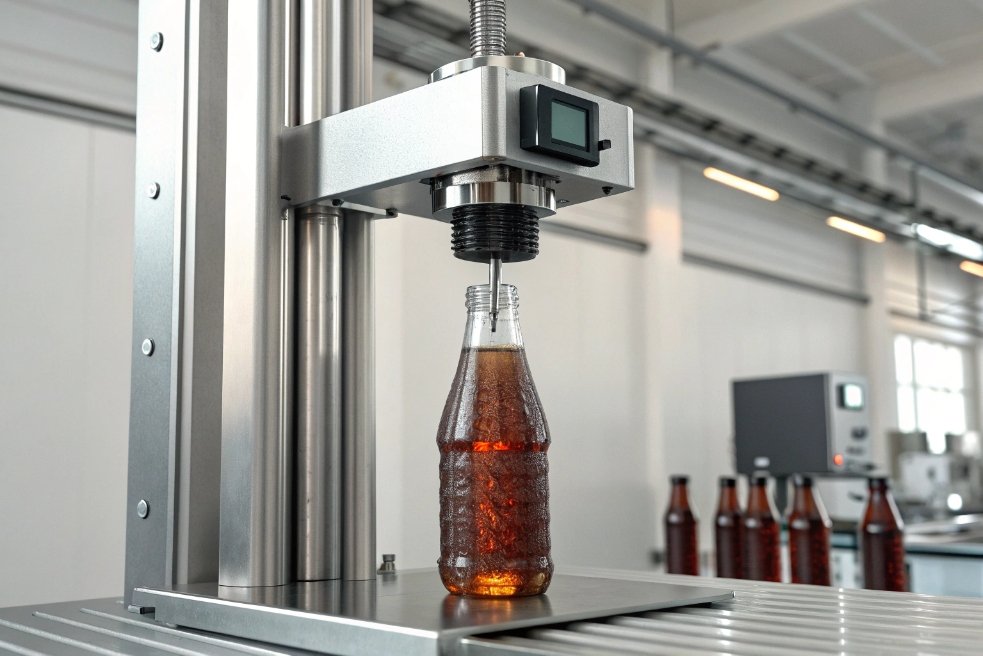
2. ASTM D5276 free-fall drop test 2
A steel or alloy mass drops from a known height and hits the bottle surface. The height is linked directly to energy (E = mgh). This method is simple but repeatable when fixtures guide the drop point. It is often used in incoming QC or in labs without pendulum rigs.
3. Why these tests work
Glass is elastic until a flaw starts to grow. The faster the hit, the more the stress concentrates at that flaw. This idea is central to the Griffith brittle fracture criterion 3. Impact testers expose these weak points under controlled conditions. This helps us compare bottles between moulds, machines, or lots.
What these tests reveal
| Test Type | What It Measures | Typical Use Case |
|---|---|---|
| Pendulum | Energy absorbed before fracture | Line qualifications, design tuning |
| Free-fall drop | Resistance to accidental knocks | Warehousing, distribution, bottle handling |
Impact tests do not mimic every real-world hit. But they do create a repeatable benchmark. This makes them essential for verifying that a bottle has enough toughness across all critical areas.
Which areas are most vulnerable?
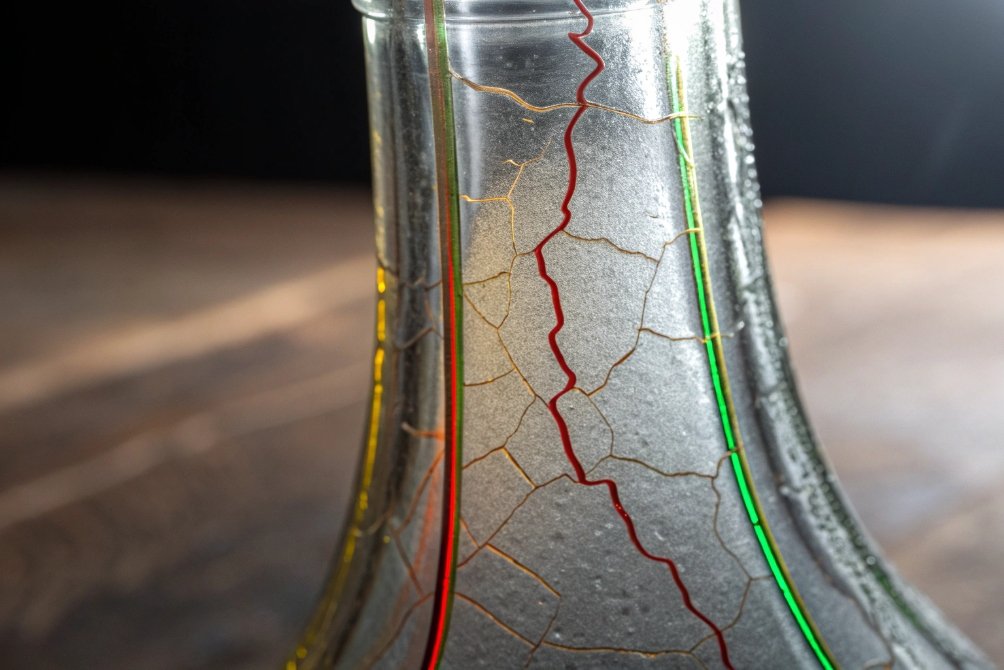
Most people assume the body is the weak spot. It is not. The most common break starts near the base and travels upward like a lightning crack.
The heel or knuckle area above the base is the most vulnerable zone. Sharp transitions, tight radii and thin glass here reduce impact strength more than in any other location.
Why the heel is the weak point
1. Geometry makes it easy to concentrate stress
The heel has a sharp change in curvature. A strike at this point amplifies tension along the inner surface. If the radius is small, the stress spike becomes even stronger.
2. Flaws grow faster here
Handling scuffs often appear on the lower body because this zone contacts conveyors and pallets. A small scratch at the heel reduces impact tolerance sharply.
3. Wall thickness variation
If the push-up or base thickness is inconsistent, stress jumps at the thinner section. Impact failures often start at the thinnest spot around the heel ring.
Other vulnerable zones
| Zone | Why It’s Vulnerable |
|---|---|
| Shoulder | Shape transition causes tension and shear stresses |
| Sidewall | Scuffs from line handling reduce effective strength |
| Embossed panels | Sharp edges intensify local impact stress |
Among these, the heel is usually the most sensitive. That is why almost all pendulum test standards require at least one strike at this location.
Do coatings, embossing, or decoration affect impact strength?
A bottle’s “raw” strength from forming is not the same as its “delivered” strength after storage, washing, conveying and labeling. The surface condition changes everything.
Coatings, embossing and decoration can raise or lower impact strength because they change flaw size, abrasion level and stress distribution.
How coatings influence impact strength
Hot-end coating (tin oxide)
This is applied while the bottle is still hot. It forms a thin chemical layer (often tin(IV) oxide hot-end coating 4) that helps protect glass from micro-abrasion. It does not add strength by itself, but it keeps the strength the bottle already has.
Cold-end coating (polymer film)
This is applied after annealing. It gives the bottle a lubricated surface so bottles slide more smoothly on conveyors. Reduced friction means fewer scratches, which means higher retained impact strength. Many plants implement this as a cold-end polymer coating system 5.
| Coating Type | Main Function | Effect on Impact |
|---|---|---|
| Hot-end | Micro-layer for abrasion control | Retains strength |
| Cold-end | Slip coating for line handling | Reduces scuffs → higher impact durability |
How embossing and decoration affect impact
1. Embossing
Deep embossing looks premium but creates stress concentrations. Sharp corners behave like flaws and reduce local impact tolerance. Smooth, generous radii help avoid this.
2. Screen printing and decals
These are usually harmless when applied correctly. But uneven layers or burnt-in pigments can create local hot spots during the annealing cycle, leading to residual stress.
3. Metallic coatings, spray paints, plating
These can hide cracks or scratches. They can also load the surface unevenly if the thickness is not uniform. Controlled processes avoid this risk.
Impact performance drops sharply when the surface is damaged. Even a small scratch can cut the effective strength by half. That is why coatings and careful decoration are more important than raw glass weight in many cases.
How does annealing pattern correlate with impact results?
A glass bottle can be thick and heavy, yet still perform poorly in impact tests. The reason often lies in the annealing pattern.
Annealing removes residual stress from forming. When the stress pattern is uniform and balanced, impact resistance increases across all strike points.
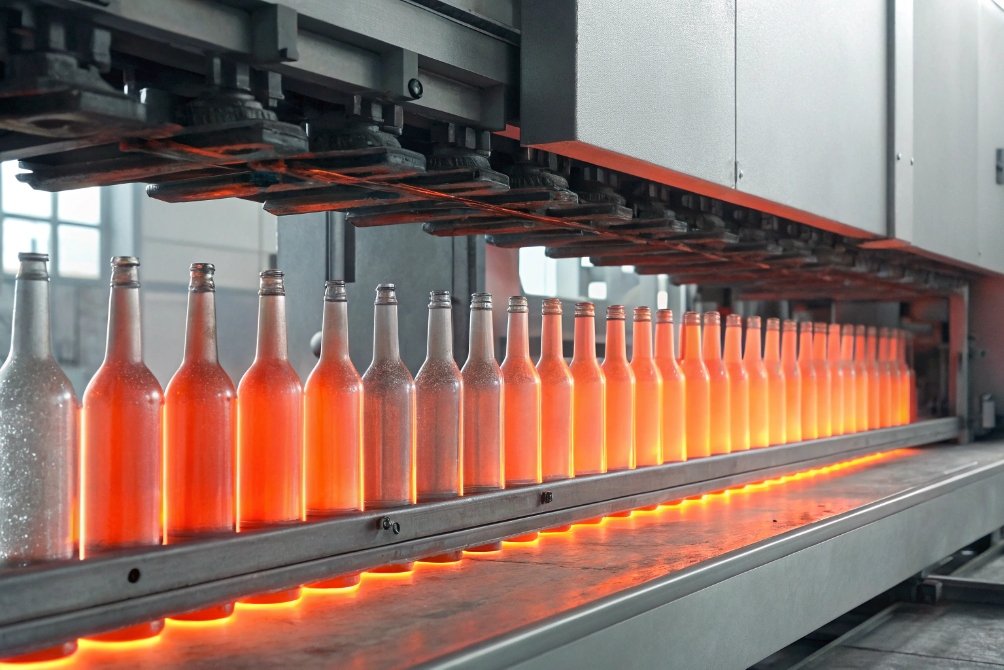
Understanding annealing and impact strength
After forming, bottles enter the annealing lehr. They heat up and cool down in a controlled way. If this process is balanced, the residual stresses shrink. If not, invisible tensile stress remains and amplifies the effect of any small flaw. A practical overview of what an annealing lehr 6 does helps explain why impact results can shift even when the bottle drawing is unchanged.
Correct annealing creates:
- Balanced stress between inner and outer surfaces
- Smooth stress gradients at shoulder and heel
- Predictable impact performance across different zones
Poor annealing leads to:
- Local tension bands
- Fragile sections at shoulder or heel
- Inconsistent impact results across samples
How stress patterns show up in impact testing
Technicians often map break locations after pendulum tests. If failures cluster at the same area across different bottles, the stress pattern is uneven. A well-annealed bottle shows a more even distribution of break points only at extreme energies.
Why annealing often matters more than weight
It is easy to think heavier bottles are automatically stronger. But if the stress pattern is wrong, weight does not help. A lighter bottle with good annealing often survives higher impact levels than a heavier bottle with hidden tension.
Conclusion
Impact resistance is not random. It depends on zone geometry, surface condition, coatings, decoration choices and the annealing stress pattern. When all of these align, a glass bottle handles real-world knocks with confidence.
Footnotes
-
DIN method reference for pendulum impact testing on glass containers. ↩︎ ↩
-
Overview of a standardized free-fall drop test method used as a repeatable benchmark. ↩︎ ↩
-
Explains why tiny cracks control brittle glass strength and sudden impact failures. ↩︎ ↩
-
Background on tin(IV) oxide and why it is used in hot-end glass coatings. ↩︎ ↩
-
Authoritative BAT reference describing hot-end/cold-end coatings used in glass container production. ↩︎ ↩
-
Simple technical primer on annealing lehrs and stress-relief in container glass. ↩︎ ↩


