Glass bottles for beer, soda, or pharma cannot fail under pressure, but many buyers only see “burst test passed” on a report and do not know what sits behind it.
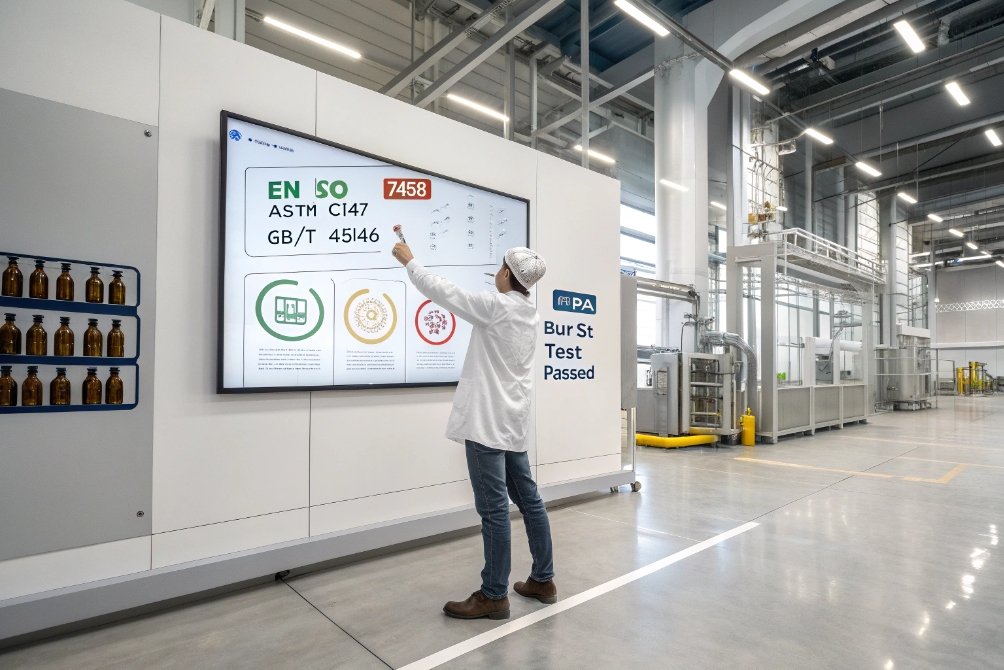
Pressure-resistance for glass bottles is defined mainly by ISO 7458 / EN ISO 7458 and ASTM C147, plus national standards like GB/T 4546 and GB 4544 for beer, which specify constant-pressure and ramp-to-burst tests, minimum MPa levels, and how to judge pass/fail.

When pressure testing is clear, buyers and factories speak the same language. So in this article, I walk through the key standards, the hydrostatic and ramp tests, how ramp-and-hold curves define thresholds, how sampling and AQL work for beverage lots, and why vertical load tests complete the picture.
Which hydrostatic and burst tests validate internal pressure?
Pressure failures usually look “random” in a filling line, but they are not. They often come from unclear pressure targets, mixed test methods, or poor control of test equipment.
Hydrostatic (constant-pressure) and burst (ramp) tests are defined mainly in ISO 7458 / EN ISO 7458, ASTM C147 and China’s GB/T 4546; they use water-filled hydraulic systems to apply either a fixed internal pressure for a set time or a steadily increasing pressure until a target level or until the bottle bursts.
Key standards behind hydrostatic and burst tests
At international level, ISO 7458:2004 1 is the core reference. It defines two internal pressure resistance methods for all glass containers: Method A (uniform pressure for a fixed period) and Method B (pressure rising at a constant rate). In Europe it is adopted as EN ISO 7458, and national standards like DIN EN ISO 7458 are identical.
ASTM C147 2 provides an equivalent set of test methods for markets that follow ASTM. It also has two methods with the same logic: Method A uses a constant internal pressure for a defined time, Method B uses a continuous ramp up to failure. It is intended for containers that may see at least 138 kPa (20 psi) of sustained internal pressure after processing, which covers carbonated drinks, hot-filled products that build headspace pressure, and many pharmaceutical liquids.
China’s GB/T 4546-2008 3 is aligned with the same philosophy. It sets detailed procedures for internal pressure burst tests on pharmaceutical bottles and similar containers, including burst tests and hold tests, and it is the basis for many domestic testers. Sector-specific standards, like GB 4544 for beer bottles 4, then plug in minimum pressure levels, for example ≥1.2 MPa for ordinary beer bottles, with stricter levels in some export markets.
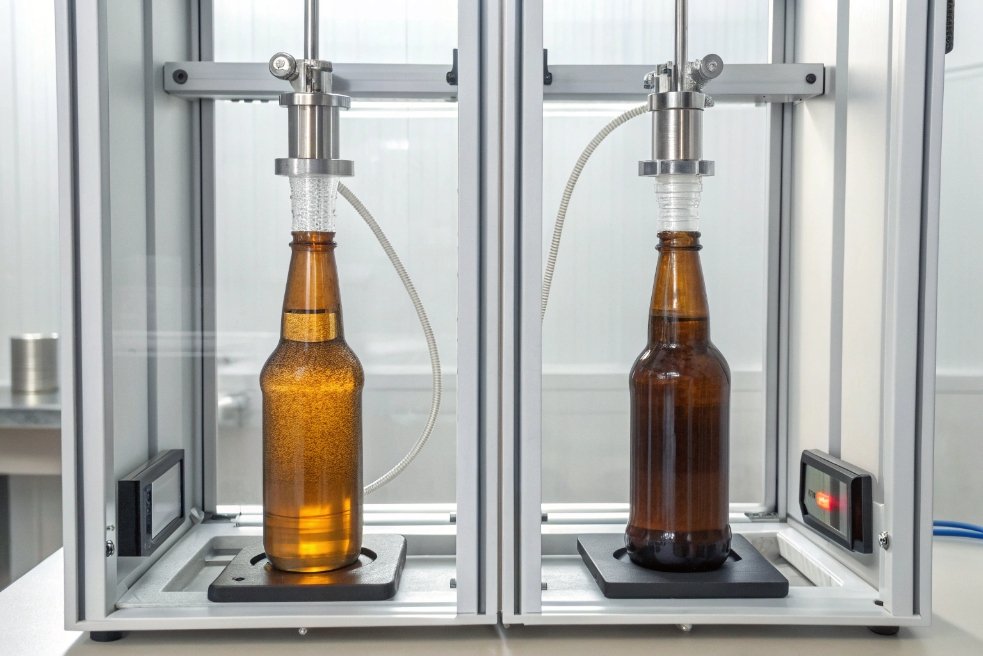
Hydrostatic and burst tests usually use water as the pressure medium for stability and safety. Commercial testers clamp the bottle by the neck, seal the finish, then fill and pressurize using a hydraulic pump. Modern machines combine both modes (ramp and hold) and can store test programs for different bottle SKUs.
Here is a simple mapping of the main test types:
| Standard | Method name | Pressure profile | Typical use |
|---|---|---|---|
| ISO 7458 / EN ISO 7458 | Method A | Step to set pressure, hold | Routine QA pass/fail at spec level |
| ISO 7458 / EN ISO 7458 | Method B | Constant ramp, to spec or burst | Design data, capability checks |
| ASTM C147 | Method A | Step to set pressure, hold | Same as above, ASTM markets |
| ASTM C147 | Method B | Constant ramp, to failure | Breaking strength distribution |
| GB/T 4546 | Hold + burst modes | Both step and ramp procedures | Pharma / domestic glass standards |
In real projects, both methods are useful. The hydrostatic hold test validates that a bottle can survive the worst credible pressure in real use. The burst ramp test measures breaking strength and spread, so we can see how much margin we really have above that service level.
How do ramp-and-hold curves define pass/fail thresholds?
On reports we often see “burst ≥ 1.8 MPa” or “hold 1.6 MPa / 60 s OK”, but very few people look at the curve behind those numbers.
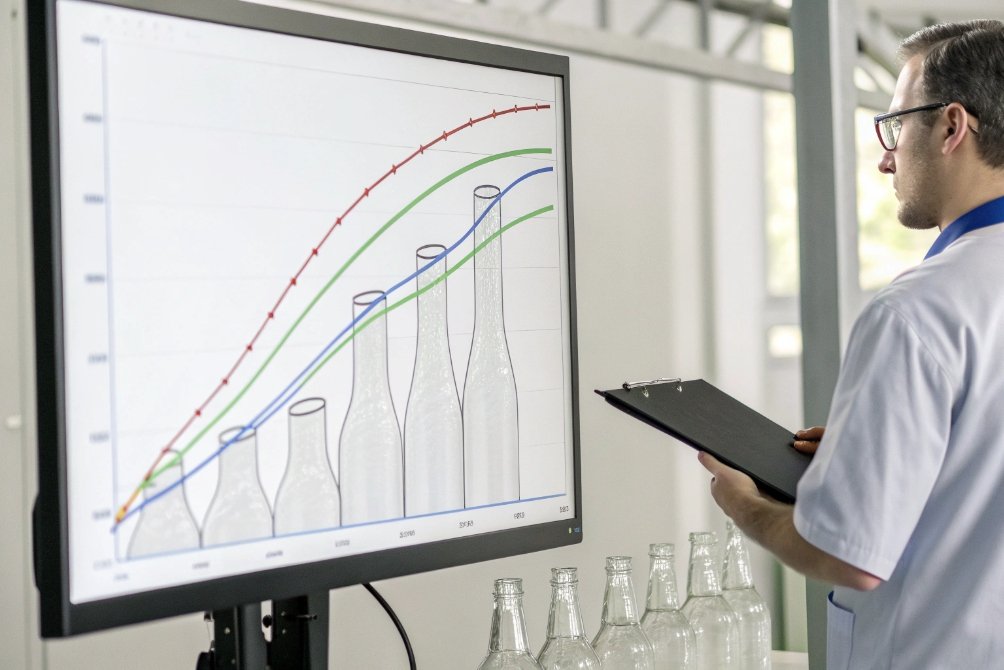
Ramp-and-hold curves plot pressure versus time during testing; pass/fail is defined by whether the bottle survives a defined hold pressure and duration, and whether its burst pressure (in full ramp-to-failure tests) stays above the specified minimum for the container class.
How ramp and hold profiles work in practice
ISO 7458 and ASTM C147 both describe what the test machine must do, but they do not always specify exact ramp rates or hold times; these details often come from national annexes or product standards. For example, Chinese pharmacopoeial rules reference pressure increase rates around 0.58 MPa/s with defined tolerances, and many implementations use a hold time of about 60 s at the target pressure for constant-pressure tests.
In practical QA, three basic curve types are common:
| Curve type | Description | Typical purpose |
|---|---|---|
| Pure hold test | Quick step to target pressure, hold for X seconds | Lot acceptance at defined spec |
| Ramp to setpoint + hold | Linear ramp to setpoint, then hold | Closer to filling-line pressure profile |
| Full ramp to failure | Linear ramp until bottle bursts | Design, process capability, benchmarking |
For a beer bottle, a typical curve might ramp from 0 to 1.6 MPa at a fixed rate, then hold for 30–60 s. If the bottle does not leak or break, it passes at that level. The same bottle, under a full ramp-to-failure test, might burst at 2.0–2.2 MPa. A safe design keeps the service level (1.6 MPa) well below the 5th percentile of the burst distribution for the batch.
So the curve defines:
- Service pressure: the flat section (or end pressure) the bottle must survive.
- Safety margin: the gap between minimum required burst pressure and maximum expected in-use pressure.
- Test realism: how close the ramp and hold durations are to what happens during carbonation, pasteurisation, or hot fill.
To describe a ramp-and-hold test clearly on a report, I like to include:
- Ramp rate (MPa/s)
- Target (end) pressure (MPa)
- Time to reach target (s)
- Hold time at target (s)
- Failure mode (no break, body break, finish break, leakage)
- Break pressure if the bottle failed (MPa)
This level of detail aligns with the reporting clauses in ISO 7458 and ASTM C147, which require the method, the pressure level or break pressure, the rate or hold time, sample conditioning, and sample size.
When the profile is fixed and documented, the curve becomes a control tool. Over time we can overlay curves from different batches and see if the glass is getting “weaker” (lower burst, more early breaks) even when lot-level pass/fail is still acceptable.
What sample size and AQL apply for beverage packaging?
A single burst failure looks alarming, but statistically it may or may not be a problem. This is where sampling and AQL come in.
For beverage glass bottles, sample size and acceptance criteria for internal-pressure tests are usually set using ISO 2859-1 or ANSI/ASQ Z1.4 sampling plans, with AQL values tightened for burst-critical defects (e.g. 0.25–0.65) and more relaxed for cosmetic defects.
Building a realistic sampling plan for pressure tests
ISO 2859-1 5 defines a general system of acceptance sampling by attributes. It links lot size, inspection level and AQL to a sample size and acceptance / rejection numbers.
For burst tests, we treat “failure at or below spec pressure” as a critical defect. So the AQL for this item should be much stricter than for appearance issues like small seeds, bubbles or minor shoulder scuffs.
A common practical setup for a large beverage lot (say 50,000–200,000 bottles) is:
| Defect type | Example criteria | Typical AQL range (illustrative) |
|---|---|---|
| Critical – burst / leakage at spec | Break or leak ≤ required pressure | 0.15 – 0.65 |
| Major – low burst margin | Bursts only slightly above spec (low margin) | 0.65 – 1.5 |
| Minor – appearance, dimensional | Cosmetic and minor dimensional issues | 2.5 – 4.0 |
Under ISO 2859-1 or ANSI/ASQ Z1.4 6, a 50,000 unit lot at General Inspection Level II with an AQL around 0.25 might give a sample size in the 200–315 bottle range for critical attributes. In practice many plants choose a round number, like 200 bottles per lot, and keep that constant while still using the logic from the standard.
Here is how I usually combine sampling with pressure tests:
-
Link each test to a defect class
- Burst at or below spec pressure → critical.
- Burst in a narrow margin above spec → major.
- A chipped finish that would leak at pressure → at least major.
-
Set AQL values by risk
Carbonated beverages and pressurised pharma need very low AQL for critical defects, because a single explosion in a retail store, or in a hot warehouse, has real safety impact. -
Choose inspection level
For routine production, General Level II is often enough; for new moulds or high-risk launches, Level III or 100% testing on early runs is safer. -
Document the link between AQL and action
- If the lot is rejected by AQL, decide whether to rework, sort, or scrap.
- If the lot passes but shows weak margins (cluster of low burst results), tighten process controls, not just “pass and forget”.
The key point is that the burst test is only meaningful when the sample size and AQL are chosen consciously. Without a clear plan, a few tested bottles say almost nothing about a 100,000-bottle shipment.
How do vertical load tests complement burst testing?
A bottle can pass all pressure tests and still fail when pallets are stacked or when the capper hits it too hard. This is where vertical load tests come in.
Vertical load tests, defined in ISO 8113 and related top-load methods, apply a compressive force along the bottle’s vertical axis; they verify resistance to stacking, capping and conveyor loads and work together with internal pressure tests to ensure full-line performance.
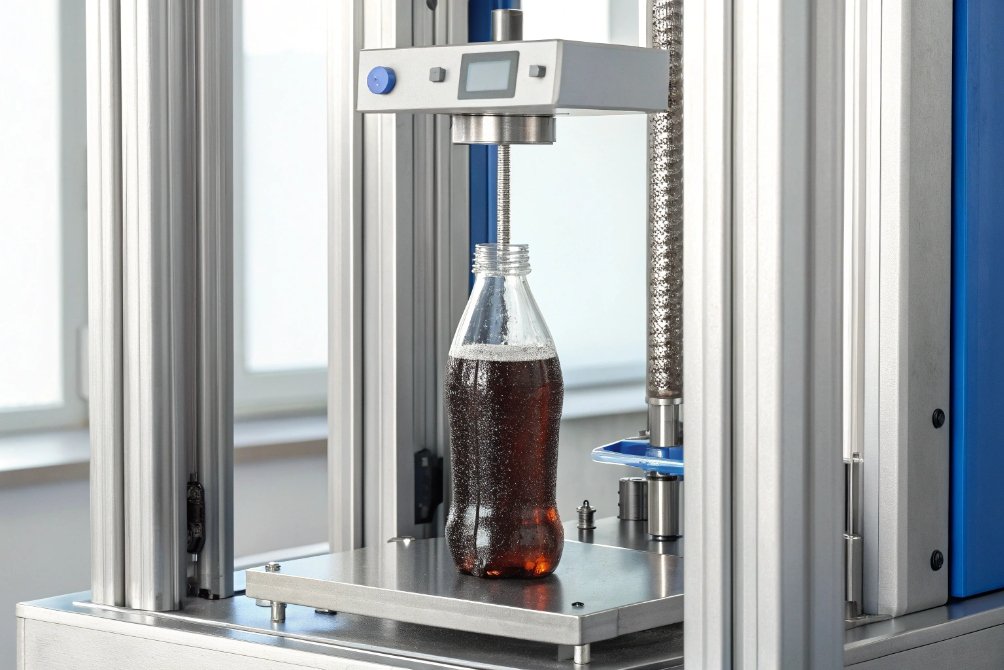
Why vertical load testing matters for pressurised bottles
ISO 8113:2004 7 specifies how to test the resistance of glass containers to external force along the vertical axis. The container stands between two flat steel plates in a press. The load increases until a specified force is reached or the container fails, and the test records the maximum force.
Vertical load testing is also called top-load, head load, or axial-load testing. It is especially important for:
-
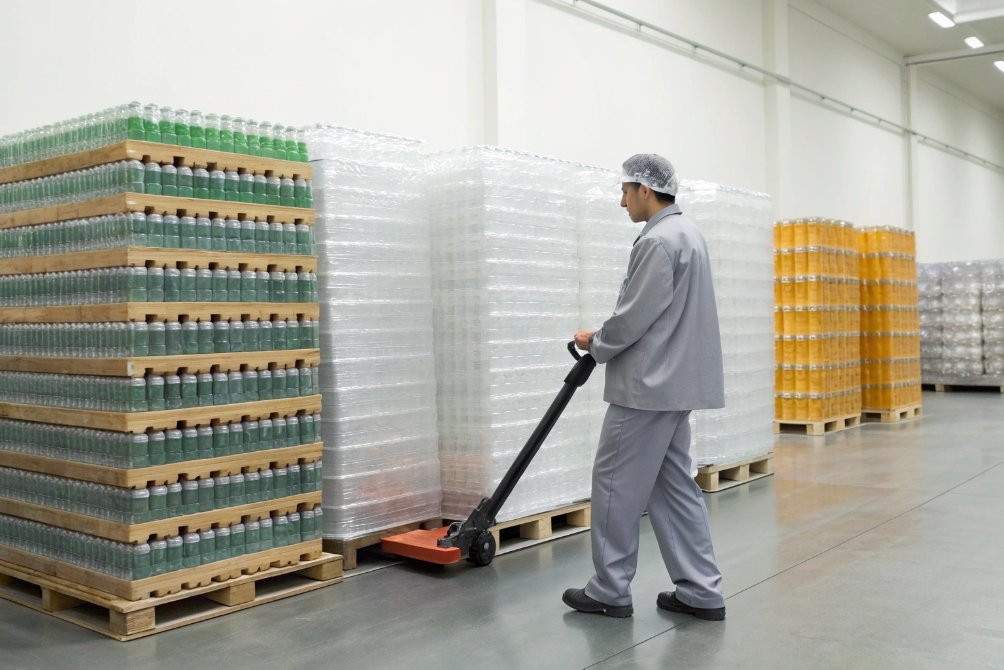
Stacked pallets in warehouses
Bottles at the bottom of a tall stack carry the weight of glass, product and packaging above them. -
Capper and seamer forces
Capping heads apply significant vertical load on the finish; if the shoulder or body cannot carry that load, vertical cracks or shoulder failures appear even when internal pressure is safe. -
Conveyor jams and side contacts
In a real filling line, bottles lean, bump and jam. Good vertical strength gives extra robustness against these off-design events.
In a typical project, I link vertical load to internal pressure like this:
| Performance area | Test standard | What it protects against |
|---|---|---|
| Internal pressure | ISO 7458 / EN ISO 7458, ASTM C147, GB/T 4546 | Burst during filling, pasteurisation, storage |
| Vertical load (top-load) | ISO 8113, ASTM packaging tests | Collapse or cracking in capping, stacking |
| Thermal shock | ISO 7459 / GB 4547 | Breakage from hot/cold changes |
When internal pressure resistance and vertical load resistance are both tested and specified, the bottle is much more likely to survive not only the lab, but the entire life cycle: forming, cold end coating, filling, pasteurisation, transport, retail and consumer use.
Conclusion
Pressure tests prove that glass bottles survive internal forces; vertical load tests prove they survive external forces. Together, with clear sampling and AQL, they turn “nice-looking bottles” into safe, reliable packaging.
Footnotes
-
ISO 7458 methods for constant-pressure and ramp internal-pressure tests of glass containers. ↩︎ ↩
-
ASTM C147 explains equipment setup, pass/fail rules, and reporting for pressure resistance tests. ↩︎ ↩
-
GB/T 4546 details internal pressure test procedures commonly referenced for China-market glass bottles. ↩︎ ↩
-
GB 4544 outlines beer bottle requirements, including minimum internal pressure performance expectations. ↩︎ ↩
-
ISO 2859 guidance supports setting sample sizes and AQL for attribute-based incoming inspection. ↩︎ ↩
-
Z1.4 preview tables help determine sample sizes and accept/reject numbers for attribute inspection. ↩︎ ↩
-
ISO 8113 defines vertical load testing to confirm stacking and capping robustness of glass containers. ↩︎ ↩


