A premium bottle can lose its value fast when the coating peels, turns dull, or shows orange peel. That failure usually starts with one missed process setting.
Spray coating works when surface prep creates true wetting, the spray pattern lays a stable film without texture, and curing locks the resin so gloss, color, and hardness stay consistent through filling and shipping.

The coating line looks simple from far away. Bottles enter. Color goes on. Bottles exit. In real production, the “easy” part is spraying. The hard part is keeping adhesion, texture, and color stable across heat, humidity, dust, mold-release drift, and different bottle shapes. The sections below break the process into controls that operators can measure and QA teams can audit.
What pre-cleaning steps and dyne targets ensure adhesion on glass bottles?
Poor adhesion rarely shows on day one. It shows after rubbing, label handling, ice buckets, or a small impact. That is when the coating chips and the brand takes the hit.
Adhesion comes from clean glass, full wetting, and a stable surface energy after flame/plasma or ion treatment; use wetting tests and a defined minimum dyne reading when you control with dyne inks.
Clean first, then activate
A coating cannot anchor to dust, oil, or mold-release residue. So the line starts with cleaning that is boring but strict:
-
Depalletize and de-dust: air knives plus ionized air to remove loose particles.
-
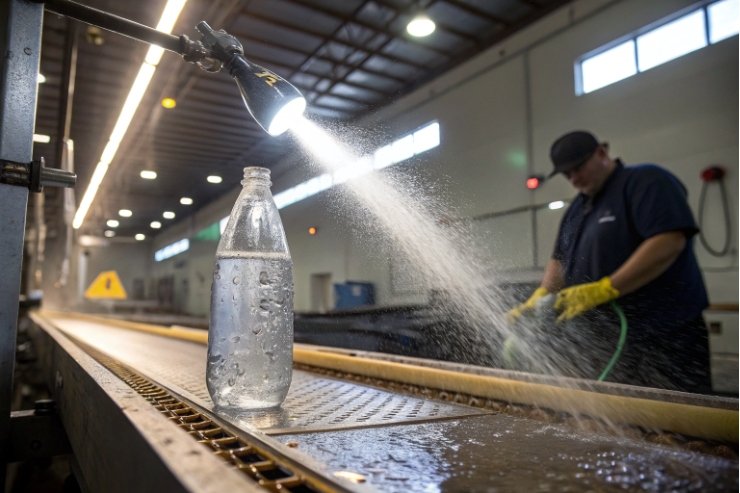
Wash: hot water with controlled detergent or alkaline cleaner. Keep concentration stable.
-
Rinse: clean water, and often a final DI rinse to reduce spots.
-
Dry: hot air or infrared so no water film remains before coating.
A quick check that saves time is the water-break test 1. A continuous sheet of water that does not bead is a strong sign the surface is clean. Beading means contamination is still present.
After cleaning, many lines add flame treatment, plasma treatment 2, or ion treatment. The goal is not “heat.” The goal is higher surface energy and better wetting, so the paint can flow into micro-roughness and form chemical bonds with primers.
Dyne levels: how to use them on glass without fooling yourself
Glass has high surface energy when it is clean. Dyne pens are more common on plastics, but some coating shops still use dyne inks as a fast go/no-go on treated glass or on primer-coated surfaces.
A practical way to set targets:
-
Use contact angle or wetting behavior as the main control (water-break + coating wet-out).
-
If dyne inks are used, set a minimum dyne value that correlates with passing adhesion in your plant. Many teams aim for a “no-break” reading in a high range (often ≥ 50 dynes/cm) after activation, but the right number is the one that matches your paint system and primer.
Confirm adhesion with a real test, not hope
Every new bottle mold, new paint batch, or new primer should trigger an adhesion verification:
-
Cross-hatch adhesion test 3 + tape test on cured coating.
-
Abrasion rub (dry and wet).
-
Alcohol wipe for spirits packaging areas near the neck.
| Control point | What to measure | Simple tool | Pass signal |
|---|---|---|---|
| Cleanliness | water-break behavior | spray bottle + light | no beading, no breaks |
| Activation | wetting improvement | visual wet-out | faster leveling, fewer fisheyes |
| Dyne control (optional) | minimum dyne value | dyne pen/ink | ink line holds, no shrink |
| Adhesion proof | cross-hatch + tape | cutter + tape | no flaking beyond spec |
| Contamination trend | defect mapping by shift | defect board | stable and repeatable |
Good adhesion is not one step. It is a chain. A weak link in cleaning, activation, primer mix, or cure will show up later as chipping.
How do gun angle, atomization, and bottle rotation avoid orange peel and runs?
Orange peel looks like a “paint problem,” but it is often a motion problem. The droplets land uneven. The film flashes too fast. The bottle rotation does not match the gun pattern.
Orange peel is reduced by stable droplet size, correct gun distance and angle, even bottle rotation, and enough flow time before the film skins; balance atomization, viscosity, and booth airflow.
Start with the three causes of texture
Orange peel usually comes from one of these:
-
Droplets too large (low atomization or thick paint).
-
Film skins too fast (too much air, too hot glass, too strong airflow, or solvent flash too fast).
-
Uneven overlap (wrong gun angle, wrong stroke speed, or rotation mismatch).
So the process settings must move together. Changing only air pressure or only rotation speed can make the texture worse.
Gun angle and distance that keep overlap even
A simple rule helps most bottle shapes:
-
Keep the gun near-perpendicular to the surface section being coated.
-
Hold a stable stand-off distance so droplet speed and pattern width stay constant.
-
Use overlap that is consistent, not aggressive. Too much overlap builds thickness and causes runs.
On shoulders and heels, the gun angle often needs a small tilt so the paint does not “shadow” behind curves. This is where automation helps. The robot can keep angle stable while the bottle spins.
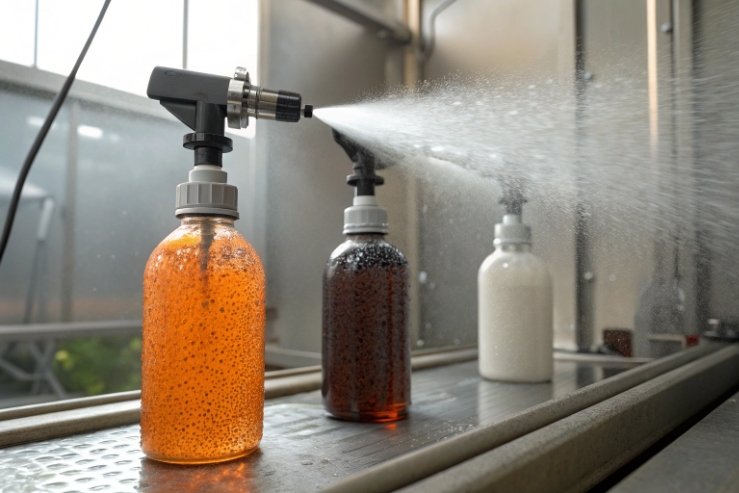
Atomization and viscosity: make the film level before it locks
Atomization is not “as high as possible.” Too much air can dry the droplets mid-flight. That creates dry spray and roughness.
Controls that matter:
-
Viscosity window (measured every batch). Keep it stable.
-
Atomizing air and fluid flow tuned together.
-
Booth temperature and humidity stable, so flash time stays stable.
-
Bottle preheat used only when it improves flow. Too hot can cause fast skinning and orange peel.
Rotation and pass strategy: match film build to gravity
Rotation must be fast enough for 360° coverage, but not so fast that centrifugal force thins edges and builds bands.
-
Use steady rotation in the main spray zone.
-
Add two-stage passes for complex shapes: a light “tack” pass, then a full pass after a short flash.
-
Use masks and fixtures for clear windows, gradients, or partial panels.
| Parameter | Too low causes | Too high causes | What to watch |
|---|---|---|---|
| Atomization air | big droplets, texture | dry spray, rough feel | droplet uniformity, overspray |
| Fluid flow | thin spots | runs, curtains | wet edge stability |
| Gun distance | narrow banding | fog and dry spray | pattern width and overlap |
| Gun angle | shadowing, misses | bounce-back overspray | shoulder and heel coverage |
| Rotation speed | striping, misses | bands, edge thinning | 360° uniformity |
| Flash time | solvent trap | poor leveling | orange peel trend |
If orange peel appears, the fastest fix is often not “more thinner.” It is correcting the balance between atomization, viscosity, flash time, and rotation.
What bake or UV cures lock color and hardness, and which thickness and gloss checks confirm coverage?
A coating can look perfect right after spraying, then fail in cartons. The cure did not fully crosslink. The film was too thin on corners. Gloss drifted across shifts.
Cure locks color and hardness when time, temperature, and UV dose match the resin system; coverage is confirmed with dry film thickness mapping, gloss readings, and defect limits for pinholes, runs, and color delta.
Choose cure method based on coating chemistry
Most spirits bottle spray coatings fall into two paths:
-
Thermal bake systems (water-based or solvent-based paints that cure with heat).
-
UV/LED cure systems (UV-curable clear coats or color coats, often used for fast lines).
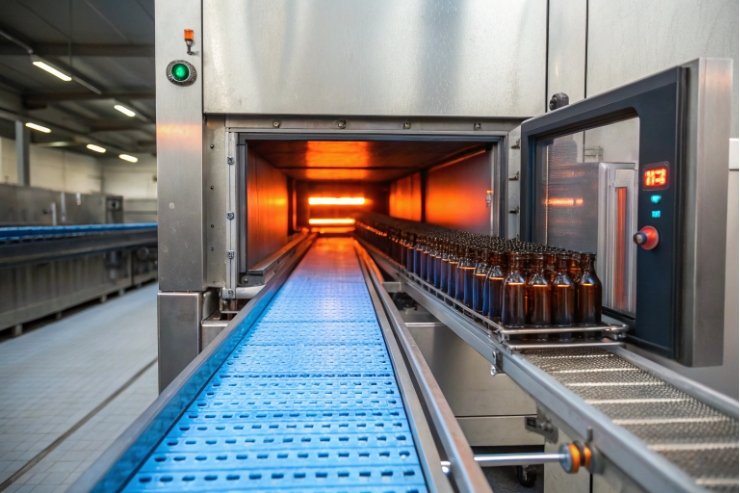
Thermal bake basics:
-
Control ramp-up, peak temperature, and hold time. Glass is a heat sink, so oven setpoint is not the same as coating temperature.
-
Avoid rushing. Under-cure gives soft films and scuff marks. Over-bake can shift color and reduce gloss.
UV cure basics:
-
Control UV dose and lamp health. A weak lamp gives a tacky surface even if it looks dry.
-
Manage shadow zones. Deep punts, heavy embossing, and tall shoulders can block UV. Rotation and lamp layout matter.
A strong line uses cure verification tests, not only oven settings:
-
Pencil hardness test 4 (or similar).
-
Solvent rub (a consistent wipe test).
-
Adhesion re-check after cure.
Thickness control: confirm real coverage, not just “looks good”
Thickness is tied to durability and color hiding. A film that is too thin shows glass tone and scuffs. A film that is too thick can crack or chip.
Ways to measure on glass:
-
Weight gain method (before/after coating) for batch trends.
-
Ultrasonic thickness gauge 5 or cross-section microscopy for audit checks.
-
Process mapping: measure at shoulder, body, heel, and near the neck ring.
Gloss and appearance: make it measurable
Gloss must be measured at a defined geometry, often 60° for general control. For high gloss, 20° can be more sensitive. Matte finishes need haze and DOI style controls, or a matte-gloss window defined by the brand.
Also control:
-
Color difference (ΔE) across shifts.
-
Defect limits: runs, pinholes, fisheyes, orange peel, dust nibs.
-
Taber abrasion 6 or scuff after packaging simulation.
| QC check | Where to test | Tool | What “good” looks like |
|---|---|---|---|
| Dry film thickness | shoulder/body/heel/near finish | ultrasonic / microscopy audit | within spec band, no thin corners |
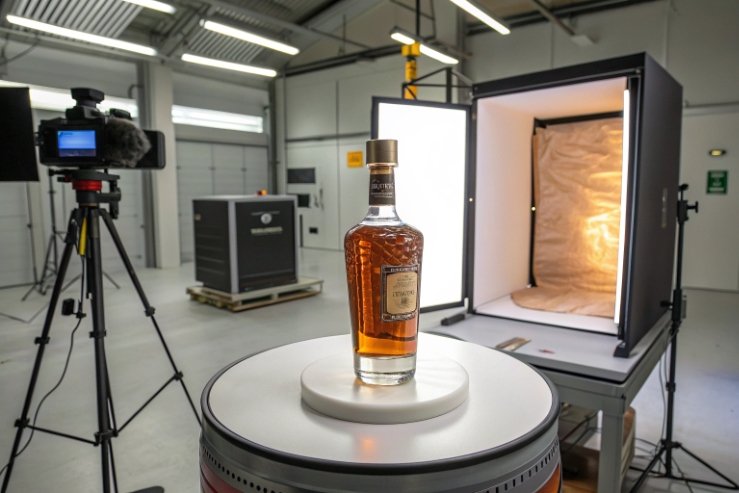
| Coverage / hiding | body + embossing edges | light box | no see-through, no banding |
| Gloss | same zone every time | gloss meter 7 (60°/20°) | stable window, low drift |
| Color | front panel zone | spectro | ΔE within brand spec |
| Hardness | body zone | pencil/hardness method | no soft marks, stable |
| Cure resistance | neck and body | solvent rub | no smear, no tack |
| Scuff/abrasion | after packing simulation | rub test | minimal visible wear |
Cure and inspection should match how the bottle will be used. Spirits bottles get handled at the neck, rubbed by cartons, and exposed to alcohol vapor. So the QA plan must include those stress points, not only a beauty check under bright lights.
Conclusion
Spray coating succeeds when glass is truly clean, spray settings keep a smooth wet film, curing fully crosslinks, and thickness plus gloss checks prove coverage on every zone.
Footnotes
-
A simple surface cleanliness test where a continuous water film indicates a surface free of hydrophobic contaminants. ↩ ↩
-
Surface modification technique using ionized gas to increase surface energy and improve adhesion of coatings. ↩ ↩
-
Standard test method for assessing the adhesion of coating films to metallic or glass substrates by tape test. ↩ ↩
-
Test method for determining the film hardness of an organic coating on a substrate using calibrated pencils. ↩ ↩
-
Non-destructive measurement tool used to verify the thickness of coatings or bottle walls without cutting. ↩ ↩
-
Industry standard test for measuring the resistance of surfaces to abrasion and wear under controlled conditions. ↩ ↩
-
Instrument used to measure specular reflection gloss of a surface, quantifying its shininess or matte finish. ↩ ↩


