
An oil bottle that looks “clean” can still hold a sticky lipid film, old smells, and hidden residue in the neck and pourer. That hurts both flavor and hygiene.
To clean an oil bottle thoroughly, remove as much oil as possible, hit the glass with very hot, degreasing washes plus mechanical scrubbing, dry fully with good airflow, and replace tired gaskets or pourers before they start to fail.

The method you use should match how dirty the bottle is and how it is built. A simple olive oil cruet and a narrow-neck restaurant bottle need different tools, but the logic is the same: remove bulk oil, break the film, scrub, rinse, dry, and then reassemble only the parts that still deserve a place.
Which degreasers and hot-wash cycles lift lipid films?
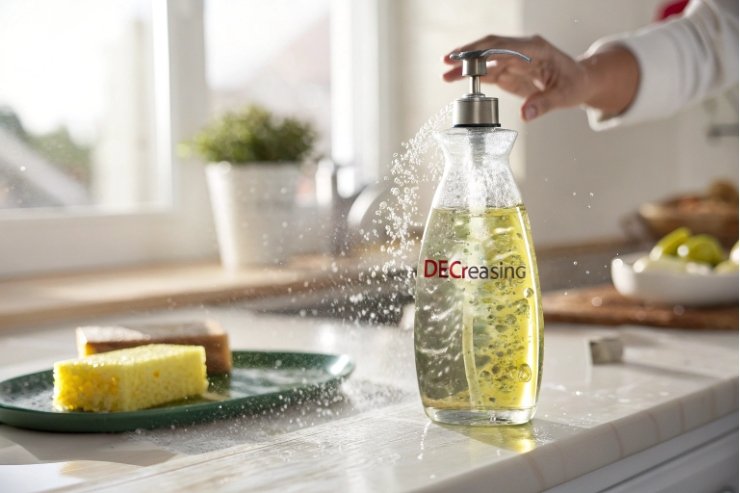
A lukewarm rinse and a quick swirl of soap will never break that glossy film of old oil. Lipids need heat and strong surfactants, or they will keep smearing everywhere.
Use very hot water, a high-degreasing dish soap, and longer soak cycles, then repeat until every rinse runs clear with no oily sheen on the surface.
Why oil sticks and what you need to break it
Cooking oils are designed to coat surfaces and resist water. Over time, they oxidize and polymerize, which makes the film even more stubborn. That is why a quick cold-water rinse only spreads the mess.
To break this film you need three things working together:
- Heat to lower the viscosity of the oil and soften polymerized layers.
- Surfactant (detergent) and the way surfactants form micelles to lift grease 1.
- Time and movement to let the detergent act and carry the oil away.
If any of these is missing, you get a bottle that looks better but still feels slick inside.
A practical hot-wash cycle that works
Here is a simple cycle that handles most home and small-commercial oil bottles:
- Let the bottle drain upside down until only a thin film remains.
- Rinse once with hot water to remove loose oil.
- Fill halfway with very hot water (as hot as your hands can safely handle, or from a kettle with care).
- Add a generous squeeze of strong dish-degreasing soap (look for “for greasy pans” on the label).
- Close the bottle and shake hard for 30–60 seconds.
- Let it soak 15–30 minutes, so the surfactants can work on the film.
- Empty, then inspect the inside. If you still see beads or rainbows of oil, repeat.
A short reference:
| Step | What to use | Why it works |
|---|---|---|
| Pre-drain | Empty bottle, upside down | Removes bulk oil so soap can reach the film |
| Hot rinse | Very hot tap or kettle water | Softens and moves loose residues |
| Soapy soak | Strong dish degreaser + hot water | Emulsifies remaining lipids |
| Repeat if needed | Second or third short cycle | Clears oxidized or old oil layers |
When a stronger degreaser makes sense
If the bottle held very old, flavored, or high-heat oils (like deep fry oil), the film may resist normal dish soap. In those cases you can:
- Add a small amount of Super Washing Soda (sodium carbonate) 2 or baking soda to the hot soapy water to raise alkalinity.
- Let the bottle soak longer, even several hours, refreshing the hot water at least once.
- For commercial kitchens, run bottles through a dishwasher with an alkaline commercial detergent, as long as the glass and any decoration are rated for this.
Avoid harsh solvents that leave residues you cannot reliably rinse away for food use. If a detergent needs a safety sheet to handle, it likely does not belong inside a bottle that touches oil you will eat.
Do brushes and soaks help narrow-neck residue removal?
Narrow necks and shoulders are where the last sticky ring of oil hides. If you skip them, that ring will seed new residue as soon as you refill the bottle.
Yes. Long bottle brushes, abrasive add-ins like rice or salt, and patient soaks are the best way to strip residue from narrow necks and shoulder pockets.
Mechanical tools for hard-to-reach areas
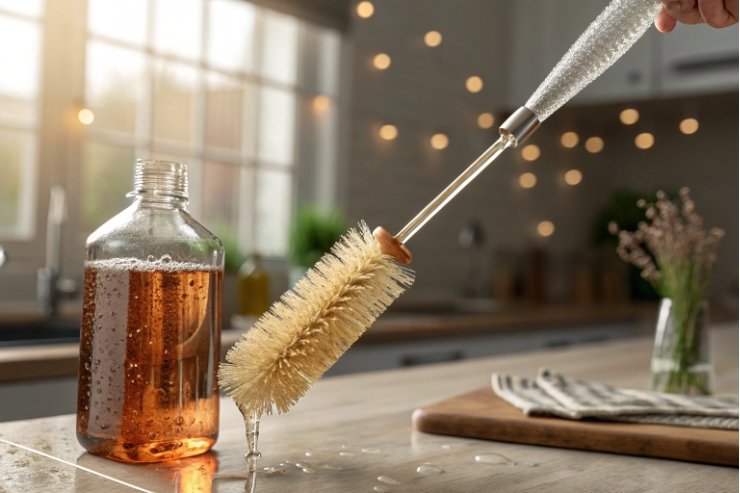
Once the oil is softened by hot, soapy water, mechanical scrubbing finishes the job. For narrow-neck bottles you can combine tools:
- Long bottle brush (see examples of water bottle cleaning brushes for narrow-neck bottles 3) to reach the base and neck.
- Small detail brush or old toothbrush for the mouth, threads, and outer rim.
- Cotton swabs for stubborn residue right at the lip or in groove details.
Used together, they do what soaking alone cannot: they break the last film and biofilm layers that cling to glass texture or embossed details.
A quick tool guide:
| Tool | Best for | Notes |
|---|---|---|
| Long bottle brush | Main interior walls and base | Choose a diameter just under bottle ID |
| Slim neck brush | Inside neck and transition to shoulder | Helpful for very tall, narrow bottles |
| Toothbrush | Outer neck, threads, caps | Great with hot, soapy water |
| Cotton swabs | Lip, tiny recesses | Use after main cleaning passes |
Soaks and “shake media” for stubborn corners
Some bottle shapes make direct brushing almost impossible near the shoulder. In that case, use abrasive “helpers” inside the bottle:
- After hot soapy water is added, drop in a small handful of uncooked rice or coarse salt.
- Close the bottle firmly.
- Shake in short, strong bursts, rotating the bottle so the grains scrub every angle.
The grains act like tiny brushes, scraping softened film off the glass where bristles cannot reach.
If residue is still visible:
- Repeat with fresh hot, soapy water and new rice or salt.
- Let the bottle sit filled for 30–60 minutes between shake sessions.
When soaking alone is enough
For simple oil bottles with smooth, straight walls:
- A long, hot soak (1–2 hours) in strong dish soap is often enough, followed by a single scrub.
- Check the glass under good light. If there is no rainbow sheen or streak, the film is gone.
When you see persistent rings or droplets clinging after rinsing, that is your sign to bring in brushes or abrasive media. Soak-only cleaning is fine for routine turn-around, but not for a deep reset after months of use.
How to dry spot-free without odor carryover?
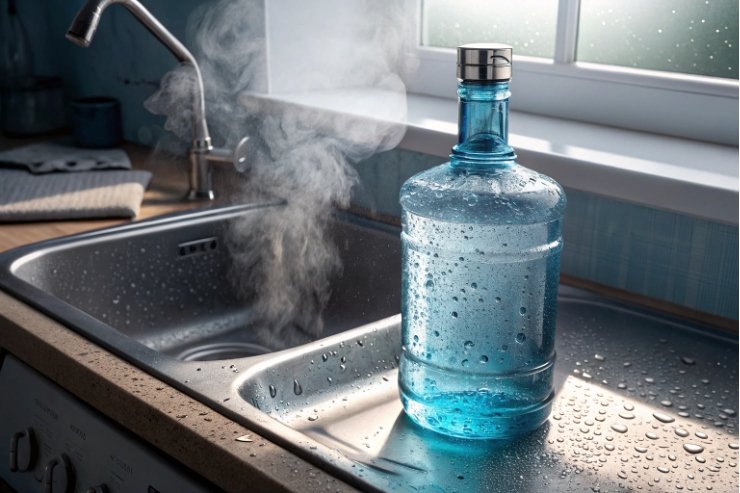
A bottle can be perfectly degreased and still fail because it dries with water spots or keeps the smell of garlic, chili, or rancid oil. Drying is its own small process.
Rinse with very hot, clean water, neutralize odors with vinegar or baking soda if needed, then air-dry upside down in good airflow until the bottle is bone-dry inside and out.
Final rinses that stop spots and smells
After the main wash and mechanical cleaning:
- Rinse with very hot water several times. Hot water dries faster and carries away more surfactant.
- If any smell remains (garlic, herbs, chili), do one of these:
- Fill halfway with a 1:1 mix of equal parts vinegar and water 4, shake, then soak 10–15 minutes.
- Or fill with warm water plus a spoon of baking soda, shake, and soak (the goal is true odor neutralization 5, not perfume-masking).
- Rinse again with hot water until there is no smell of soap, vinegar, or soda.
For bottles that will hold neutral oils or delicate flavors, you can add one more step:
- A final quick rinse with filtered or distilled water—especially if your tap is hard water (dissolved calcium and magnesium) 6—to reduce mineral spotting in hard-water areas.
A simple map:
| Rinse type | Purpose | When to use |
|---|---|---|
| Hot water | Remove soap and loose residue | Always, after any detergent use |
| Vinegar + water | Cut odors, mild scale removal | Strong food smells, old oil |
| Baking soda + water | Neutralize acids, soften smells | After flavored or acidic products |
| Distilled water | Minimize spots | Hard water areas, display bottles |
Drying methods that really work
For the glass body:
- Place the bottle upside down on a drying rack or clean grid so air can move into the neck.
- Leave enough space between bottles so air flows freely.
- Let them sit until no condensation appears even if you tilt the bottle.
Avoid stuffing cloths or paper towels deep into the bottle. They shed fibers, and they can trap moisture against the glass.
For the closure parts (caps, pourers, gaskets):
- Place them on a clean towel or rack.
- Pat the outside dry, but let the inner channels air-dry.
- Do not reassemble until all parts are 100% dry to the touch.
Avoiding odor carryover between oils
If you switch from garlic-infused oil to a delicate extra virgin oil, any leftover smell is a problem.
Good habits:
- Use strong vinegar or soda rinses after flavored oils.
- Smell the bottle when it is dry, not wet. Wet glass can hide faint odors.
- If a smell remains after two full clean cycles, consider marking that bottle for the same flavor family or retire it.
Odors live mostly in the last traces of oil and in porous parts like plastic spouts and gaskets. Glass itself is easy to reset if you give it enough heat, surfactant, and time to dry.
When should gaskets and pourers be replaced outright?
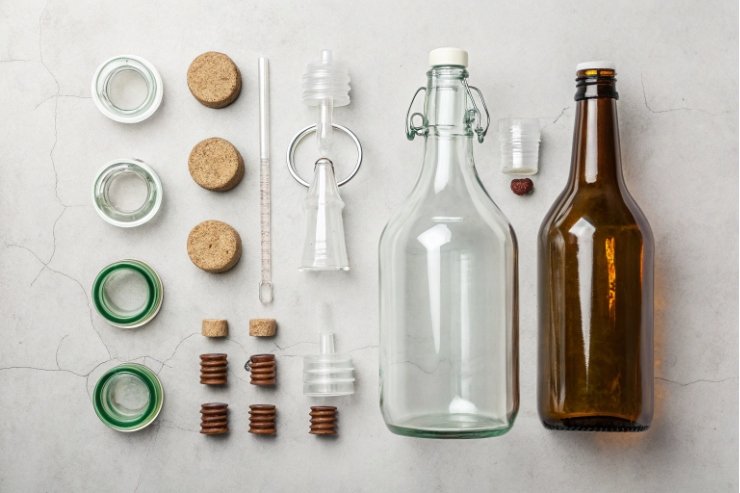
You can rescue glass almost forever, but soft parts and intricate pourers do not live that long. At some point, cleaning them again is a bad trade-off.
Replace gaskets, spouts, and complex pourers when they crack, harden, hold permanent odor or color, or start to leak even after careful cleaning and drying.
Where problems usually start
Non-glass parts face more stress than the bottle:
- Gaskets and seals sit in constant contact with oil and sometimes acid.
- Plastic or silicone pourers see repeated flexing, washing, and heating.
- Chrome or plated metal parts can corrode, flake, or trap residue in seams.
These parts can:
- Absorb strong odors and pigments.
- Develop micro-cracks that are hard to see but easy for microbes to hide in.
- Lose flexibility, which ruins the seal even if they still look okay.
Simple inspection rule-of-thumb
After cleaning and drying, check each part under good light. Look for:
| Part | Warning sign | Action |
|---|---|---|
| Rubber gasket | Cracks, flattening, sticky or chalky | Replace immediately |
| Silicone seal | Torn edges, permanent smell or stain | Replace if smell or leak persists |
| Pour spout | Rust, flakes, bent or loose parts | Replace; do not use if metal is damaged |
| Plastic insert | Cloudy, rough, odor that will not wash out | Replace; plastic is now contaminated |
If a part has minor cracks in gasket surfaces that can harbor bacteria 7, replace it—deep-cleaning alone is not a reliable reset.
How often to expect replacement
For a bottle used every day:
- Gaskets and soft seals often need replacement every 6–12 months, depending on quality and heat exposure.
- Complex pour spouts may last 1–2 years with gentle cleaning, but can fail sooner in commercial kitchens.
In a professional setting, it is safer to set a fixed replacement schedule rather than wait for visible failure. In home use, trust your fingers, eyes, and nose.
If you switch to a new oil with very different aroma or quality level, it can also be a good moment to fit new seals and spouts. Fresh oil deserves fresh contact surfaces.
Conclusion
Thorough oil-bottle cleaning means stripping every trace of old oil, drying without smells, and knowing when to retire tired gaskets and pourers so the next fill starts from zero.
Footnotes
-
Explains how detergents lift grease using surfactants and micelles, so your hot-wash cycle actually works. ↩ ↩
-
Shows practical washing-soda usage for cutting grease; helpful when dish soap alone won’t break old oil films. ↩ ↩
-
Helps you choose brush shapes and lengths that actually reach narrow necks and shoulder curves. ↩ ↩
-
Supports a simple 1:1 vinegar-water approach for stubborn food odors when a bottle keeps smelling “old.” ↩ ↩
-
Clarifies how odor neutralization works, so you remove smells instead of masking them. ↩ ↩
-
Defines hard water and why minerals cause residue—useful when chasing spot-free drying. ↩ ↩
-
FDA guidance on how cracked gaskets can trap contamination, supporting replacement when seals age or crack. ↩ ↩


