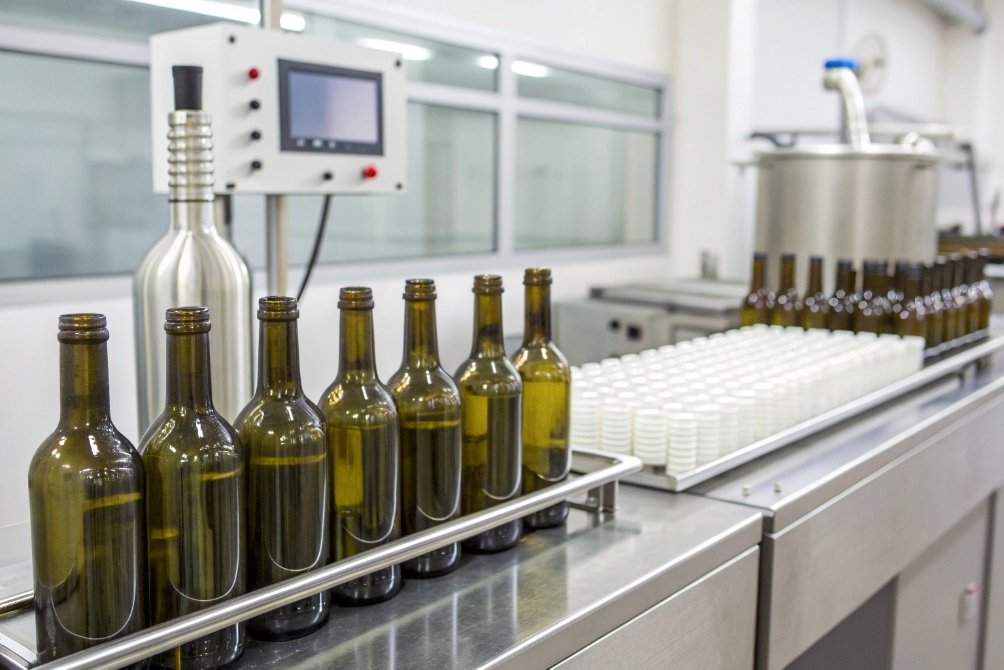
Many wineries trust the wine inside but worry about the bottle outside. A single weak point in the glass can cause breakage on the filling line, cork leaks on the shelf, or failures during transport.
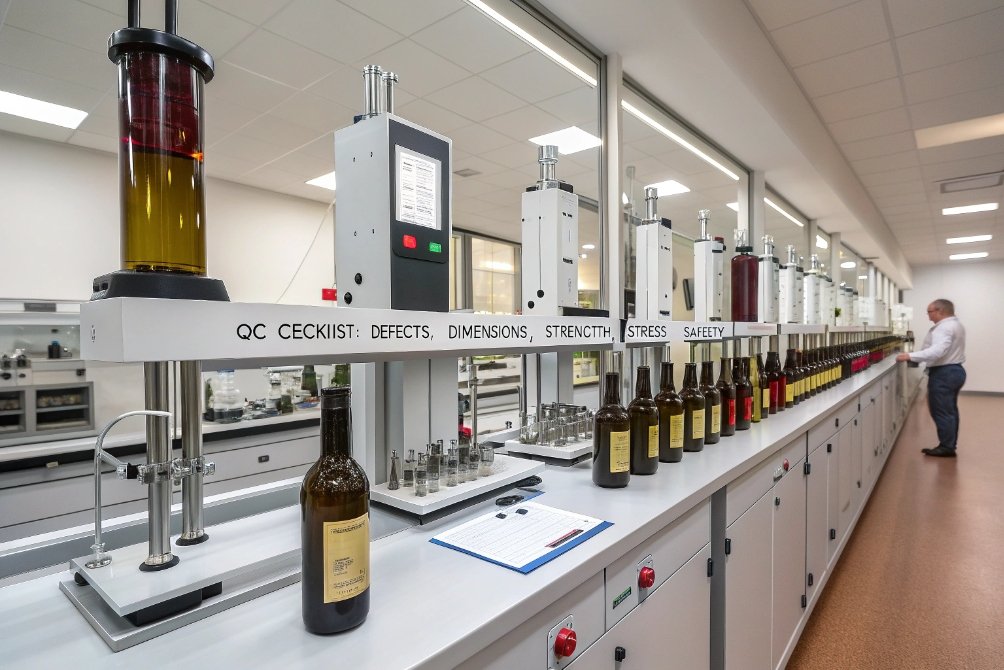
Quality testing for wine bottles checks visual defects, dimensional accuracy, mechanical strength, annealing stress, and food-contact safety. These tests confirm that each bottle can survive filling, capping, storage, and transport without failure.

Good testing gives peace of mind. It closes the gap between design and real-world use and keeps every bottling run predictable.
Which visual and dimensional checks catch the critical defects?
Small visual defects can create leaks, breakage, or crooked closures. Dimensional accuracy makes sure the closure seats correctly and the bottles run smoothly on filling lines.
Visual checks find cracks, checks, blisters, stones, and finish defects, while dimensional checks confirm height, diameter, verticality, finish tolerances, and capacity. Together they remove most high-risk bottles before filling.
A deeper look at visual and dimensional testing
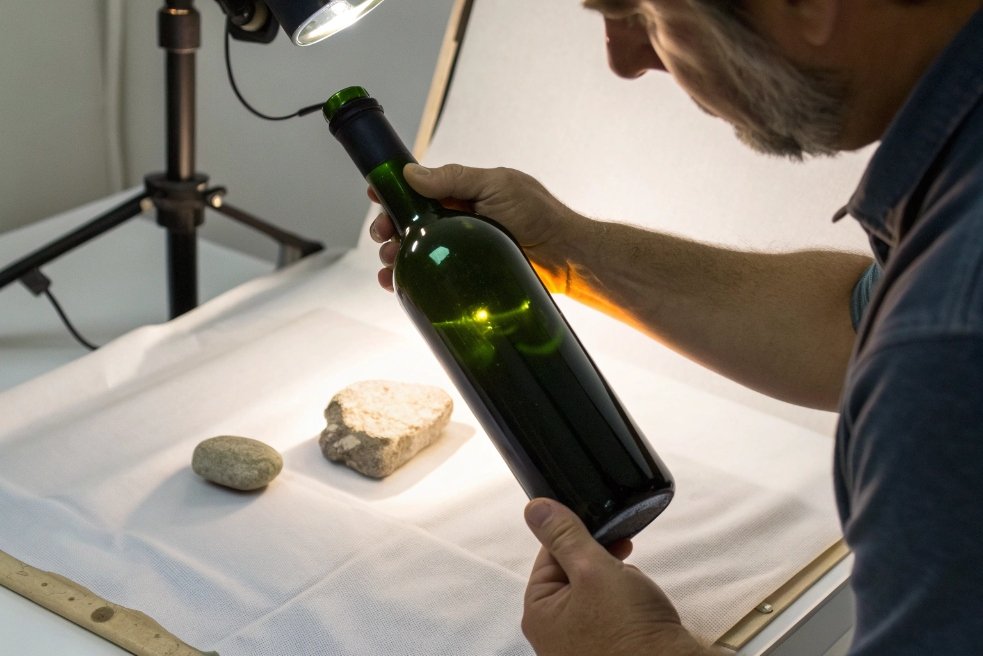
Visual inspection is still one of the strongest defenses against poor bottles. Technicians rotate bottles under bright light to catch thin cracks (checks), embedded particles, blisters, scuffing, surface waves, misaligned seams, or finish defects that stop proper corking or capping. Automated machine vision inspection systems 1 add speed and detect subtle flaws on the neck, shoulder, and base.
Dimensional checks validate the whole geometry. Height, body diameter, neck finish bore, thread profile (for screw caps), cork mouth diameter, and punt depth all follow the bottle drawing. Even small deviations create capping issues, wine leakage, crooked capsules, or label problems. Capacity measurement confirms the usable volume under standard fill height. Weight and wall thickness checks confirm the bottle has enough strength margin and no thin zones in the heel or shoulder.
Perpendicularity (verticality) testing measures how straight the bottle stands. An off-axis neck affects both cork insertion and labeling. Base tilt measurements show if the bottle rocks on a flat surface. All these checks remove hidden risks that appear later in production.
A simple view:
| Test type | What it finds | Why it matters |
|---|---|---|
| Visual inspection | Cracks, blisters, stones, finish defects | Stops leaks and breakage before filling |
| Dimensional checks | Height, diameter, bore, thread, punt depth | Ensures closure fit and line stability |
| Capacity check | True overflow and fill volume | Avoids underfill or overfill |
| Weight/thickness | Thin glass zones, uneven walls | Confirms strength and durability |
| Verticality/base | Neck tilt, base wobble | Prevents filling and labeling problems |
These checks form the first filter for a safe bottling run.
What mechanical tests are normally used (burst, impact, vertical load)?
Wine bottles face pressure from carbonated wines, handling forces on the filling line, and loads during stacking and transport.
Standard mechanical tests include burst pressure tests, impact/drop tests, vertical load (top-load) tests, and thermal shock tests. Each test checks a different failure mode and confirms that the bottle has real-world strength.
A deeper look at the core mechanical tests
Burst pressure testing checks internal pressure strength. Many labs run this as a controlled hydrostatic pressure test 2 (water-filled, sealed, and pressurized) so results are repeatable and safer than testing with gas. For sparkling wines or high-pressure processes, this is essential.
Impact testing simulates knocks or drops during transport and handling, often using standardized drop testing 3 approaches. The test can strike the bottle at set locations or drop it from a defined height. Impact resistance depends on wall thickness, geometry, and proper annealing. A bottle that fails impact testing is not safe for distribution.
Vertical load (top-load) testing applies a controlled axial force down onto the neck, essentially a compression strength test 4 focused on the bottle’s most critical load paths. This simulates the capping force and stacking load. If the neck cannot carry enough load, the bottle may crack during cork insertion or deform under pallets.
Thermal shock testing exposes the bottle to rapid temperature change. The bottle moves between hot and cold baths. A well-annealed bottle tolerates these swings without cracking. Wine bottling lines often wash bottles at elevated temperatures, so poor thermal shock resistance leads to line breaks.
Here is a simple breakdown:
| Test | Purpose | What it prevents |
|---|---|---|
| Burst pressure | Checks internal pressure limit | Explosions, breakage in carbonated wines |
| Impact test | Simulates handling damage | Breakage during transport |
| Vertical/top load | Checks neck strength under force | Cracking during corking/capping |
| Thermal shock | Confirms heat-change tolerance | Cracking during washing or temperature shifts |
Strong performance across these tests shows the bottle can survive the full supply chain.
How is annealing assessed using a polariscope?
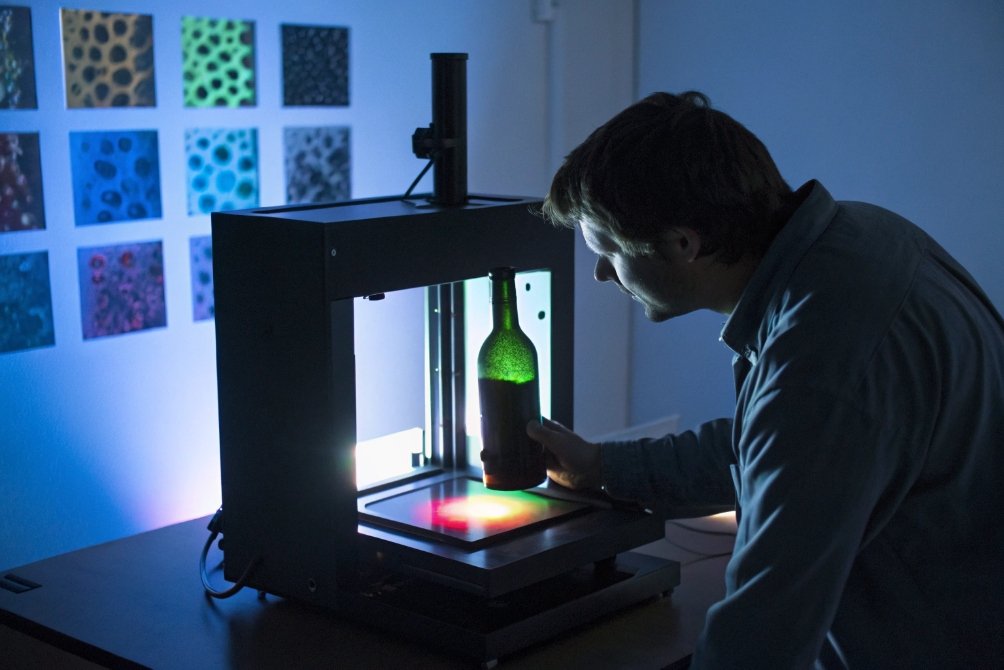
Even a strong bottle fails early if it carries hidden stress. Annealing removes this stress during production, and polariscopic stress analysis 5 reveals whether this step was done correctly.
A polariscope uses polarized light to display stress patterns in glass. A good bottle shows smooth, even colors; sharp color bands show high residual stress that could cause cracking or breakage.
A deeper look at polariscope stress evaluation
Annealing happens after forming. The hot bottle enters the annealing lehr 6, cools slowly, and releases internal stress. If the cooling is uneven, the bottle keeps stress zones in the heel, shoulder, or neck. These zones make the bottle more sensitive to impact and thermal shock.
A polariscope shines polarized light through the bottle. Stress areas bend the light differently, forming colored fringes. Technicians rotate the bottle and study these rings. A correctly annealed bottle has light, even patterns. Heavy, sharp, or crowded fringes show poor annealing.
Neck and shoulder areas are especially important. Stress here leads to failures during cork insertion or capsule application. Stress in the heel leads to breakage under stacking loads.
The polariscope does not damage the bottle. It gives quick and clear feedback to adjust lehr temperature, speed, or air flow. Strong annealing quality is one of the best predictors of a stable bottle line.
What hygiene and migration tests confirm food safety?
A wine bottle must not only be strong. It must also be safe for direct contact with wine. Testing covers chemical migration, surface hygiene, and the stability of coatings.
Food-contact safety tests check for heavy-metal migration, surface cleanliness, alkali release, and coating integrity. Clean, inert glass and stable coatings prevent contamination and keep wine quality intact.
A deeper look at hygiene and migration testing
Glass is naturally inert, but safety testing confirms it stays safe under real use. Migration tests measure any release of metals or alkali from the glass surface into a test solution. These tests typically align with the EU food-contact materials framework (Regulation (EC) No 1935/2004) 7 or comparable national standards. A good bottle shows very low or no detectable migration.
Hygiene testing checks the internal and external surfaces. Bottles must be free from dirt, oil, dust, or production residues. Cleaning verification tools check these risks. Some wineries also test microbial load, especially when bottles come from storage or long transport.
Surface coating checks confirm the hot-end and cold-end coatings are stable. These coatings protect the bottle from scuffing. If they fail, abrasion creates weak spots. Coating slip tests or coefficient-of-friction tests show whether bottles will move smoothly on conveyors without sticking or scratching.
Closure compatibility tests also relate to safety. Proper finish dimensions ensure correct cork insertion force or screw-cap sealing torque. These tests stop oxygen leaks, wine spoilage, and premature oxidation.
A clear breakdown:
| Safety test | Purpose | What it protects |
|---|---|---|
| Heavy-metal migration | Confirms chemical safety | Wine purity and consumer health |
| Alkali release | Checks surface durability | Long-term stability |
| Hygiene/cleanliness | Removes contamination risks | Clean filling and safe shelf life |
| Coating tests | Checks scuff resistance and lubricity | Line efficiency and bottle strength |
| Closure fit tests | Verifies sealing and torque | Oxygen control and leak prevention |
These tests work together to make sure every bottle is safe from filling to pouring.
Conclusion
Quality testing of wine bottles relies on visual checks, precision dimensions, strong mechanical tests, good annealing, and clean, safe surfaces. These steps give stable bottling runs and protect the wine until the moment it is opened.
Footnotes
-
Explains machine-vision inspection used to detect surface and finish defects at production speeds. ↩ ↩
-
Background on hydrostatic pressure testing concepts behind repeatable burst-style bottle strength checks. ↩ ↩
-
Overview of drop testing principles used to simulate handling shocks during distribution. ↩ ↩
-
Explains compression testing fundamentals relevant to top-load strength and stacking forces. ↩ ↩
-
Shows how polarized light reveals stress patterns, supporting quick checks of annealing quality. ↩ ↩
-
Describes the annealing lehr and why controlled cooling reduces residual stress in containers. ↩ ↩
-
Defines core EU rules for materials intended to contact food, often referenced in migration and compliance testing. ↩ ↩


