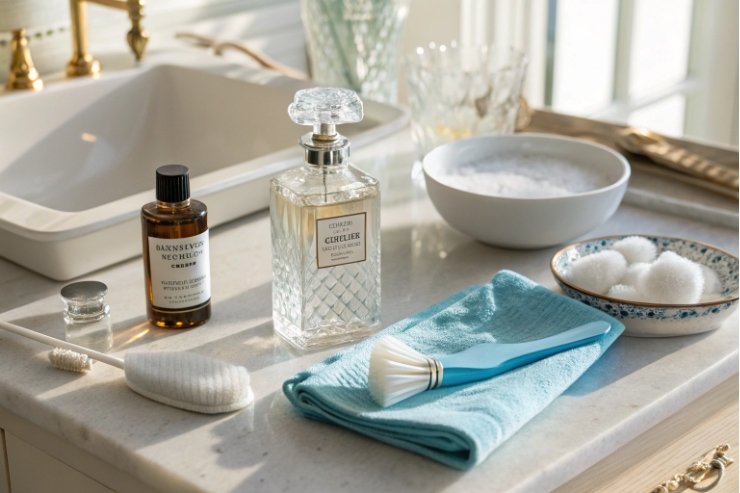
You want to reuse that beautiful bottle, but the old scent clings to the glass and pump like a ghost that will not move out.
Deep-cleaning a perfume bottle means using a water → soap → alcohol solvent sequence, flushing the pump, checking for damage or coatings, then sanitizing and storing it so no old notes contaminate the next fill.

In practice, this is less about “magic tricks” and more about a careful routine. Once you understand how fragrance oils, plastics, coatings, and glass behave, you can decide when cleaning is enough and when the safest choice is to recycle instead of reuse.
Which solvent sequence safely removes residual perfume notes?
It is tempting to attack old perfume with the strongest solvent you can find. That is usually how coatings get damaged and pumps fail.
Use a gentle sequence: warm distilled water for loose residues, mild soap for films, then high-proof alcohol for fragrance oils and final sanitizing, repeating until the drained liquid is clear and the bottle smells neutral.
Step 1: Empty and water-rinse the bottle
Start simple.
- Spray or pour out as much perfume as possible, including what sits in the dip tube.
- Add a small amount of warm distilled water 1 (not boiling, not straight from a very hot tap).
- Swirl gently, then pour it out. Repeat until the water runs mostly clear.
Why this matters:
- Water removes water-soluble components and loose particles.
- It reduces the perfume concentration so the next steps work better.
- Distilled water avoids mineral spots inside the bottle.
Tip: Avoid sudden temperature jumps that can stress glass via thermal shock 2, especially on decorated or thick-base bottles.
If you plan to keep the original scent in the bottle, a light water and alcohol flush may be enough. For a new scent, you must go further.
Step 2: Soap wash for oily films
If the old fragrance was rich, sweet, or very oily, a light dish soap step helps.
- Mix a few drops of fragrance-free, mild dish soap with warm water.
- Fill the bottle halfway, close the opening with a finger or temporary cap, and swirl.
- Let it sit for 5–10 minutes, then shake gently and pour out.
- Rinse several times with warm water until no foam remains.
Soap breaks down greasy films, but you do not want any surfactant left inside. Any leftover soap will dull the next perfume and can create haze or bubbles.
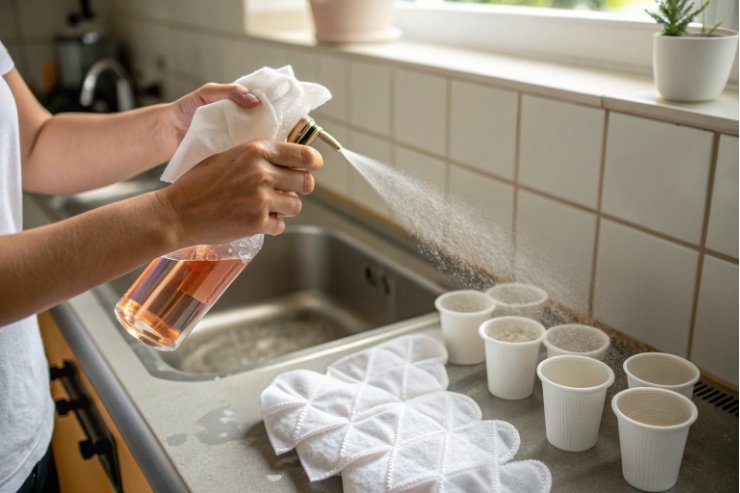
Step 3: Alcohol flush for fragrance oils
Next, use high-proof alcohol to dissolve and lift perfume oils—this is the same “solvent rinse” logic used for oily aromas in a high-proof alcohol cleaning method 3.
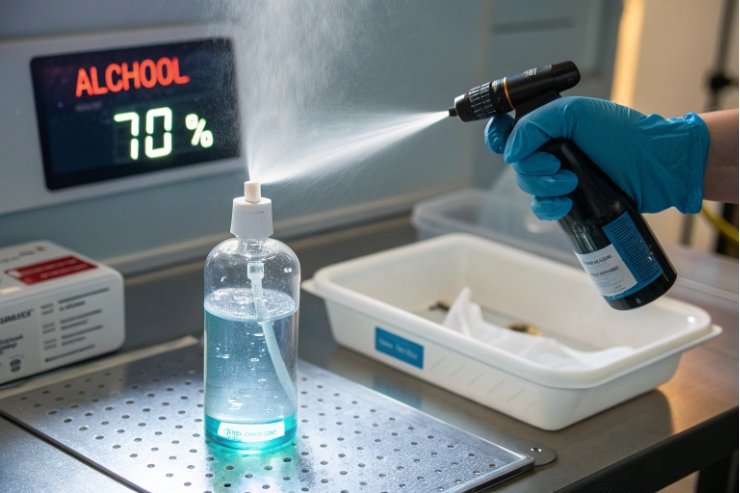
- Choose unscented, high-proof ethanol (vodka is a weak fallback) or isopropyl alcohol around 70–90%.
- Add enough alcohol to cover the inner surface.
- Swirl and shake for 30–60 seconds.
- Let it soak for 10–15 minutes, then pour out.
- Repeat until the drained alcohol is clear and the smell is faint or gone.
If the spray pump is still on, you can also:
- Fill the bottle partially with alcohol.
- Pump through the spray head several times to flush the dip tube and internal channels.
This clears out trapped perfume in areas water never reaches.
Optional neutralizing and final rinse
If a faint note remains:
- Repeat a short alcohol soak, then let the bottle stand open to air out.
- You can follow with a quick distilled water rinse to remove any streaks.
Then:
- Leave the bottle upside down on a clean, lint-free surface to drain fully.
- Let it dry in a dust-free place until there is no visible moisture and no alcohol smell.
A simple guide to solvent use:
| Step | Solvent | What it removes | When to avoid |
|---|---|---|---|
| 1 | Warm distilled water | Loose residue, water-soluble notes | Never use boiling on decorated glass |
| 2 (opt.) | Mild dish soap solution | Oily films, dirt | Avoid on delicate metal trims |
| 3 | Ethanol / isopropyl | Fragrance oils, sanitizer | Avoid soaking soft-touch coatings |
Avoid strong solvents like acetone, lacquer thinner, or pure essential oils as cleaners. They can damage plastics, soften decorative coatings, or leave new stubborn odors that are even harder to remove.
How should pumps, collars, and small parts be disassembled and dried?
Most of the old perfume actually lives in the pump, dip tube, and under the collar, not just in the glass itself.
Where possible, remove the cap and pump, clean them separately in warm water and alcohol, flush the spray channels, then air-dry all components upside down in a clean space before reassembly.
Identify the closure type first
Not every pump is meant to be removed.
- Screw-on pumps: you can usually unscrew these by hand. They are common in refillable bottles.
- Crimped pumps / collars: metal collars are crimped onto a glass ring and are not designed for easy removal without tools—common on crimp-style perfume sprayer pumps 4.
For screw pumps, removal is simple:
Hold the bottle firmly and unscrew the pump collar counter-clockwise.
For crimped pumps:
- For personal reuse, you can sometimes pry the collar off with small tools, but you risk chipping the glass or deforming the collar.
- For anything you plan to sell or gift widely, it is safer to treat these as non-removable and either only reuse with the same fragrance or recycle the bottle.
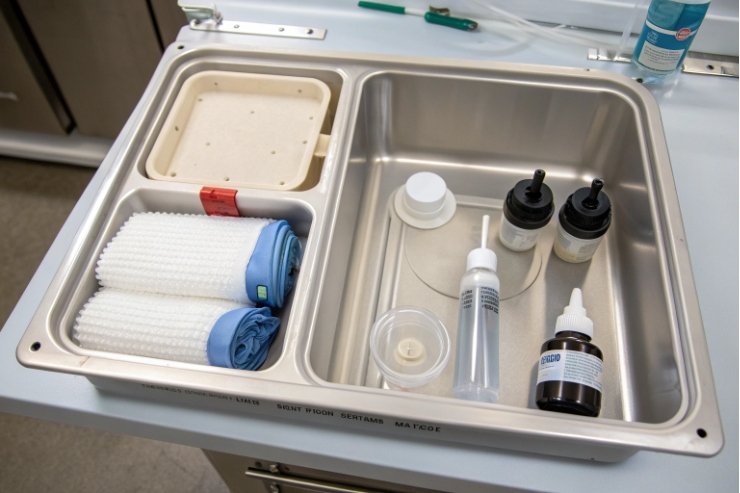
Cleaning removable components
Once removed, separate what you can:
- Outer cap.
- Pump assembly (with dip tube).
- Any decorative over-sleeve that does not contain mechanical parts.
Suggested cleaning:
-
Warm soapy water bath
- Soak caps and non-metal decorative parts for a few minutes.
- Gently clean with a soft brush or cloth.
-
Alcohol flush for pump and tube
- Place the dip tube in a small cup of alcohol.
- Pump until alcohol sprays clean and scent fades.
- Do not forcefully bend the tube; it can crack.
-
Careful cleaning around metal trim
- For metal collars, wipe with a cloth lightly dampened with alcohol or soapy water.
- Avoid full submersion if the metal is glued or has decorative plating.
Drying without contamination
To dry:
- Place the glass bottle upside down on a clean rack or lint-free towel.
- Stand pumps and tubes upright or hang them so liquid drains out of channels.
- Let everything air-dry fully—often overnight—in a dust-free area.
Do not:
- Use high heat (hairdryers on hot, ovens). This can warp plastic parts and damage adhesives.
- Use paper towels inside the bottle; fibers can stick and are hard to remove.
A quick cleaning method table:
| Part | Best cleaning method | Drying method |
|---|---|---|
| Glass bottle | Water → soap (opt.) → alcohol sequence | Upside down, air-dry fully |
| Cap | Warm soapy water, rinse | Towel then air-dry |
| Pump + dip tube | Flush with alcohol, optional mild soap on outside | Stand upright, air-dry |
| Metal collar | Wipe with damp cloth (soap or alcohol) | Air-dry; avoid soaking adhesives |
Once everything is dry and scent-free, you can reassemble—or leave the bottle unassembled if you plan to store it clean for later use.
When is it unsafe to reuse a perfume bottle?
Not every bottle should get a second life. Some are damaged, some are coated in ways that shed micro-particles or react with solvents.
Do not reuse bottles that show chips, cracks, cloudy internal damage, or flaking coatings. Be cautious with heavily decorated or metallized bottles, and avoid reuse if the interior can no longer be cleaned to a neutral scent.
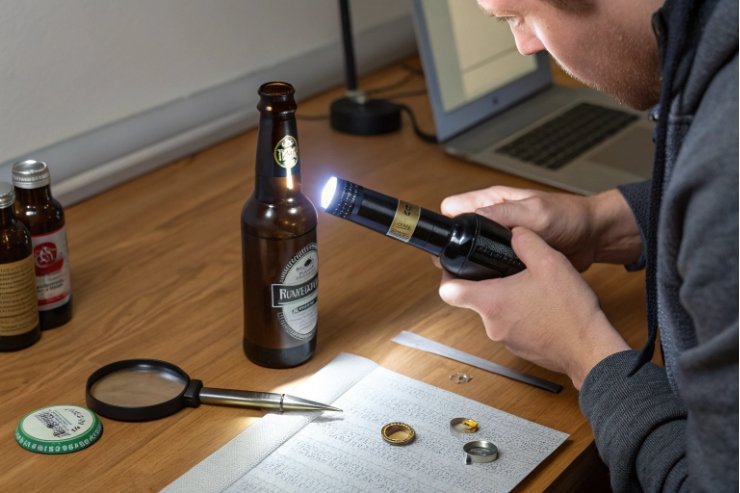
Visible damage: chips, cracks, and stress marks
Check the bottle carefully under good light:
- Around the neck and finish (where pumps or caps screw or crimp).
- Around the heel and base, where impact damage often appears.
- Along the body, especially if the bottle has been dropped.
If you see:
- Chips or sharp edges.
- Hairline cracks or starburst patterns.
- Areas that look milky or “bruised” inside the glass.
Then:
- Do not reuse the bottle, especially with alcohol-based products.
- Recycle it if your local system accepts decorated glass.
Micro-cracks may not be visible, but any clearly damaged area is already enough reason to stop.
Coatings and decorations that limit reuse
Some bottles are covered with special finishes:
- Soft-touch rubberized coatings.
- Thick metallic or mirror plating.
- Heavy full-body paint layers.
These can:
- Soften or peel when exposed to alcohol and repeated cleaning.
- Shed tiny flakes into the environment or onto your hands.
- Lose their look quickly, making the bottle feel “dirty” even when clean.
If you notice:
- Flaking or powdery surfaces.
- Discoloration or sticky patches after cleaning.
Treat that bottle as display-only or recycle it. Do not keep refilling it with fresh perfume.
Hygiene and cross-use risks
Even with perfect glass:
- If a bottle has been stored dirty for a long time, or grew visible mold or unknown residue inside, it is safer to discard.
- Do not reuse old perfume bottles for products that touch mucous membranes (eye-area products, oral sprays).
You can reuse for:
- The same fragrance (top-up from a larger refill).
- A very similar scent family, if you do not mind slight echoes.
But if the plan is:
- To sell decants or refills to others.
- To use the bottle for something very different (for example, skin oil after a strong spicy perfume).
Then the standard must be much higher—and often, a new sterile bottle is the safer choice.
A quick risk checklist:
| Sign you see | Recommended action |
|---|---|
| Chip or crack anywhere | Do not reuse; recycle if possible |
| Flaking or sticky external coating | Do not refill; keep only as decoration |
| Strong scent even after cleaning | Only reuse with same or similar scent |
| Unknown residue or mold inside | Do not reuse; dispose or recycle |
Which sanitation and storage steps avoid cross-contamination?
You worked hard to clean the bottle. Now you need to keep it clean and scent-neutral until you refill it.
Finish with a light alcohol sanitation, handle with clean hands, store the bottle dry, sealed, labeled, and away from strong odors, so the next perfume is not contaminated or distorted.
Final sanitation and smell check
After your cleaning sequence:
- Do a short rinse with 70% alcohol inside the bottle and through the pump—concentration guidance is consistent with WHO-recommended alcohol rub formulations 5.
- Let the alcohol drain completely and air-dry with the bottle upside down.
Safety note: Alcohol vapors are flammable—follow basic ventilation and ignition control guidance like this isopropyl alcohol hazard alert 6.
Then perform a simple test:
- Once dry, smell inside the bottle and the spray (if assembled).
- If you still clearly detect the old perfume, repeat an alcohol flush or accept that this bottle should be dedicated to that fragrance family only.
Handling and storage
To avoid new contamination:
- Handle the clean bottle with clean, dry hands; avoid lotions or scented products right before.
- If possible, close the bottle with a temporary cap or its cleaned pump, so dust stays out.
- Store in a cool, dark, odor-free place away from kitchen smells, smoke, or strong household fragrances.
Do not store:
- In bathrooms with constant steam and perfumes.
- Next to strong spices, incense, or solvents that could migrate via air.
Labeling for future use
Once the bottle passes your smell test and is fully dry:
- Add a small label to the base or neck:
- “Cleaned + date”
- Planned fragrance (if you already know it)
This helps you:
- Track how long the bottle has been empty.
- Avoid mixing up bottles cleaned for different planned refills.
A simple best-practice table:
| Step | Good practice | Common mistake |
|---|---|---|
| Final sanitation | Short 70% alcohol rinse, full dry | Skipping alcohol, refilling while damp |
| Handling | Clean, dry hands, minimal touching | Touching neck with greasy fingers |
| Storage | Cool, dark, sealed, away from strong odors | Bathroom shelf next to aerosols |
| Labeling | Mark cleaned date and planned use | No label, confusion later |
With this routine, your cleaned bottle stays truly ready, instead of slowly picking up a new mix of background smells.
Conclusion
A perfume bottle is safe to reuse only when it is spotless, scent-neutral, structurally sound, and stored clean—otherwise, the most honest choice is to recycle and start with fresh glass. If you decide not to reuse it, check local guidance and keep it in the glass stream—resources like the Glass Packaging Institute recycling facts 7 explain why clean glass recovery matters.
Footnotes
-
Distilled water minimizes mineral spotting and residue during rinsing and drying. ↩︎ ↩
-
Explains why rapid temperature changes can crack glass and why “not boiling” matters. ↩︎ ↩
-
Shows why high-proof alcohol dissolves oily aroma residues better than water alone. ↩︎ ↩
-
Clarifies why crimped collars aren’t meant to be removed and what that means for cleaning. ↩︎ ↩
-
Provides reference alcohol concentration ranges and practical handling notes for alcohol-based sanitation. ↩︎ ↩
-
Summarizes ventilation and ignition-source precautions for using isopropyl alcohol safely. ↩︎ ↩
-
Explains glass recycling benefits and why keeping bottles in the glass stream supports true circularity. ↩︎ ↩


