A stock bottle can carry your product, but it rarely carries your story. Custom glass is where your brand really becomes three-dimensional.
To customize a glass bottle safely, you move in steps: clear brief → CAD/3D → tooling → PPS, lock the finish to your closure system, choose décor that still recycles, and plan MOQs, mold fees, and lead times early.
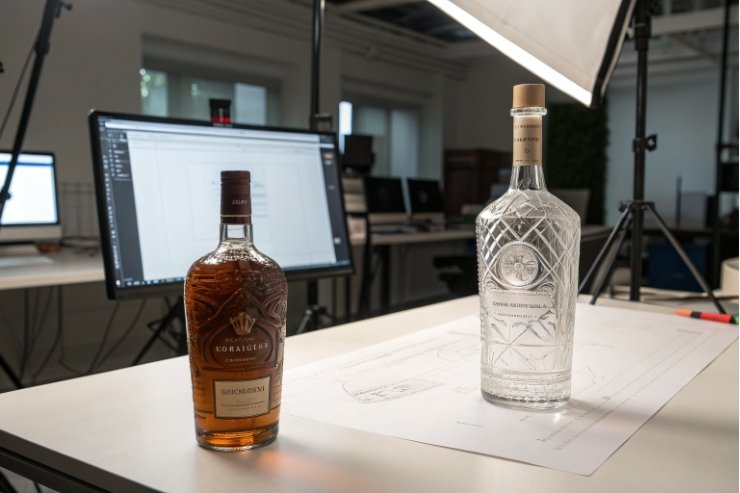
When these pieces line up, the bottle does more than hold liquid. It becomes a brand asset you can defend for years, without nasty surprises on the filling line or in your budget.
How do brief, CAD/3D, tooling and PPS de-risk scale-up?
It is easy to fall in love with a sketch, then discover six months later that it does not run on your filler or does not fit your cartons.
The safest way to de-risk a custom bottle is to follow a staged path: brand brief, CAD/3D, engineering review, tooling, and PPS. Each step removes a different type of risk before you commit big money.
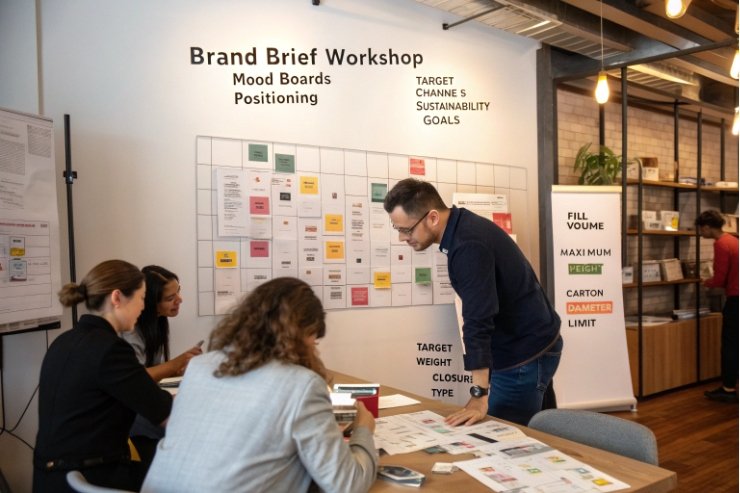
Turn the brand brief into a technical roadmap
The project starts with a good brief. Not just “we want a premium bottle,” but clear points:
- Brand position (luxury, natural, youthful, apothecary).
- Target markets and channels (retail, e-com, on-trade).
- Product type, fill volume, and viscosity.
- Closure type (cork, BVS, ROPP, pump, dropper, crown).
- Sustainability targets (weight, recycled content, recyclability).
From this, we can define key constraints: max height for shelf sets, diameter for cartons, weight range for “hand-feel vs freight,” color for product protection.
CAD and 3D models: where creativity meets physics
Next comes CAD. Here we translate the concept into:
- Exact volumes and fill points.
- Shoulder angles and base profiles that can be formed on real IS machines.
- Label and decoration panels sized to your artwork system.
We usually generate:
- 3D files for your design and marketing teams.
- 3D prints or resin models you can hold, compare, and place on mock shelves.
At this point we also run basic checks for:
- Top-load and impact (using known section weights and thickness patterns).
- Compatibility with standard neck finishes and closures.
This is where we remove “impossible” ideas while it is still cheap to change.
Tooling: pilot molds and first glass off the line
Once the 3D is frozen, we move into tooling:
- Design of blank and blow molds, blow heads, and neck rings.
- Decision on cavity count and forming process (blow-blow, press-and-blow, NNPB).
Then we run first sampling:
- Pilot or single-cavity trials to check glass distribution, weight, and surface.
- Dimension checks against the CAD and your closure drawings.
These samples already tell you a lot: how the punt looks, how embossing reads, how the color behaves in real light.
PPS: pre-production samples and line trials
PPS (pre-production sample) 1{#fnref1} is your dress rehearsal:
- Bottles from production tooling, on the actual forming machine.
- Filled and closed on your real line, with your caps, pumps, or corks.
- Tested in cartons and pallets, maybe through a small shipping simulation.
We use PPS to lock:
- Final weight and tolerances.
- ANSI/ASQ Z1.4 acceptance sampling (AQL) 2{#fnref2} standards for cosmetics and function.
- Any last tweaks to finish, heel radius, or emboss details.
You can think of the stages like this:
| Step | Main question answered | Typical decisions locked |
|---|---|---|
| Brief | Does this fit brand and business goals? | Volume, closure type, positioning |
| CAD / 3D | Is this shape formable and practical? | Silhouette, panels, color, weight |
| Tooling | Can we make this consistently in glass? | Process, mold details, sections |
| PPS | Will this run on your line and logistics? | Tolerances, AQL, approval to scale |
When each step has its own sign-off, the chance of a late, expensive surprise drops a lot.
How do finish specs keep caps, pumps and droppers compatible?
Many custom bottle projects fail not in the body, but at the neck. A beautiful shape with a bad finish is just a very nice problem.
Finish specifications are the “handshake” between glass and closure. You need the right standard (DIN, GPI, BVS, ROPP, crown), plus tight tolerances on thread, sealing land, and ferrule height so caps, pumps, droppers, and corks all behave.
Choose the right finish family from the start
First, decide what closure you want:
- Wine: cork + capsule or BVS 30×60 mouth finish 3{#fnref3} screw cap.
- Spirits: bar-top cork or Roll-On Pilfer-Proof (ROPP) screw closure 4{#fnref4} with insert.
- Cosmetics / skincare: pump, dropper, mist sprayer, or screw cap.
- Essential oils / pharma: DIN-18 (GL-18) neck finish 5{#fnref5} with euro-dropper, pipette or CRC cap.
- Beer / CSD: 26 mm crown finish.
Each has a matching finish standard. Once you pick the family, do not “freestyle” the neck. Stick to the published dimensions and tolerances, or to the drawings given by your closure supplier.
Define the key finish dimensions
Critical details include:
- Outer thread diameter and pitch
- Inner bore diameter for pumps and droppers.
- Sealing land width and flatness for liners and gaskets.
- Height to support ring and to top of thread, which affects capping head settings and ferrule or shroud fit.
During development, we overlay:
- Glass finish CAD.
- Closure supplier drawings.
We then set a shared finish spec so both sides work to the same numbers. In PPS, we measure finishes and do capping or crimping tests to confirm:
- Correct application torque or crimp force.
- No over-torquing or liner wrinkling.
- Leak resistance in upright and inverted tests.
Think about the whole system: product + closure + line
A good finish spec considers:
- Product viscosity (thin wine vs thick serum).
- Desired dose (for droppers and pumps).
- Your filling and capping equipment limits.
By doing this at design stage, not after the first shipment, you avoid:
- Random leaks on pallets.
- Broken finishes from over-tight capping.
- “Mystery” compatibility problems between different cap lots and bottle lots.
In short: unique body, standardized neck. That balance usually gives the best mix of branding and industrial reliability.
Which décor options balance impact and recyclability?
You can make a bottle look like a jewel, but if it kills recyclability or flakes after a few months, it will not support a long-term brand.
Frosting, screen printing, hot stamping, spray color, and metallization each have a different balance of impact, durability, and recycling friendliness. The trick is to combine them in layers that still let the bottle flow through standard glass recycling streams.
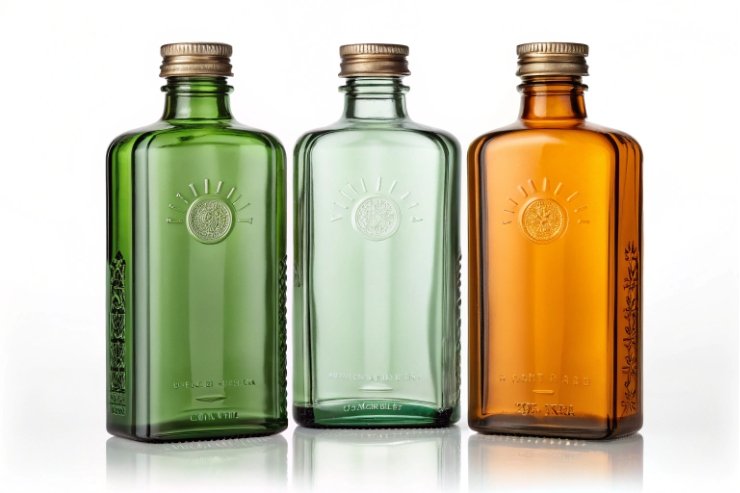
Start with the glass itself
The base glass does a lot of work:
- Flint for modern, transparent, minimal brands.
- Amber or dark tints to protect light-sensitive wines and RTDs.
- Green or custom tints for tradition, region cues, or varietal coding.
Sometimes a smart color choice reduces the need for heavy decoration, which is good for recycling and cost.
Then add permanent, low-impact branding
Good “core” décor methods for long-life bottles:
- Embossing / debossing in the mold on shoulder, body, or base.
- Applied Ceramic Labeling (ACL) 6{#fnref6} with heavy-metal-free inks for logos and mandatory text.
These are durable, dishwasher-resistant, and stay on through refill cycles. In recycling, they behave almost like the glass itself.
Use effect coatings with a light hand
Effect options include:
- Chemical or mechanical frosting for a matte, “cold” look.
- Spray colors (solvent or waterborne) for solid, translucent, or gradient finishes.
- Hot stamping for metallic logos or borders.
- Vacuum metallization for mirror or chrome effects.
For recyclability:
- Thin organic coatings and inks usually burn off in the furnace.
- Full-body opaque coatings and heavy metallization can complicate color sorting.
- PVC full sleeves are especially problematic in many systems.
A simple rule:
- Use glass color + embossing + limited print as your permanent identity.
- Use coatings, foils, and sleeves for limited editions and smaller volumes, where you accept a stronger tradeoff.
Here is a quick comparison:
| Décor method | Impact level | Durability | Recycling friendliness* |
|---|---|---|---|
| Embossing/debossing | Subtle–medium | Very high | Very good |
| Ceramic screen print | Medium | Very high | Good (with clean formulations) |
| Frosting (acid/mech) | Medium | High | Good, if not too aggressive |
| Spray color (organic) | Medium–strong | Medium–high | Usually acceptable if thin |
| Hot stamping | Accent | Medium | Generally ok as accents |
| Metallization | Very strong | Medium | Needs case-by-case review |
*Actual recyclability always depends on local systems, but this table shows the general direction.
If your brand promise depends on circularity, plan décor so it still fits standard glass recycling streams 7{#fnref7} in your target markets.
What MOQs, mold fees, and lead times should you plan?
The creative part is exciting, but you still need a business case. Custom glass has real costs and timing, and planning them upfront keeps the project calm.
You should plan for minimum order quantities, one-time mold and development fees, and realistic lead times from CAD approval to first delivery, then build your launch calendar and cash flow around those numbers.
MOQs: how much glass do you need to move?
Custom molds mean the factory sets up just for you. To keep that efficient, most producers set MOQs. Typical patterns:
- Entry-level customs often start around 10,000+ pieces per run, sometimes higher for large bottles.
- Complex or multi-color projects may require higher MOQs to justify changeovers.
- For multiple sizes in a family, each size usually has its own MOQ.
To decide if this works for you:
- Compare MOQ to your launch forecast and re-order rhythm.
- Check if you can use the same bottle across several SKUs (different labels or capsules).
Mold, design, and testing fees
Custom development usually includes:
- Design and CAD time (sometimes bundled, sometimes separate).
- Mold manufacturing for blank, blow, and any accessories.
- Sampling and PPS costs, including line trials if done at the glass plant.
This is a one-time or infrequent cost, but it is not small. You can often spread it by:
- Using the same base shape for a family (for example 500 ml + 750 ml + 1 L wine).
- Keeping the finish to a standard type so you avoid extra tooling for closure experiments.
Lead times: from idea to first container on your line
Realistic timing often looks like:
- Brief + concept alignment: a few weeks.
- CAD, 3D, and design approval: a few more weeks, depending on feedback loops.
- Tooling and first sampling: several weeks once drawings are signed.
- PPS + line trials + final tweaks: add more weeks.
- First full production and sea freight: further time on top.
This adds up. So for a full custom bottle, it is wise to count in months, not weeks, from first idea to stock in your warehouse.
Tie it all back to ROI
Custom glass pays back in several ways:
- Stronger brand recognition and premium pricing.
- Better line efficiency if designed around your equipment.
- Less packaging waste or damage if geometry is optimized.
To see the full picture, many teams now look at:
- Cost per filled and sold unit, not just cost per empty bottle.
- Value of long-term brand equity, since the same bottle can serve many campaigns and seasons.
If you plan MOQs, mold fees, and lead times with this broader view, custom glass stops looking like a “nice extra” and starts looking like a solid investment.
Conclusion
Custom glass works best when design, engineering, decoration, and commercial planning move together—so your bottle is not only beautiful on the shelf, but also reliable on the line and profitable in the long run.
Footnotes
-
Understand PPS as the final checkpoint to catch fit, finish, and function issues before mass production. ↩︎ ↩
-
Learn how Z1.4 links AQLs to sample sizes and accept/reject rules for consistent inspections. ↩︎ ↩
-
Use the dimensional guide to lock BVS 30×60 finish details so screw caps seal reliably. ↩︎ ↩
-
See how ROPP systems form threads and tamper evidence during capping, affecting finish selection. ↩︎ ↩
-
Clarifies DIN18/GL18 terminology and why standardized neck geometry matters for droppers and caps. ↩︎ ↩
-
Explains how ceramic inks fuse to glass for durable, wash-resistant branding that survives handling. ↩︎ ↩
-
Shows why glass recycles repeatedly and how clean cullet supports true closed-loop container recycling. ↩︎ ↩


