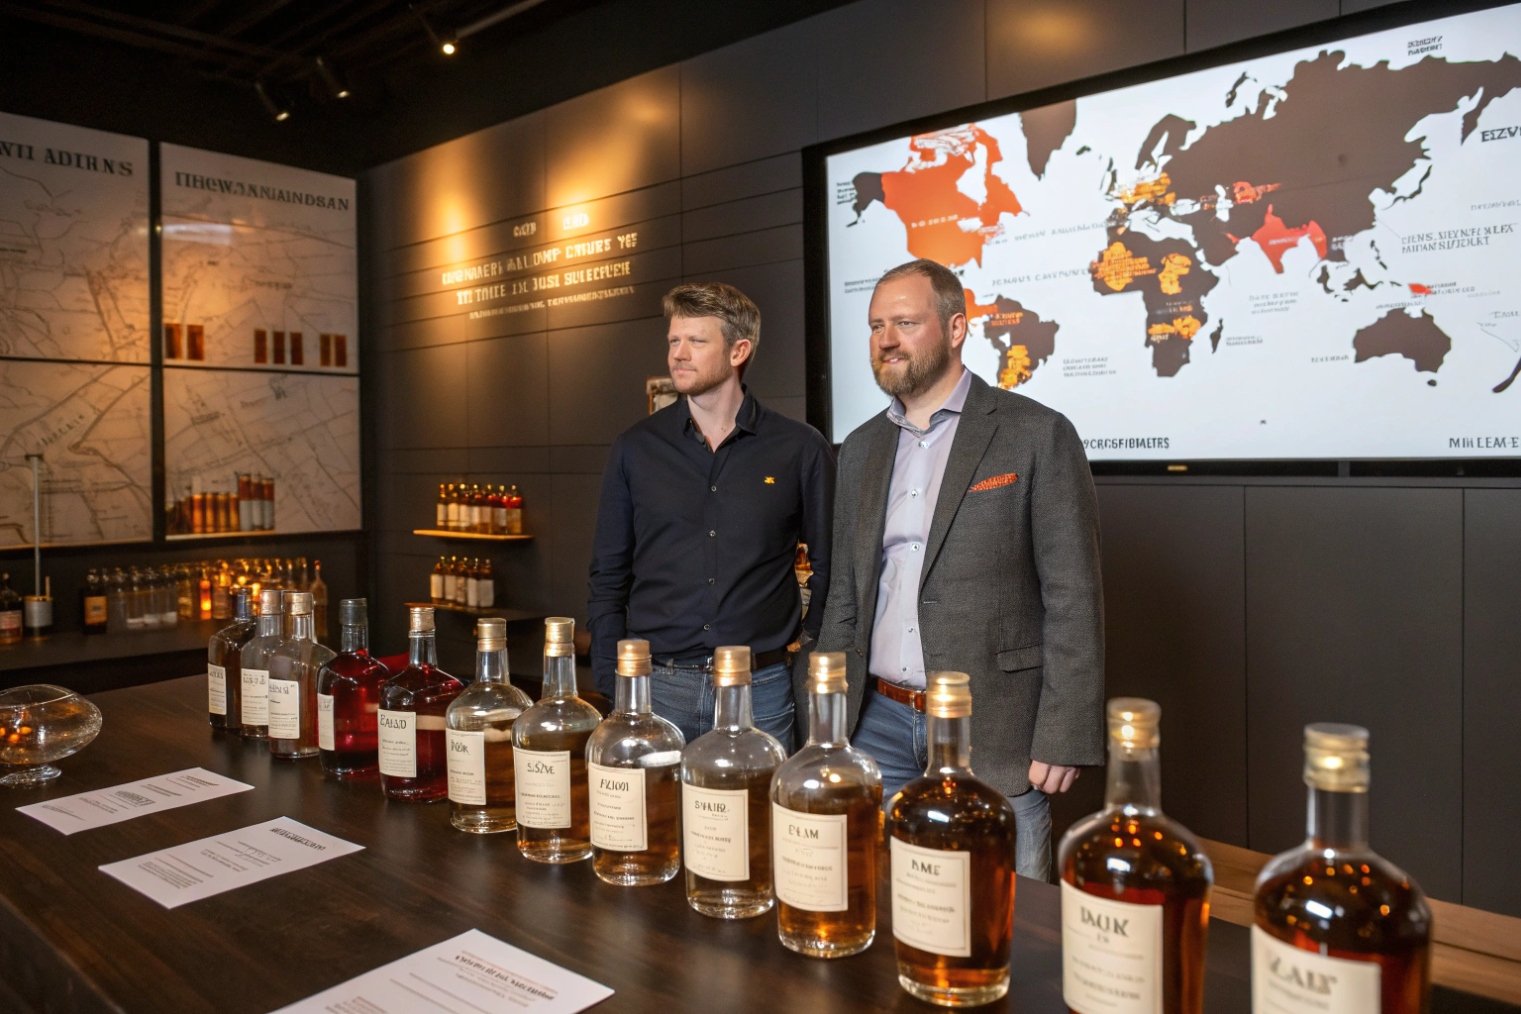
A whiskey can taste great and still fail on shelf if the bottle sends the wrong signal or arrives damaged at a distributor’s warehouse.
You choose the right whiskey bottle by balancing shape, weight, neck finish, decoration, and shipping spec with your brand story, bottling line, and target markets like the UK, EU, and US.

When the bottle design starts from brand and route-to-market, not only from looks, it becomes a real asset. Let’s walk through shape, closure, decoration, and logistics step by step.
A standard “commodity” bottle is fine for value blends, but it does not help you ask for a higher retail price.
Premium whiskey bottles often use heavy bases, strong shoulders, and clean label panels; punt depth and overall weight signal craftsmanship, but must stay in line with your sustainability story.
How shape and proportion tell your price story
First, pick your legal volume by market. For the UK and EU, 700 mL is the norm 1. For the US, 750 mL is standard 2. If you plan to sell in both channels, either design two volumes from one family, or accept different SKUs. Always allow headspace for alcohol expansion from cold storage to warm shelves, especially for high ABV or warm climates.
Next, think about the silhouette:
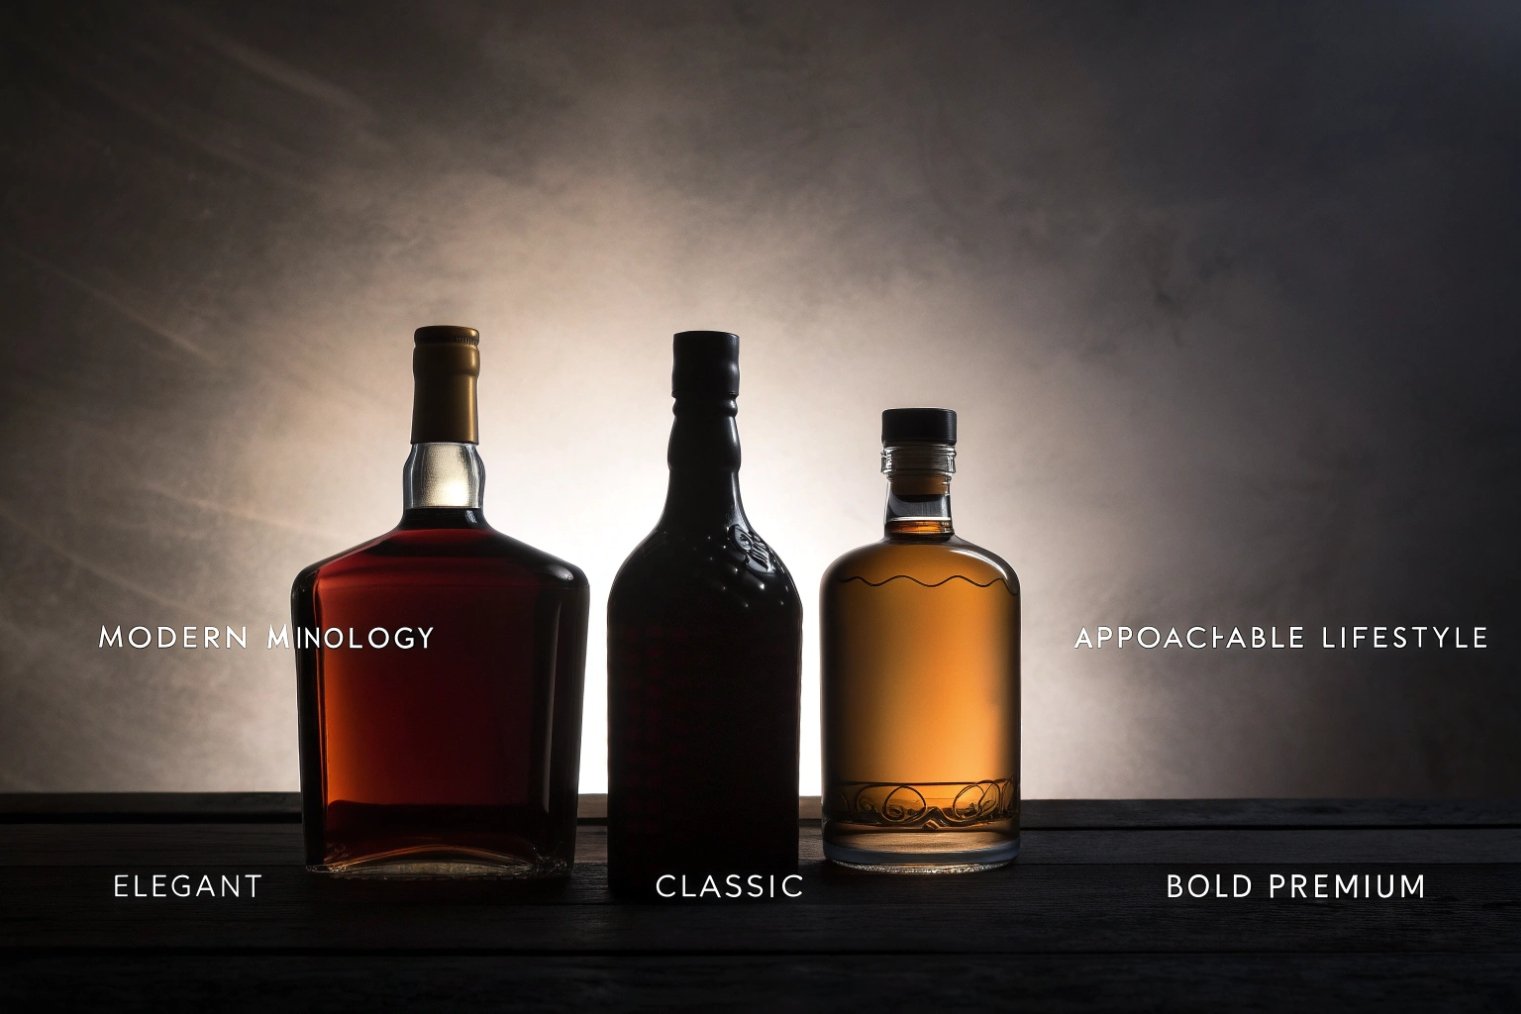
- Tall, straight-sided bottles with high shoulders feel modern and premium.
- Squat, broad bottles read as bold and confident, good for bourbon and rye.
- Classic round “shouldered” bottles communicate heritage and tradition.
A quick shape guide:
| Shape type | Perception | When it works best |
|---|---|---|
| Tall round | Elegant, classic | Age-stated single malts, blends with history |
| Squat / decanter | Bold, giftable | High-proof bourbon, limited editions |
| Square / rectangular | Modern, bar-friendly | Mixology-focused brands, back-bar visibility |
| Oval / soft forms | Approachable, lifestyle | Lighter styles, flavored whiskies |
Base design matters a lot. A thick glass heel and visible punt or push-up make the bottle feel heavy in the hand. This weight signal says “premium”, even before someone reads the label. Deep punts also help:
- Improve stability.
- Hide the central injection point.
- Guide light through the liquid in attractive ways.
But extra weight costs freight and CO₂. So I like to define a target gram weight early. For example:
- Value segment: lighter bottles, modest base (focus on price and sustainability).
- Core range premium: moderate weight, neat push-up, clear bar presence.
- High-end / limited: heavy base and bolder punt, but still transport-friendly.
Use a simple table with your team: list competitors you respect, note their estimated bottle weight, height, and shape. Then decide where you want to sit relative to them.
Finally, design label panels into the glass. Flat, generous panels on front and back make label application smoother and reduce creases. Raised edges or strong curves look nice, but they slow lines and cause label issues at speed.
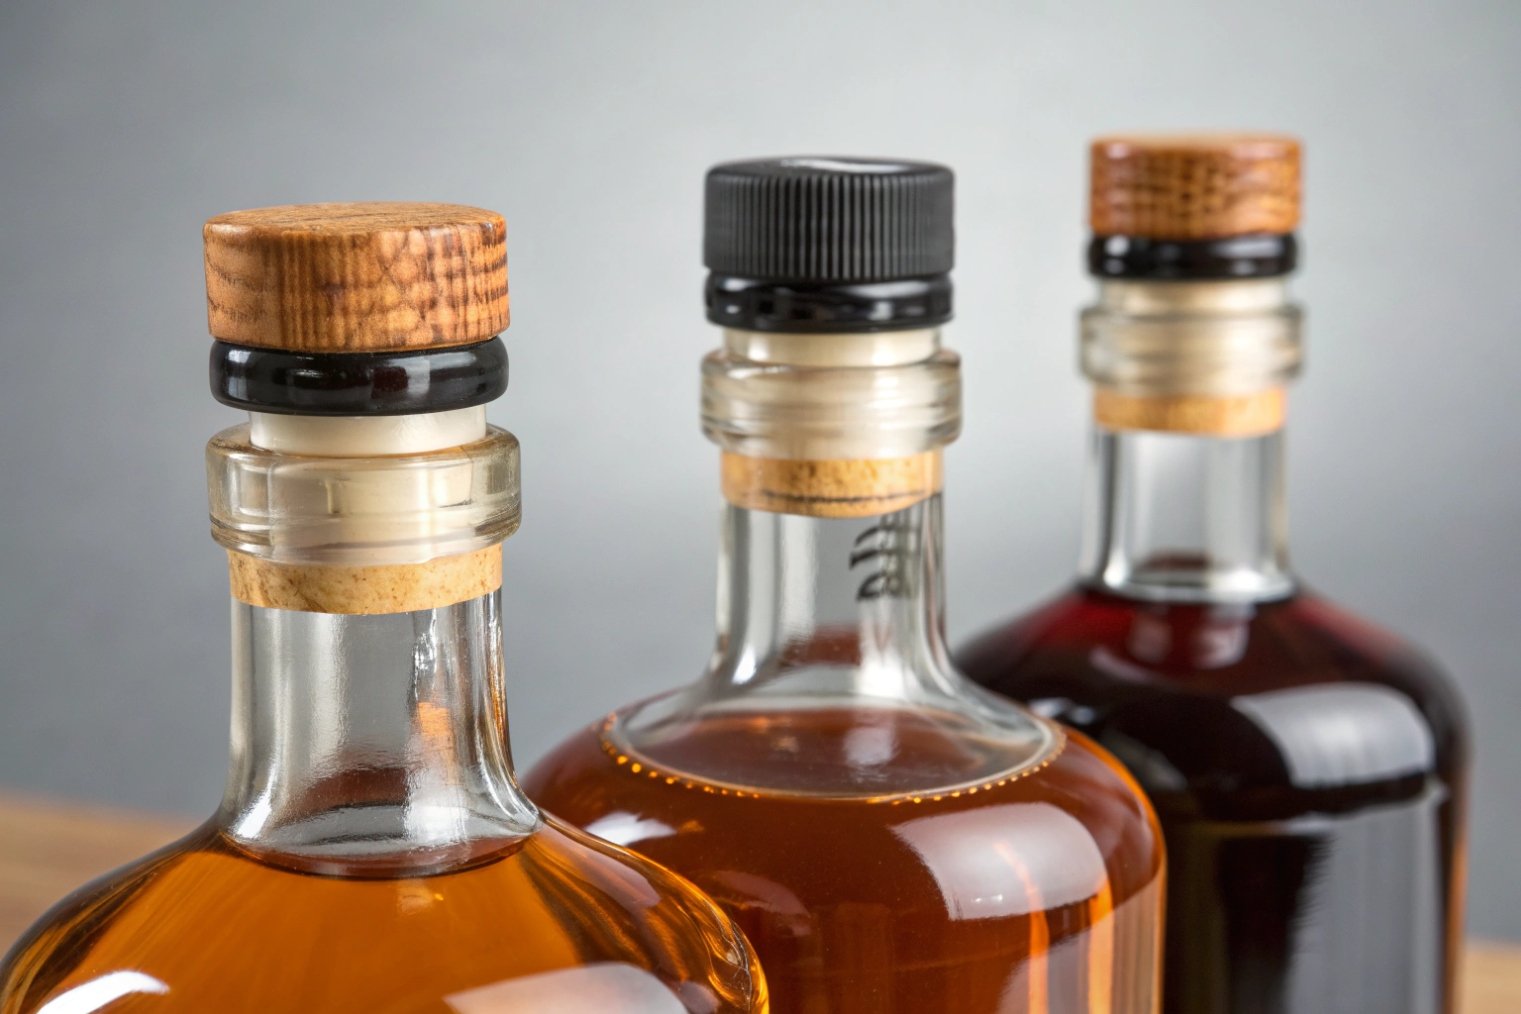
What neck finishes and tamper-evident closures suit whisky bottling lines?
Most filling issues do not start at the base. They start at the neck finish. Leak risk, evaporation, and capping problems all live here.
Choose a neck finish that your bottling line already supports, then match it with a bar-top or screw closure and tamper-evident feature that fits both your brand ritual and your distribution risks.
Finding the right neck and closure system
For whiskey, the main options are:
- Bar-top closures (natural or synthetic cork with a wood or plastic head).
- Screw caps (ROPP aluminum closures 3).
- Less often, complex glass stoppers or other niche systems.
Each closure style expects a specific neck finish. If you choose a popular standard (for example a common GPI or European spirits finish), you get:
- Many closure suppliers to choose from.
- Existing line tooling.
- Established torque and sealing targets.
Bar-tops signal craft, tradition, and ceremony. They encourage that “pop” moment at the bar. Screw caps feel more technical and travel-friendly. They protect against evaporation very well and work nicely for airlines, minis, and value segments.
Tamper evidence can come from:
- Heat-shrink capsules over bar-tops.
- Integrated tear bands on screw caps.
- Perforated sleeves or neck labels.
You should decide early how you want tamper evidence to look. That choice affects neck height, shoulder slope, and the transition between glass and closure.
Line compatibility and sealing performance
Your bottling line will have preferred height, diameter, and finish dimensions. Before finalizing the bottle, confirm:
- Filler can handle the bottle height and any neck grip or bell.
- Capper can properly seat and torque your chosen closure.
- Capsule head can shrink or spin capsules smoothly if you use them.
Sealing performance is not only about leaks in transit. It is also about long-term “angel’s share” through the closure system. A poor cork fit or low-density synthetic can slowly lose ethanol over years, changing ABV and sensory profile.
So I like to:
- Run closed bottles through a few inverted and horizontal storage tests.
- Check weight loss over time in warm conditions.
- Measure headspace pressure or vacuum if relevant.
Take one more step: make sure your closure vendors can supply child-resistant or special closures if you ever plan an extension line into other spirits or medicated products. Reusing the same finish saves time later.
How do decoration options affect shelf appeal and line speed?
The glass alone tells part of your story. Decoration finishes it. At the same time, some decoration choices slow lines or create labeling headaches.
Embossing, frosting, coatings, and printing can make a whiskey bottle stand out, but each option changes label adhesion, line speed, and unit cost, so you need a clear hierarchy of what really matters.
Structural decoration: embossing and debossing
Embossing (raised glass) and debossing (recessed) are powerful branding tools. You can put your brand name, year, or logo right into the glass. This:
- Signals permanence and investment.
- Helps with anti-counterfeiting.
- Feels premium in the hand.
The trade-offs:
- Requires custom molds and tooling costs.
- Usually increases MOQs and lead time.
- Can limit label space if you overuse it on the front panel.
You can keep cost under control by using targeted embossing:
- Small logo on shoulder or heel.
- Year or batch concept in a medallion area.
- Light texture in areas that do not carry the label.
Surface decoration: frosting, coatings, and screen printing
Frosting (acid etched or sandblasted effect) softens reflections and gives a tactile feel. It works well for limited editions and winter or “smoke” themes. But frosted areas can change label adhesion. You may need stronger adhesive or different label stocks. It also hides fill level slightly.
Color coatings and spray finishes add tint or gradients without changing glass color. They can be:
- Solid opaque (for special editions).
- Partial (for dipped-look bases or necks).
- Transparent tints to tweak hue.
Coatings must tolerate:
- Line scuffing during filling and packing.
- Contact with capsules or shrinks.
- Export and retail handling.
For screen printing or applied ceramic labels (ACL) 4, plan clear flat zones so the graphics sit without distortion. ACL looks premium and can replace paper labels for core or bar-focused SKUs. It survives ice buckets and long bar life better than paper.
A simple comparison:
| Decoration type | Shelf effect | Line / cost impact |
|---|---|---|
| Emboss / deboss | Strong, permanent branding | Tooling cost, higher MOQs, shape constraints |
| Frosting | Soft, premium, tactile | Extra process, label adhesion checks |
| Color coating | High visual impact, flexible | Risk of scuff, needs coating quality control |
| Screen print / ACL | Clean, durable graphics | Needs accurate positioning, higher unit cost |
| Labels only | Flexible, lower cost | Depends on paper/foil choice |
For many brands, a hybrid approach works best: embossed logo + clear glass + strong label + one special effect (like a metallic capsule or small foil panel). This gives premium feel without overloading the bottle or slowing production too much.
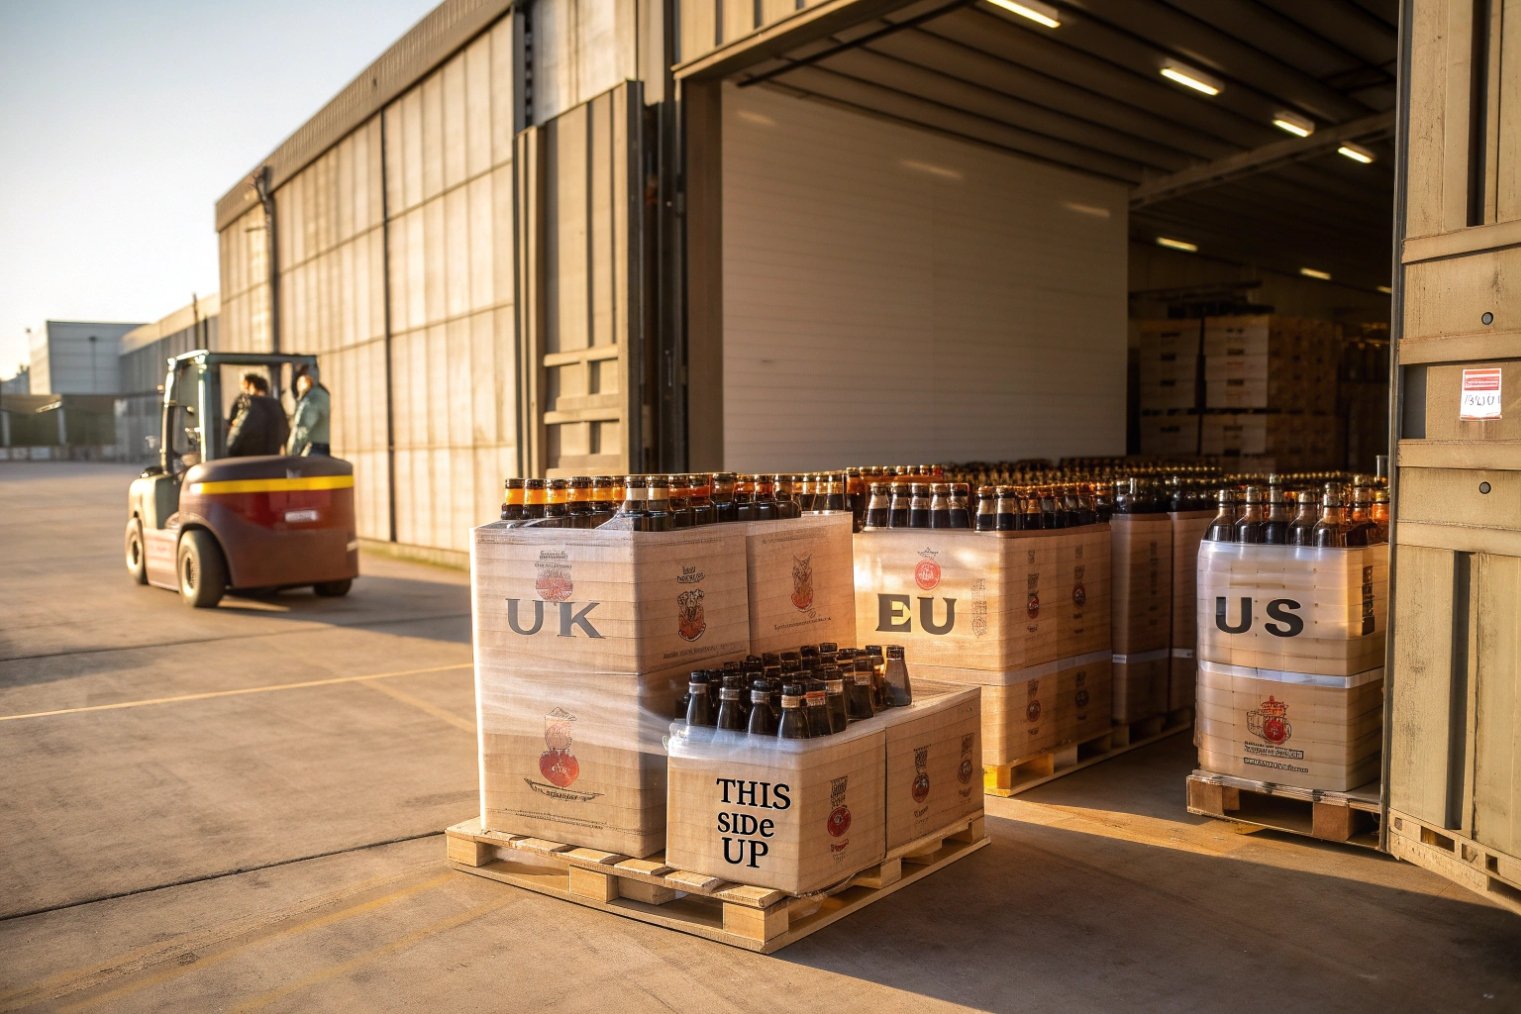
What carton and ship-test specs ensure safe export to the UK/EU/US?
A beautiful bottle still fails if it arrives chipped, leaking, or scuffed. Export routes to the UK, EU, and US add long journeys, mixed climates, and different warehousing styles.
Design transport packaging around your bottle weight and pallet pattern, then validate it with drop and vibration tests so cartons survive the full route from your filling line to distant retail shelves.
Carton design and protection inside the box
Start from your bottle dimensions and weight, plus capsule height. Then decide:
- How many bottles per carton (6, 8, 9, or 12 for standard formats).
- Divider type: cardboard cells, molded pulp, or other inserts.
- Whether you need display cartons for certain channels.
Heavier, premium bottles with thick bases need stronger internal protection. Standard choices include:
- Full-height dividers that keep bottles from touching.
- Top pads that protect capsules from compression.
- Corner posts for very heavy or high-value packs.
Carton board must match bottle weight and stack height. Look at edge crush (ECT) 5 or equivalent strength specs suitable for your palletization and storage. Many brands now specify cartons that meet common test standards (for example ISTA test standards 6 or equivalent) to control damage in global supply chains.
Palletization and shipping tests
Decide your pallet pattern early. For example:
- 12-bottle cartons, 10 x 4 on a 1200×1000 pallet.
- 6-bottle cartons, interlocked or column stacked.
Pallet choice:
- EPAL Euro pallets 7 for EU supply chains.
- Standard 48" x 40" pallets for US.
- Sometimes custom patterns that work in both with slip sheets.
You then want to confirm:
- Max stack height in warehouse and container.
- Stretch wrap or strapping method.
- Pallet top sheets for dust and moisture.
Before large export runs, it is wise to run:
- Drop tests on full cartons at realistic heights.
- Compression tests for stacked loads.
- Vibration tests that simulate truck and sea journeys.
These tests can happen at a packaging lab or through your 3PL partners. They help you tune divider design, board grade, and pallet patterns before you ship thousands of bottles over water.
Also keep in mind:
- Duty stamps, tax labels, and barcodes need clear space on bottle and carton.
- Some markets require extra tamper-evident features or specific warnings on carton and label.
- Climate (cold ports, hot trucks) can shift headspace pressure, so make sure your closure and headspace spec has enough margin not to cause leaks during export.
If you decide to use heavier, more premium bottles, be ready to invest a bit more in corrugate and dividers. That cost is small compared to the cost of broken glass, lost product, and brand damage in a key market.
Conclusion
The right whiskey bottle is not just a nice shape. It is a complete system that protects your spirit, expresses your brand, runs smoothly on your line, and survives the long trip to your drinker.
Footnotes
-
EU reference for common nominal pack sizes, helpful when standardizing 700 mL spirits SKUs. ↩ ↩
-
U.S. federal standard-of-fill list showing authorized spirits container sizes, including 750 mL. ↩ ↩
-
Clear explanation of how roll-on pilfer-proof closures work and why they’re common in spirits. ↩ ↩
-
Practical overview of ACL printing and why it’s durable for wet handling and bar use. ↩ ↩
-
Quick guide to ECT and related standards for choosing corrugate strength for stacking and distribution loads. ↩ ↩
-
Official ISTA overview of packaging test procedures used for drop, vibration, and transit simulation. ↩ ↩
-
Official EPAL references for pallet formats used in EU logistics planning and pallet pattern decisions. ↩ ↩


