Choosing a glass bottle too early can trap a project. Choosing it too late can break your filling line and your budget at the same time.
You choose the right glass bottle by matching glass type, neck finish, closure, color, volume tolerance, and commercial terms to your product’s risk profile, filling process, and regulatory needs, not only to branding or price.

Many teams start from a pretty shape and color. I prefer to start from the liquid, the process, and the risk. Once those are clear, the “right” bottle often reveals itself quite quickly.
How do you match glass type, product, and process risk?
If you choose glass type only by price, you may win the first order and lose later on complaints, pH drift, or breakage in sterilization.
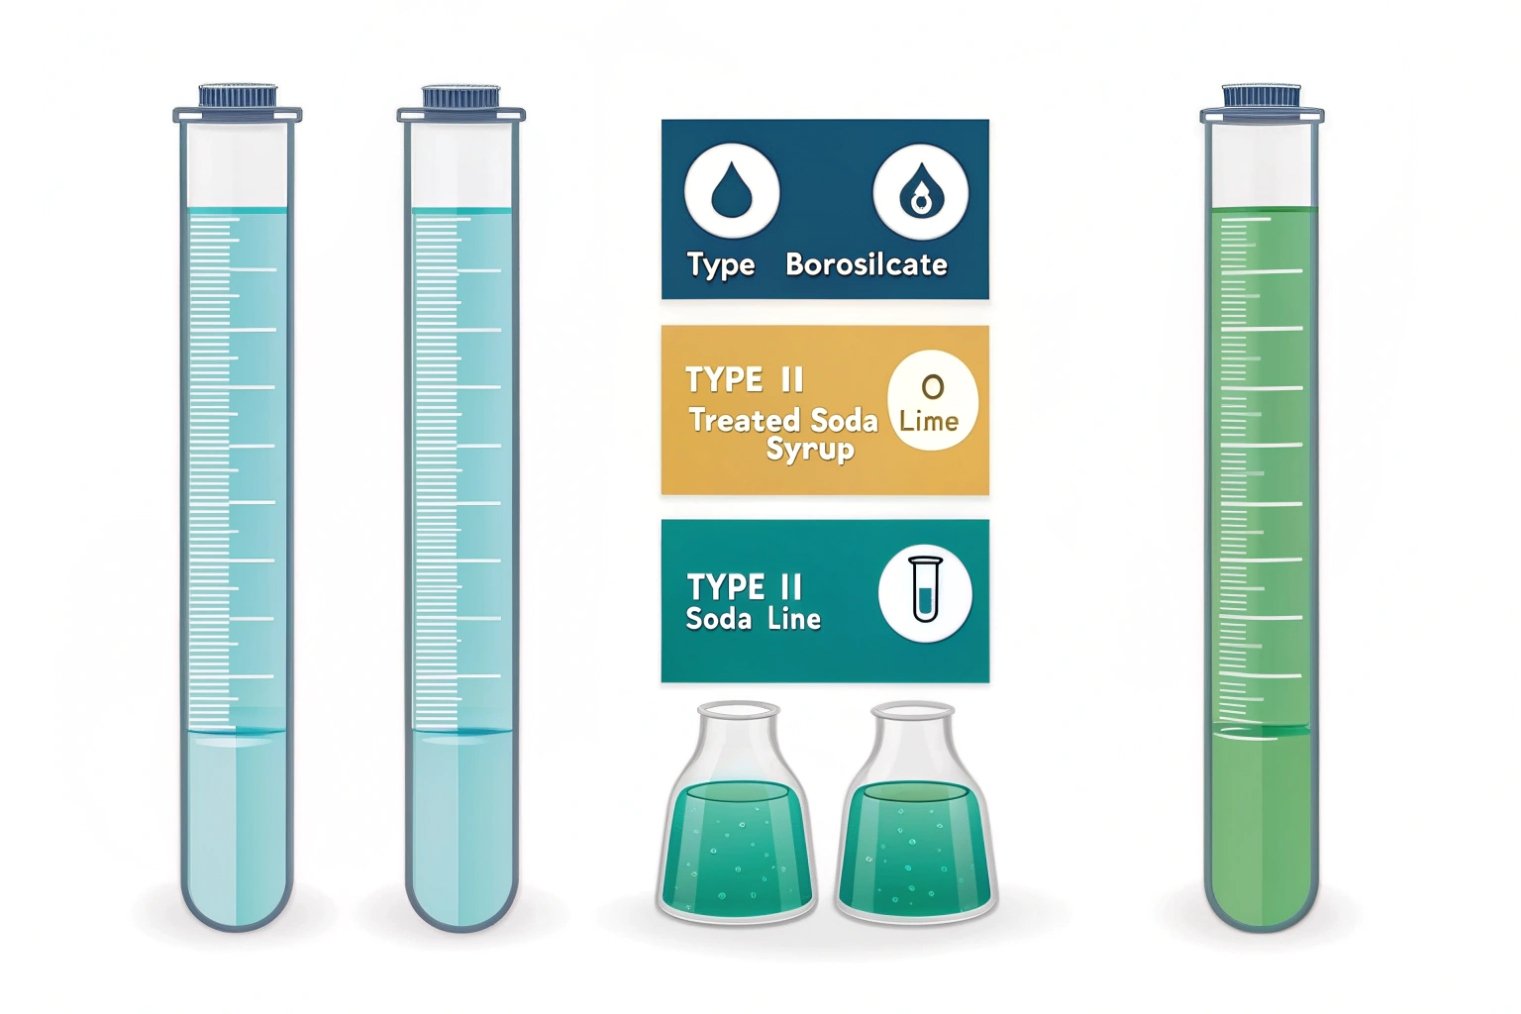
Start by mapping your liquid and process to glass families: Type I borosilicate for the most aggressive or sterile uses, Type II treated soda-lime for acidic aqueous products, and Type III soda-lime for most beverages and dry goods.
Matching glass families to real products
I use a simple decision path: chemistry, temperature, and pressure.
1. Glass families at a glance
For pharma-adjacent specs, the Type I/II/III language is anchored in USP <660> Containers—Glass 1.
| Glass type | Typical composition | Best for | Usually avoid when |
|---|---|---|---|
| Type I borosilicate | High silica, high B₂O₃, low alkali | Injectables, aggressive drugs, harsh chemicals, lab use | Very cost-sensitive, simple beverages |
| Type II treated soda-lime glass 2 | Soda-lime with surface de-alkalization | Acidic aqueous drugs, sensitive syrups | Strong bases, extreme temperature cycling |
| Type III soda-lime | Standard container glass | Beverages, sauces, oils, dry goods, cosmetics | Parenteral injectables, very aggressive solutions |
2. Ask three quick questions
-
Is the product injected or sterile for parenteral use?
Then start with Type I and move down only with clear justification. -
Is the product strongly acidic, and water-based?
Type II or Type I can both work; surface-treated soda-lime often gives a good cost/performance point. -
Is the product a beverage, condiment, oil, or dry food?
In most cases Type III soda-lime is enough, as long as pressure and temperature limits are respected.
3. Do not forget process and pressure
After chemistry, check:
- Temperature profile: hot-fill, pasteurization, retort, autoclave.
- Pressure: carbonated drinks, fermentation, internal gas release.
- Handling: returnable systems, high drop risk, very cold chains.
When both chemistry and process are mild, the lowest-cost glass type usually wins. When either one is tough, I move up to higher classes and then work backwards from risk and budget.
Which neck finishes and closures match your product and line?
Most line problems do not start with the bottle body. They start with the neck. A wrong neck finish can destroy capping speed and seal integrity.
Choose a neck finish that your filler and capping machines already support, then match closure type, liner, and any tamper-evident or child-resistant features to your product’s viscosity, volatility, and risk level.
Building a closure system, not just a cap
When I design a bottle, I treat the neck and closure as one system. Four questions help:
1. What finish does your line prefer?
If you’re standardizing threads and torque, Glass Packaging Institute (GPI) finish standards 3 help keep closures compatible across suppliers.
Common groups:
| Neck style | Typical uses | Notes |
|---|---|---|
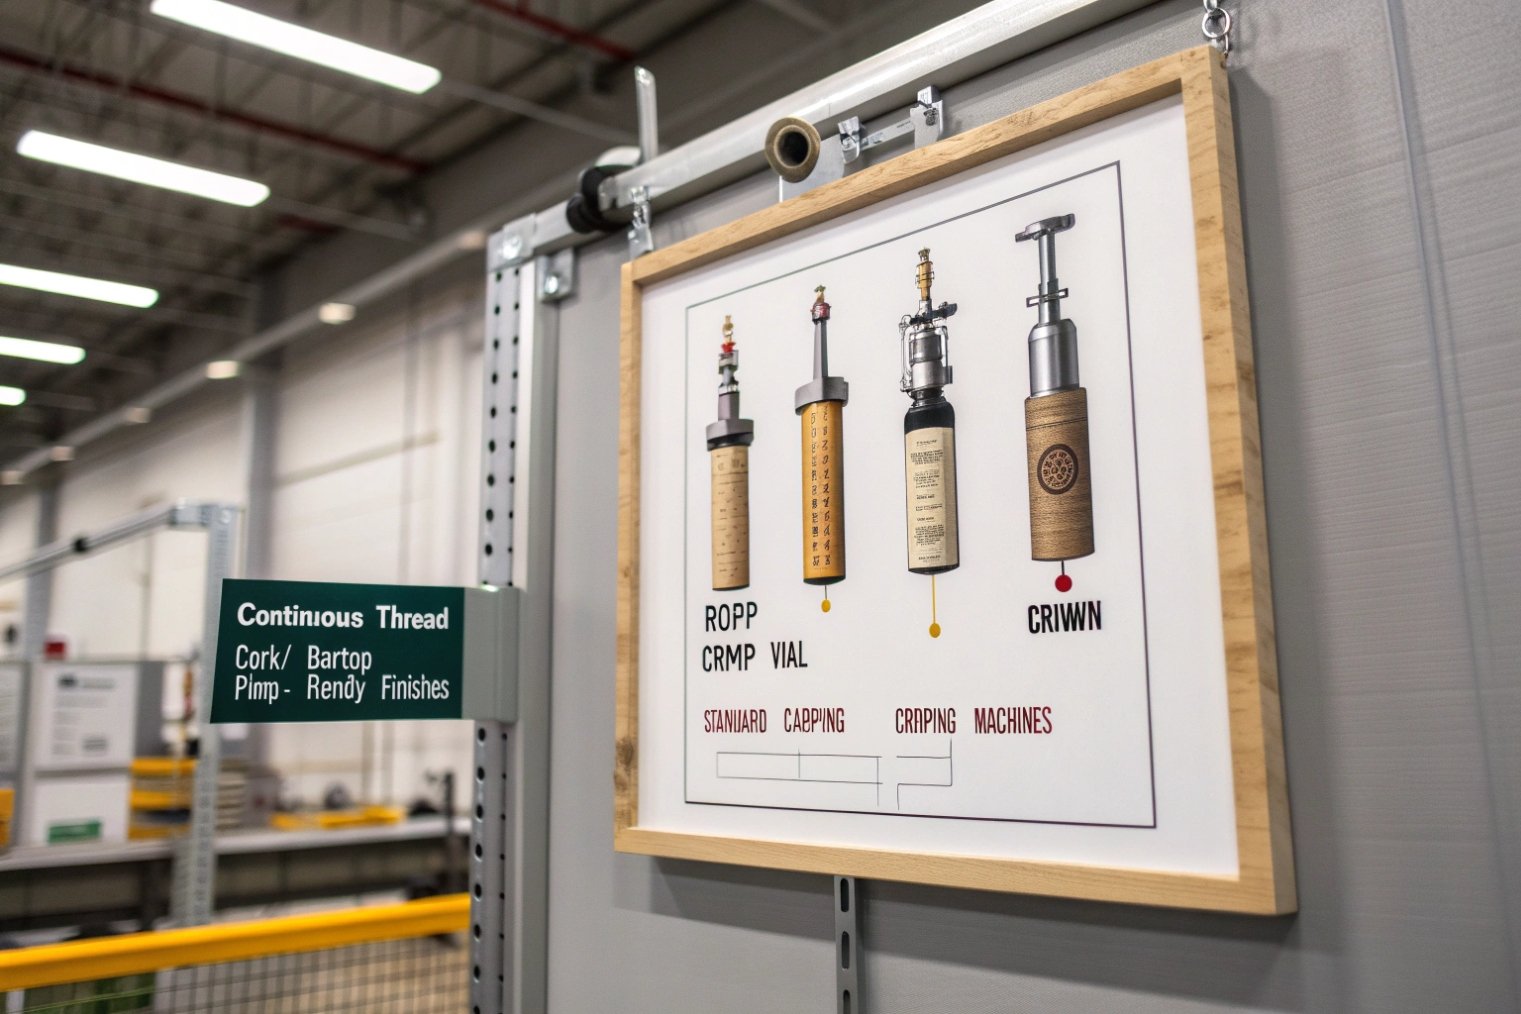
| Continuous thread (CT) | Sauces, syrups, pharma, cosmetics | Very flexible, many closure options |
| ROPP / pilfer-proof | Spirits, wine, some pharma | Needs Roll-On Pilfer-Proof (ROPP) cappers 4 |
| Crown finish | Beer, sodas, some kombucha | High pressure, crown cappers required |
| Cork / bartop | Wine, spirits, premium oils | Focus on hand-feel and reclosure |
| Crimp / vial finish | Pharma vials, injectables | Works with rubber stoppers and crimps |
| Pump / spray / dropper systems | Cosmetics, pharma, essential oils | Needs controlled neck tolerance |
Whenever possible, I align with existing neck tooling on your line. Custom finishes look nice on paper but often cost speed and reliability.
2. Which closure and liner match your product?
Think about:
-
Chemicals and solvents
Use resistant closures like phenolic caps with PTFE liners, or aluminum with foil seals, to avoid swelling or softening. -
Oils, flavors, volatile contents
Use pulp/foil or aluminum-faced liners for a good vapor barrier. -
Food and beverages
Use PE or EVA foam liners for simple products, and tamper-evident bands where regulations or brand demand. -
Pharma vials
Combine butyl rubber stoppers with aluminum crimps; neck finish must follow the right standard.
3. Risk features: tamper-evident and child-resistant
Regulation and brand risk define this:
- Over-the-counter medicines? Add CRC (child-resistant closures) plus clear tamper evidence, verified under the 16 CFR 1700.20 testing procedure 5.
- Spirits and high-value food oils? Use tear-off bands or shrink sleeves as a basic expectation.
- Industrial chemicals? Add secondary seals and clear hazard markings.
4. Check torque, venting, and re-closure
Finally, confirm with your filler:
- Target torque range and neck tolerances.
- Need for venting during hot-fill or pasteurization.
- Re-closure expectations: dropper, pump, spray, simple cap.
If your line runs fast, a “standard” neck finish, matched to standard closures, is almost always safer and cheaper than a fancy custom lip.
What color and UV protection fit light-sensitive contents?
A nice color can tell your brand story. It can also destroy your product if it lets in too much light.
Choose color for light protection first and branding second: amber for strong UV/blue-light shielding, opaque or opal for very light-sensitive products, flint for visibility, and special colors only when stability tests confirm safety.
Making color decisions with stability in mind
My rule is simple: start from the molecule, not from the marketing deck.
1. Basic light-protection ladder
From strongest to weakest protection:
| Color / effect | UV / blue light protection | Typical uses |
|---|---|---|
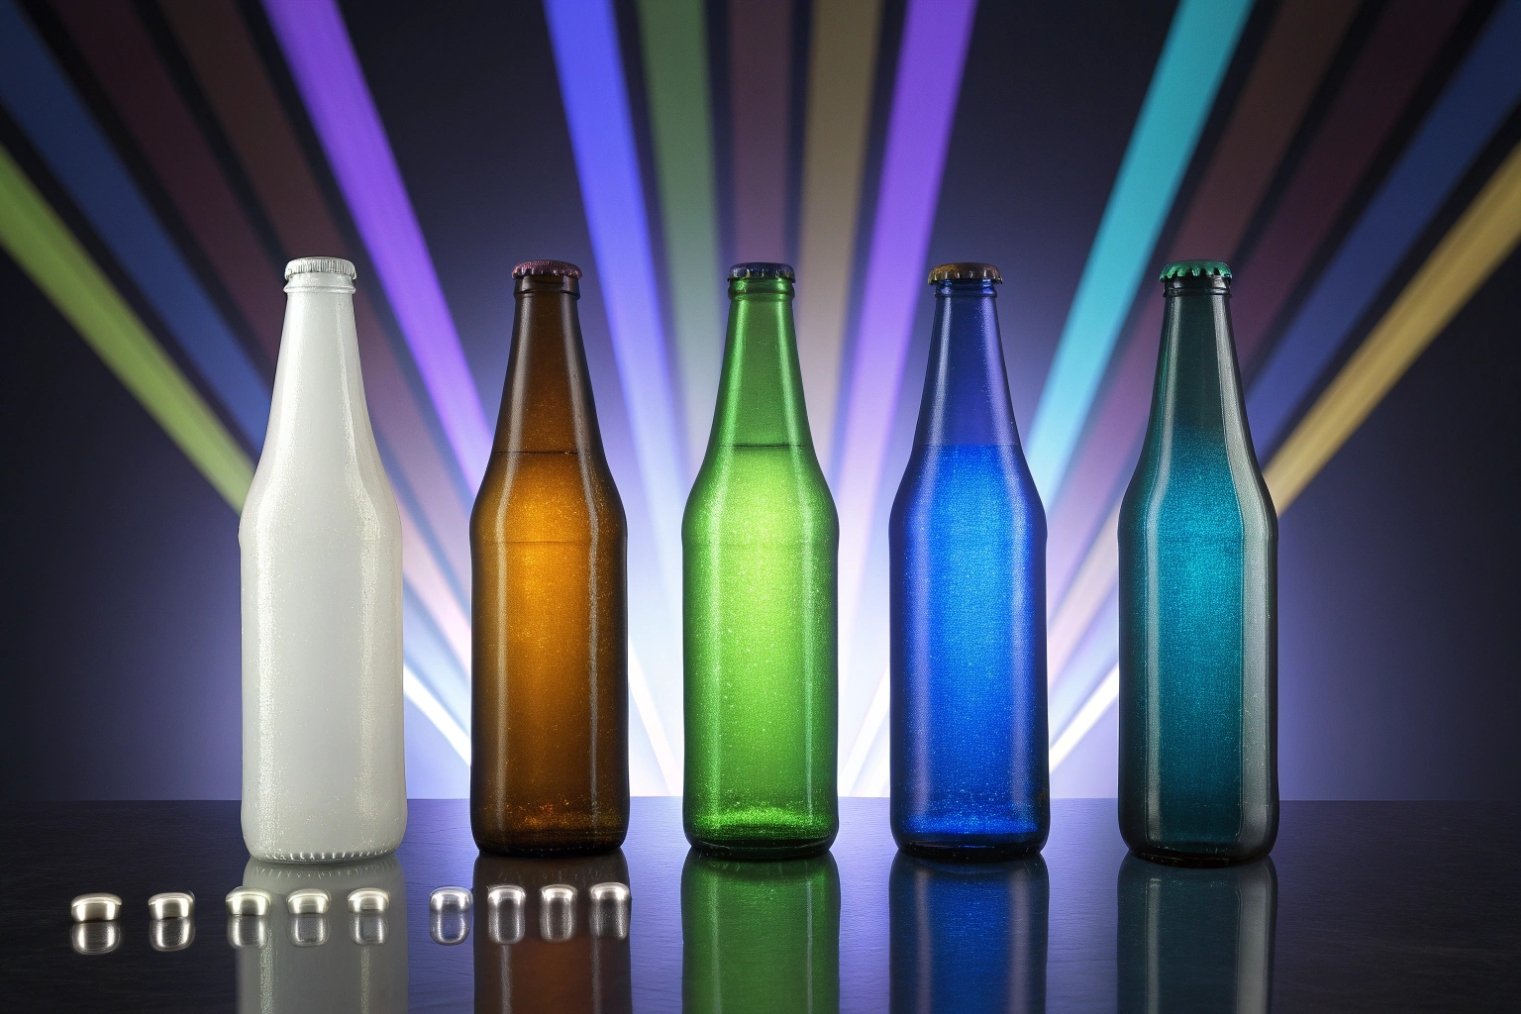
| Opaque / opal | Very high, blocks most light | Dairy, some nutraceuticals, light-sensitive cosmetics |
| Dark amber | Very high UV and blue protection | Beer, essential oils, many injectables |
| Green | Moderate, better than flint | Wine, some beers, olive oils |
| Cobalt blue | Mostly aesthetic, modest protection | Cosmetics, premium waters, some oils |
| Flint (clear) | Almost no protection | Products that need full visibility |
If your formula is sensitive to light, assume amber or opaque until real stability data says otherwise.
Light-strike risk for clear bottles is well documented; see the PNAS study on flint glass and white wine aroma changes 6.
2. Match color to product type
-
Beer, UV-sensitive drinks, many drugs
Use amber. This is standard for a reason. -
Essential oils, fragrances, actives
Amber again is the safest default. Cobalt looks premium but protects less; use it only with supporting stability tests. -
Dairy and probiotics
Opal or opaque white glass helps protect vitamins and live cultures. -
Olive oil and wine
Green or amber both provide some protection and a traditional look. -
Products that sell on visibility
Use flint but combine with secondary packaging (cartons, sleeves) if light damage is still a risk.
3. Think about recycling and sorting
Color also affects end-of-life:
- Amber and flint have strong existing recycling streams in many markets.
- Exotic colors can complicate sorting and may end up in mixed cullet.
If sustainability is important, I usually suggest flint or amber, plus external branding and decoration, before moving to unusual glass colors.
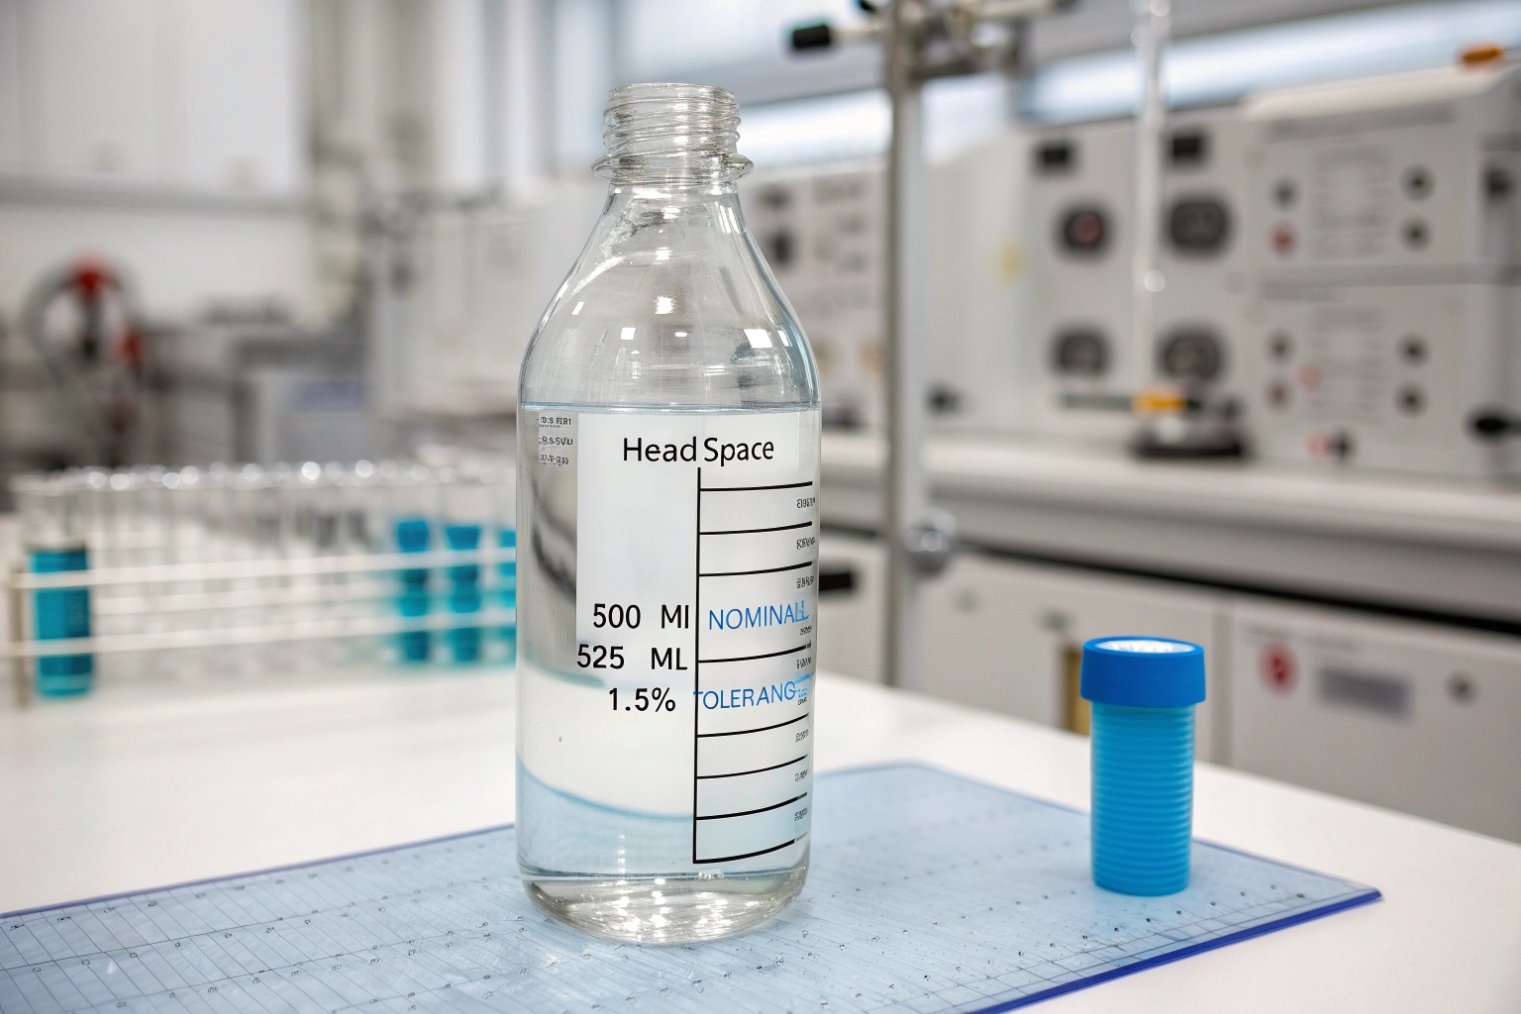
How do volume tolerance, headspace, and line speed guide bottle selection?
Many people choose “just 500 ml” and stop there. Your filler does not see “500 ml”; it sees a real tolerance band, headspace, and how quickly the bottle can move under its clamps.
Use nominal volume, brimful capacity, and headspace as controlled parameters, then choose shapes and tolerances that your filler, capper, and labeler can handle at target speed without overfill or breakage.
Translating capacity and shape into line performance
I like to think in three layers: capacity, geometry, and mechanics.
1. Understand capacity terms
Three basic numbers matter:
| Term | Meaning | Why it matters |
|---|---|---|
| Nominal volume | Volume printed on label (e.g., 500 ml) | For legal metrology and marketing |
| Brimful volume | Volume when filled to overflow | Used for filler setup and headspace |
| Tolerance | Allowed variation on nominal volume (e.g., ±1.5%) | Drives overfill, cost, and regulatory risk |
If you sell into markets that enforce average-quantity rules, align your labeling and inspection logic with OIML R 87 7.
For high-speed lines, tighter tolerances mean:
- Less overfill.
- Less product giveaway.
- More consistent capping and labeling because fill height looks stable.
But tighter tolerances may increase bottle cost. So we balance filling accuracy, product value, and bottle price.
2. Headspace and product behavior
Headspace is not guesswork. It controls:
- Expansion during hot-fill or pasteurization.
- Foaming in carbonated drinks and some sauces.
- Dosing for dropper or pump systems.
With hot processes, I always check:
- Product temperature at fill.
- Target storage temperature.
- Required headspace to absorb expansion without pushing closures off.
With carbonated or fermenting products, I watch internal pressure and choose pressure-rated bottles and closures.
3. Shape, weight, and speed
Line speed punishes complex shapes. Simple rules:
- Round bottles run faster and smoother than square or fancy contours.
- Tall, slim bottles can wobble; heavy base or wider diameter can help.
- Flat, generous label panels keep label application stable.
A quick table I use:
| Line speed target | Recommended body style | Notes |
|---|---|---|
| >40,000 bottles/hour | Simple round, standard heights and diameters | Light-weighting possible with testing |
| 10,000–40,000 bottles/hour | Round or simple square with strong corners | Some design freedom |
| Manual / semi-automatic lines | Almost any shape | Focus on ergonomics and brand look |
If speed is more important than shape, I start with the most standard geometry available. For flagship products with iconic design, we often accept lower speed or invest in more precise handling.
What MOQ, lead time, and certifications should you demand?
A perfect bottle that you cannot get on time is still the wrong bottle. The same is true for a beautiful bottle with missing compliance documents.
For each project, lock in realistic MOQ and lead time based on mold type and decoration, and insist on clear food-contact or pharma certifications that match your market and risk profile.
Balancing commercial terms with technical needs
I think of this as the “business envelope” around the technical design.
1. MOQ and mold strategy
Your MOQ depends strongly on mold choice:
| Mold type | Typical MOQ range (rough guide) | When it makes sense |
|---|---|---|
| Standard stock mold | A few thousand units and up | New brands, trials, many SKUs |
| Shared / semi-custom mold | 10,000–30,000+ units | Small changes on standard shapes |
| Private custom mold | 50,000+ units per year | Iconic shapes, large or stable demand |
For new or experimental products, I usually recommend stock or semi-custom to keep risk and inventory low. Custom molds are perfect when a design will stay in the market for years.
2. Lead time planning
Lead time comes from:
- Capacity in the furnace and forming lines.
- Availability of color and decoration processes.
- Shipping time and export paperwork.
Simple, stock flint bottles might be available from warehouse. Custom amber bottles with heavy decoration may need several months. For new projects, it is wise to:
- Finalize bottle and closure before you lock in your launch date.
- Reserve furnace time early for large custom runs.
3. Certifications and documents
At minimum, I expect a serious glass supplier to support:
- Food contact: compliance with EU and/or FDA food-contact rules, plus migration test reports where relevant.
- Pharma: for Type I/II/III containers, hydrolytic resistance tests and, when needed, pharmacopeia references.
- Quality systems: ISO-based systems and clear process controls.
- Special closures: test data for child-resistant or senior-friendly closures when required by law.
For multinational launches, I also check:
- Support for local documentation (for example, different test methods or language versions).
- Stability and extractables data for more complex pharma or nutraceutical uses.
If a bottle looks cheap but the supplier cannot provide basic food-contact or pharma documents on request, I treat that as a major red flag.
Conclusion
The “right” glass bottle is the one that quietly survives your chemistry, your process, and your market, while still fitting your line speed, budget, and regulatory comfort zone.
Footnotes
-
Defines Type I/II/III pharmaceutical glass classification and hydrolytic resistance test expectations. ↩ ↩
-
Practical overview of how Type II treated soda-lime achieves higher surface hydrolytic resistance. ↩ ↩
-
Helps decode standard GPI neck thread sizes like 20/410 so closures fit reliably. ↩ ↩
-
Explains how ROPP closures are formed on-bottle and why they’re resealable yet tamper-evident. ↩ ↩
-
Official protocol used to verify child-resistant packaging performance and adult usability targets. ↩ ↩
-
Research evidence showing flint glass transmits more UV–Vis light, increasing light-strike risk for sensitive drinks. ↩ ↩
-
Sets international legal metrology rules for nominal quantity, tolerable deficiencies, and sampling for prepacked goods. ↩ ↩


