Home serums feel “clean” until a batch grows mold or smells off. Most of the time the problem is not the formula. The problem is dirty bottles and tools—and the risk is microbial contamination in cosmetics 1.
For DIY skincare, wash first, then heat-sanitize only the glass parts (bottle + glass pipette) in boiling water or steam, disinfect plastic/rubber with 70% alcohol, air-dry on a clean surface, and fill using clean hands, tools, and a simple hygienic routine.

Many people think “rinse and reuse” is enough for droppers. It is not, especially with water-based formulas or anything that goes near the eyes and face. A simple step-by-step process gives you much safer results without turning your kitchen into a lab.
Which parts of a glass dropper bottle can be safely boiled or steamed?
It looks simple: glass bottle, pipette, cap, bulb. But each part behaves very differently in hot water or steam. If you boil everything together, you will warp parts and ruin seals.
Boil or steam only the heat-safe glass parts: the bottle and the glass pipette. Keep rubber or silicone bulbs and most plastic caps out of boiling water, and disinfect those instead with 70% alcohol.

Breaking down each component
Let’s split the typical dropper set into four pieces:
| Part | Material (typical) | Boil / steam? | Better method |
|---|---|---|---|
| Bottle body | Soda-lime glass | Yes, 10+ minutes | Boil, steam, or dishwasher sanitize |
| Pipette tube | Glass | Yes, 10+ minutes | Boil or steam |
| Bulb | Rubber or silicone | No (may warp or crack) | Wipe/soak with 70% isopropyl alcohol |
| Cap / collar | Plastic + sometimes liner | Avoid full boil | Wash, then alcohol on inside surfaces |
Glass bottle:
Clean glass handles heat well. After washing, you can fully submerge the bottle in boiling water for about 10 minutes. If you live at high altitude, you give it a bit longer because water boils at a lower temperature. A simple rule is to add about one extra minute for every 300 meters (1,000 ft) above the first 300 meters—similar to high-altitude boiling adjustments 2.
Glass pipette:
The pipette is also glass, so you can boil it like the bottle. Make sure you remove the bulb first. If the pipette is painted or printed, boil gently and avoid banging pieces together to prevent chipping.
Rubber or silicone bulb:
Boiling can harden or crack rubber over time. Some silicones can handle higher heat, but many dropper bulbs are not designed for long boiling cycles. A safer home method is to:
- Wash with warm soapy water
- Rinse well
- Soak or thoroughly wet all surfaces with 70% isopropyl alcohol disinfection guidance 3 for a few minutes
- Let them air-dry completely
Alcohol at around 70% is more effective for disinfection than very high-proof alcohol, because some water helps it move into cell walls.
Cap and collar:
Caps are usually plastic. Some may deform in boiling water, and metal trims can tarnish. Wash them carefully, rinse, then swab or spray the inner surfaces and threads with 70% alcohol. Let them dry before assembly.
If you own a baby-bottle steam sterilizer, that works well for the glass parts too. Just keep bulbs and caps out unless the maker says they are heat-safe. (For the principle behind this method, see steam sterilization basics 4.)
What is the best cleaning and sterilizing sequence for DIY skincare bottles?
Many contamination issues actually start with leftover oil film, dust, or fragrance in reused bottles. If this residue stays, no amount of quick boiling will give you a reliable result.
The best sequence is: deep wash → rinse → inspect → heat-treat the glass → alcohol-treat sensitive parts → air-dry on a clean surface → assemble only when fully dry and ready to fill.
Step-by-step routine you can repeat for every batch
Here is a simple, repeatable flow you can follow at home:
| Step | Action | Purpose |
|---|---|---|
| 1 | Disassemble all parts | Expose all surfaces |
| 2 | Wash with warm water + mild dish soap | Remove oils, makeup, dust, old product |
| 3 | Use a bottle brush / pipe cleaner | Clean inside corners and pipettes |
| 4 | Rinse with clean running water | Remove all soap films |
| 5 | Inspect under bright light | Check for scratches, chips, residue |
| 6 | Boil or steam glass bottle + pipette | Heat-sanitize main liquid contact surfaces |
| 7 | Treat caps and bulbs with 70% alcohol | Disinfect non-boilable surfaces |
| 8 | Place everything on a clean towel / rack | Air-dry, no wiping inside |
| 9 | Assemble with clean hands or gloves | Avoid re-contamination |
| 10 | Fill soon after assembly | Reduce time open to air |
Washing comes first, always. Boiling a dirty bottle will not “burn off” oils or pigment. Soap and water do that job. Take time with the first wash, especially for bottles that held oil serums or fragrance.
Use a dedicated brush for cosmetic containers and let it dry completely between uses. Do not use a scrub pad that sheds fibers inside small bottles; they are very hard to rinse out.
After washing and rinsing, hold the bottle under a bright light. Look for:
- Film or fog on the walls
- Colored streaks from old serum or essential oils
- Chips or cracks (if you see any, do not reuse that bottle for liquids that touch skin)
Only then move on to heat treatment for the glass pieces. Keep the glass fully underwater once the water boils, and start timing when the water returns to a gentle boil. About 10 minutes is common for home use.
While the glass is in the pot, you can wash and alcohol-treat the bulbs and caps. Make sure alcohol reaches the inside of the bulb and threads of the cap, since these areas can trap product.
This sequence may feel long the first time. After a few batches, it becomes quick and automatic and gives you much more peace of mind about your DIY products. Keeping your countertop and tools clean using household cleaning and disinfecting guidance 5 helps prevent re-contamination.
How long should bottles and droppers air-dry before filling?
Moisture is a quiet problem. Drops of water left inside a “sterilized” bottle can dilute your formula or give microbes a place to grow, especially if your product is oil-free or very low in preservative.
Let all parts air-dry until there is no visible moisture and the glass feels room-temperature and dry, usually at least 30–60 minutes. For very clean, low-risk work, longer drying is better than rushing.
Drying without undoing all your careful cleaning
After boiling or steaming, you have two main options:
- Keep bottles in the hot water and pull them out right before filling
- Move them to a clean, lint-free drying area
At home, most people choose the second option. A few small habits help a lot:
- Place bottles upside-down on a freshly washed towel or on a paper towel on a tray
- Do not wipe the inside with a cloth or tissue; these shed fibers and can add microbes back
- Avoid drying near open windows, pets, or active cooking, which add dust and aerosols
Here is a simple timing guide:
| Environment | Minimum drying time | Notes |
|---|---|---|
| Warm, dry indoor room | 30–60 minutes | Good air movement speeds things up |
| Cool or humid room | 1–2 hours | Check inside with a flashlight for droplets |
| Inside a clean, closed cabinet | Longer, but cleaner | Crack the door slightly for airflow |
Do not fill when glass is still hot from boiling. Hot glass can damage heat-sensitive actives like vitamin C, probiotics, some plant extracts, and fragrances. Let bottles cool to room temperature first. They should feel neutral to the touch, not warm.
If you plan to make a true water-based product with very low preservative, you can go one step further and prepare a “clean zone”:
- Wipe the work surface with 70% alcohol
- Lay fresh paper towel as a temporary mat
- Place the dry bottles and tools only on this mat
- Cover bottles loosely with a clean tray or large bowl while they wait
This is not medical-grade sterile. But it cuts environmental contamination a lot and is practical for serious home formulators.
Remember that boiling and alcohol do not remove every possible spore. For most DIY skincare with reasonable preservative systems and short shelf life, this level is usually enough. For anything going near eyes or into very broken skin, it is safer to use professionally filled, lab-made products.
Do I really need gloves, liners, and sanitary tools for home skincare batches?
Many home makers skip gloves and still get away with it for a while. Problems usually appear later: mold spots, off smells, or stinging on use. Clean hands are good, but they are not “sterile”.
Gloves, clean tools, and simple liners are not overkill. They reduce direct hand contact, cut down on microbes and skin oils, and make your small batch look and behave much closer to a professional product.
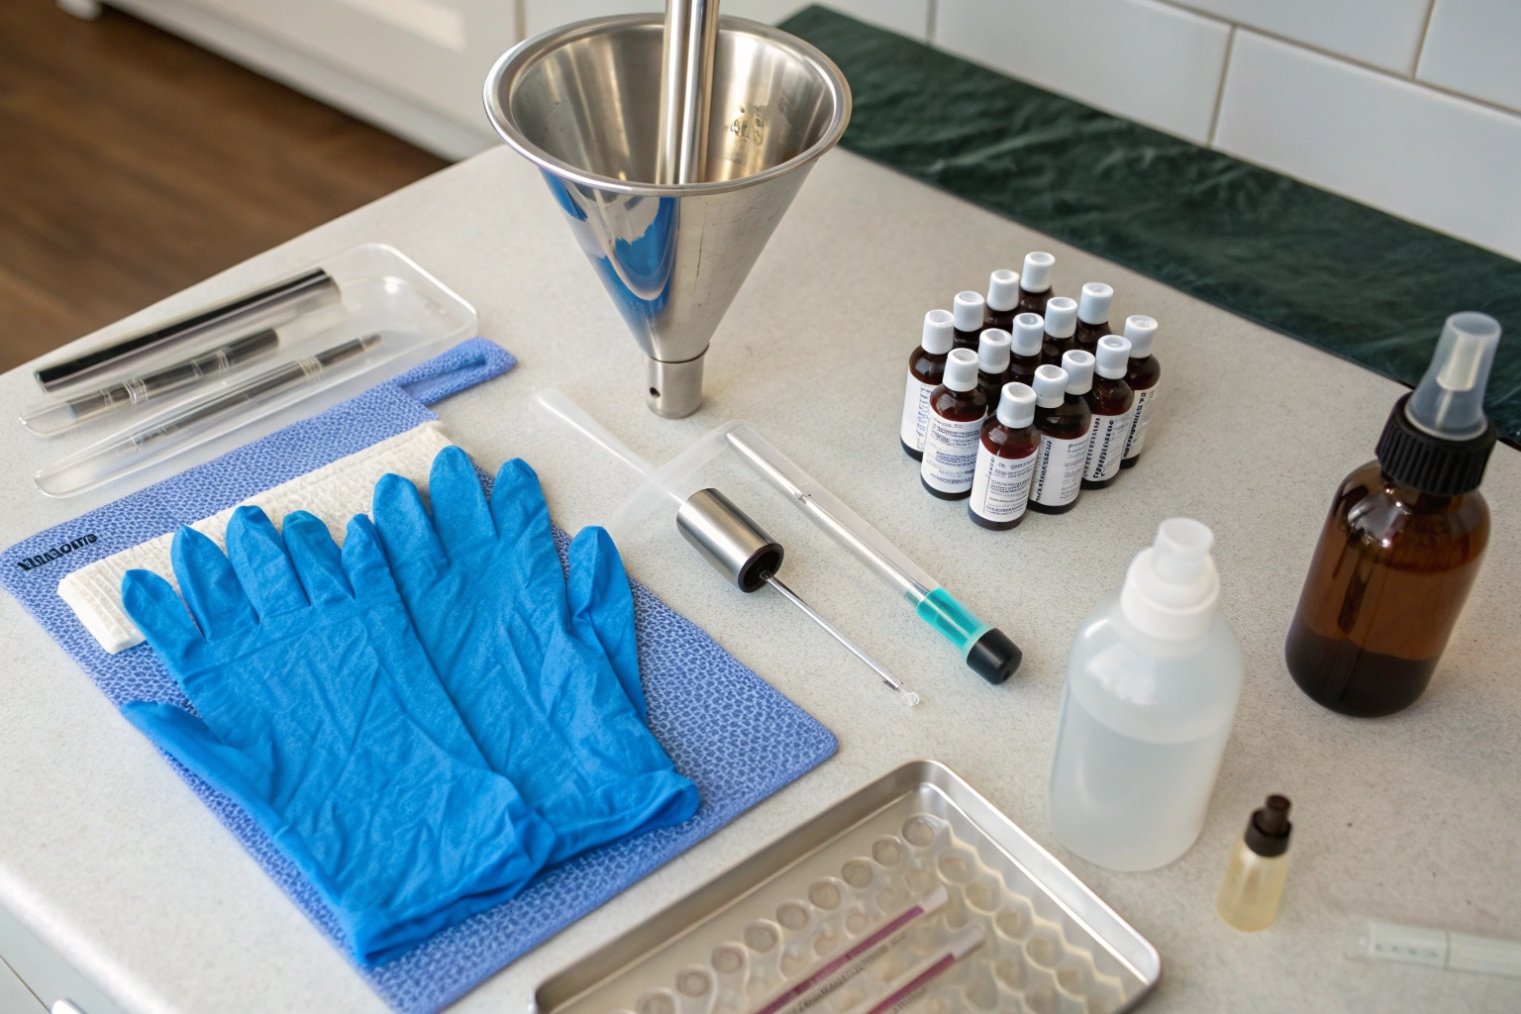
Building a simple “mini filling line” at home
You do not need a full lab. A few low-cost items make a big difference:
| Item | Why it helps | Tips for use |
|---|---|---|
| Nitrile / vinyl gloves | Reduce skin oils and microbes on bottle and tools | Change if torn or after messy steps |
| Small stainless funnel | Keeps product off rims and outside of bottles | Boil or alcohol-wipe before each batch |
| Disposable pipettes | Transfer small volumes without double-dipping | Keep tips away from skin |
| Paper or silicone mat | Defines a “clean zone” on the table | Replace or wash between sessions |
| Alcohol spray bottle | Quick wipe-down for surfaces and tools | Use around 70% alcohol |
Before filling:
- Wash hands well, dry with a clean towel (follow proper handwashing steps 6)
- Wipe the work surface with alcohol
- Put on gloves if you have them (choose based on chemical-resistant glove selection guidance 7)
- Lay down a clean mat or fresh paper towel
- Arrange dry, heat-treated bottles, sterile-ish tools, and your formula
When filling:
- Avoid touching the inside of bottles, caps, or droppers
- Use a funnel or pipette instead of pouring freehand
- If anything falls on the floor or unclean area, set it aside and rewash or re-sanitize
Sanitary liners (for example, inside caps for some jars) are more common in commercial filling, but you can mimic the idea by avoiding repeated “open and dip” motions. For dropper bottles, the dropper itself becomes your “tool”, so you really want that assembly to start out as clean as possible.
This kind of practice also helps if you ever decide to scale beyond personal use. Consistent, simple hygiene habits are the bridge between hobby and small brand.
Conclusion
For DIY skincare, “clean enough” is a clear process: wash, heat-treat the glass, alcohol-treat the rest, air-dry fully, and fill with clean tools so your formulas have a fair chance to stay fresh.
Footnotes
-
FDA explains cosmetic contamination risks and how microbes can harm products. ↩︎ ↩
-
Practical chart for adjusting boil-based sanitation time when working at higher elevations. ↩︎ ↩
-
CDC explains why ~70% alcohol is effective for disinfecting many surfaces and materials. ↩︎ ↩
-
CDC overview of steam sterilization principles to understand what heat can and cannot do. ↩︎ ↩
-
CDC tips for cleaning/disinfecting homes so “clean zones” stay clean during DIY filling. ↩︎ ↩
-
CDC handwashing guidance to reduce re-contamination during assembly and filling. ↩︎ ↩
-
NIOSH glove guidance to choose materials that resist oils, alcohol, and common DIY ingredients. ↩︎ ↩


