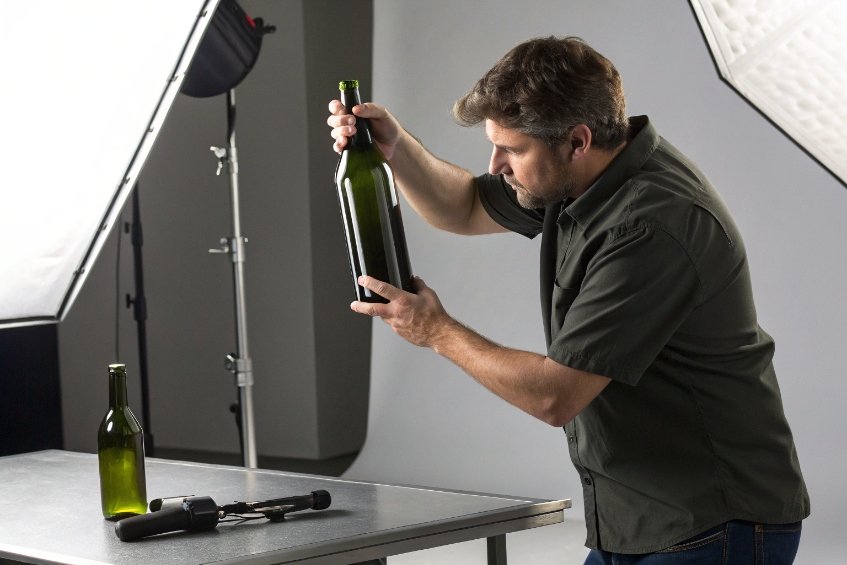
Most wine faults linked to packaging begin long before the wine enters the bottle. Many come from defects in the glass itself. They are easy to see once you know where to look.
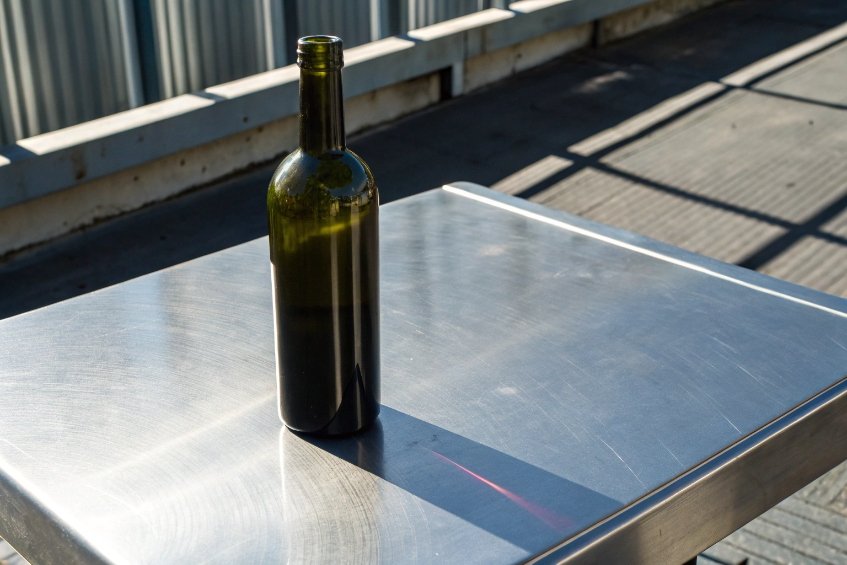
A good wine bottle shows a clean finish, straight neck, even walls, centered punt, and smooth surfaces with no stones, cords, or checks. These simple cues predict sealing, strength, and long-term bottle performance.

Small details tell a long story. When you examine the finish, the neck, the punt, and the seams, you also read the accuracy of the molds and stability of the forming process. These visual checks help you reject risky bottles before they reach the filler.
What defects (bubbles, cords, stones) should you reject at a glance?
Many internal defects come from the melt or forming stage. They show up clearly when you rotate the bottle under bright light.
Reject bottles with stones, bubbles, bird swings, cords, or checks, because these flaws weaken the bottle, contaminate wine, or cause breakage during filling.
What these flaws mean and why they matter
Internal inclusions and cracks are not cosmetic issues. They change the way a wine bottle behaves through every stage of use. A small stone can work like a stress concentration 1. A long cord shows that the glass did not mix well. A bubble near a shoulder or heel reduces strength and can burst at impact.
Here is a breakdown of the main defects that trigger immediate rejection:
1. Stones and inclusions
Stones and inclusions 2 look like opaque grains trapped inside the glass. They come from unmelted batch materials or refractory fragments. They cause stress concentration. They can also chip under small impacts.
2. Bubbles and blisters
Tiny bubbles in the body are common and harmless as long as they are small and far from load-bearing areas. Large bubbles, clusters, or bubbles at the shoulder, heel, or finish need to be rejected. They reduce pressure strength and create weak points.
3. Bird swing (“string”)
A bird swing defect 3 is a thin glass filament running across the inside of the bottle. It usually forms when a string of glass drops into the parison. It can break into fragments or trap contaminants. Any bird swing is unsafe.
4. Cords or striae
Cords or striae 4 are streaks of glass with different refractive properties. They show the melt was not homogeneous. Strong cords can distort the view and also signal strength variation. Heavy cord means reject.
5. Checks and cracks
Checks and cracks 5 are hairline cracks created by mechanical shock or thermal shock. They often hide near the shoulder, heel, or finish. You find them by rotating the bottle under angled light. Any check is a no-go.
Quick reference: glance rejection list
| Defect type | Acceptable? | Why it matters |
|---|---|---|
| Large bubble | No | Weakens impact strength |
| Stones | No | Stress focus, contamination risk |
| Bird swing | No | Break risk, glass fragment hazard |
| Strong cord | No | Indicates unstable melt and uneven strength |
| Checks | No | High breakage risk at filling or capping |
A fast visual sweep in bright, angled light catches most of these before they cause trouble.
How do neck straightness and finish flatness predict sealing?
The neck and finish control how the bottle meets the closure. If the finish is uneven, the closure cannot seal. If the neck is tilted, corks compress unevenly or screw caps torque irregularly.
A straight neck and flat, round finish predict proper cork compression, good torque control, and leak-free sealing.
How to read the finish
The finish is the most critical sealing point. You look for:
- A clean, smooth land (the top surface)
- No chips, no overpress, no wire edge
- Even roundness when you rotate the bottle under backlight
- No “checks under finish,” which are tiny cracks around the thread or ring
These small defects cause sealing failures. Poor cork compression 6 is one common outcome when the finish is not uniform. A screw cap will lose its torque. A T-top will sit crooked.
How to check neck straightness
Hold the bottle against a vertical reference or rotate it against straight backlighting. The neck should align with the body axis. A tilted neck means:
- Corks go in at an angle
- Screwcaps may cut the liner
- Labels may appear crooked
- Capsule application becomes unstable
This small tilt leads to many small problems. The bottle may still look fine on a shelf, but it fails on high-speed filling lines.
Why finish accuracy predicts overall quality
The finish reflects how well the mold is maintained and how steady the forming process runs. If the finish is off, other defects often follow. A perfect finish usually means the mold, cooling, and timing were tuned well.
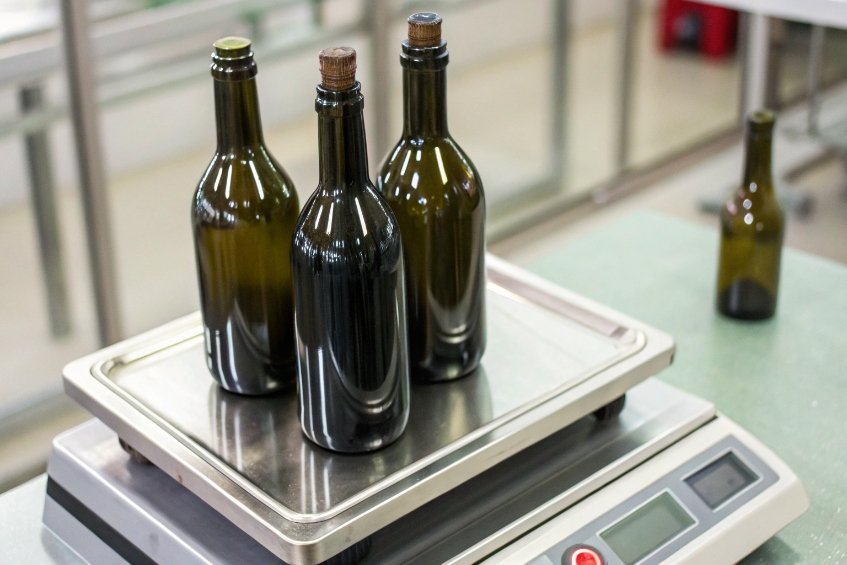
Weight is not quality by itself. But consistent weight and even wall thickness often show that the forming process is controlled.
Premium-grade bottles show stable weight, even walls, smooth transitions, and no visible thin spots when you sight through the glass.
Why weight matters
Heavier bottles feel premium because the bottom push-up, heel, and walls have more glass. But the key is not “heavy = good.” The key is “consistent = controlled.”
High-end bottles show weight variation within a tight range from bottle to bottle. This comes from stable gob size, stable timing, and stable temperature.
How to spot wall uniformity
Hold the bottle to a bright light. Rotate slowly. Look at:
- Symmetry of both side walls
- Shadow changes at the shoulder and heel
- Any thin bands or wavy areas
Uneven walls suggest uneven gob distribution. This means strength varies. Thin spots at the heel or shoulder can break during impact or high-speed filling.
Premium cues in wall distribution
Premium bottles tend to show:
- A smoother shoulder transition
- Uniform panel clarity
- A sharp but clean edge between body and punt
- No ripples or waves
These cues show the molds are in good condition and the forming line is well controlled.
Do punt symmetry and mold parting lines reveal tooling accuracy?
The base of the bottle tells you more than most people think. A centered punt keeps the bottle upright. Clean parting lines show precise molds and good alignment.
A centered punt, smooth base, and clean parting lines signal accurate tooling and stable processing.

Punt symmetry and stability
A punt should sit in the center. If it is off-center, the bottle stands like a “rocker.” Bottling lines dislike rockers. Labels drift. Fill nozzles misalign. Cases shake during transport.
A good punt also shows:
- Even depth
- No sharp edges
- No folds or hard-to-clean pockets
The punt design affects stability and label alignment. A crooked punt means the bottle rotates unpredictably during filling and labeling.
Mold parting lines speak for the factory
Mold parting lines 7 run along the sides where mold sections meet. You look for:
- Light, even seams
- No flash (“fins” of thin glass)
- No heavy folds or mismatched offsets
A strong or uneven parting line means the molds are misaligned or worn. This reduces surface quality and can make the bottle weaker. Sharp seams also cause label bubbling or tearing.
Embossing and panel flatness
Embossed logos and label panels tell you how well the mold detail is holding. Clean, sharp embossing means the mold is healthy. Soft or distorted embossing often shows mold wear.
Flat label panels help automatic labeling. A warped or wavy panel causes label wrinkles.
Conclusion
A good wine bottle hides nothing. Straight neck, clean finish, even walls, centered punt, and smooth surfaces all point to a stable forming process and safe sealing.
Footnotes
-
Learn why tiny flaws can trigger cracks by amplifying local stress in brittle materials. ↩︎ ↩
-
Browse defect examples to standardize “reject at a glance” decisions across teams. ↩︎ ↩
-
See how filament-like defects form and why they’re unsafe for food and beverage packaging. ↩︎ ↩
-
Understand streaking defects and what they imply about melt homogeneity and optical distortion. ↩︎ ↩
-
Learn about inspection approaches used to detect fine checks near sealing and high-stress areas. ↩︎ ↩
-
Overview of how cork stoppers seal and why consistent finishes improve closure performance. ↩︎ ↩
-
Explanation of parting lines in molding and how misalignment can create seams and visible defects. ↩︎ ↩


