Many buyers see a perfect glass bottle on the shelf and think the process is simple. In reality, one small mistake in batching, gob control, or annealing can destroy a full production run.
Glass bottles are manufactured by batching raw materials, melting and conditioning the glass, cutting gobs, forming them on IS machines into containers, annealing to relieve stress, then coating and inspecting every piece with inline quality checks.

From the outside, the line looks like a smooth flow of glowing glass and moving conveyors. Inside the process, every step is engineered: batch recipes, furnace curves, gob weights, mold vents, lehr settings, and vision systems. This is how we keep weight, capacity, and breakage rates under control for each bottle design.
What happens from batching and melting to IS machine forming?
Most people only remember the hot orange glass. They forget that capacity accuracy and strength are already decided when we weigh sand and cullet at the very beginning.
Glass bottles start with batching silica, soda ash, limestone, and cullet, melting at about 1,500–1,600 °C, conditioning in the forehearth, then cutting gobs that feed IS machines for blank-mold and blow-mold forming.
From batch formula to molten gobs
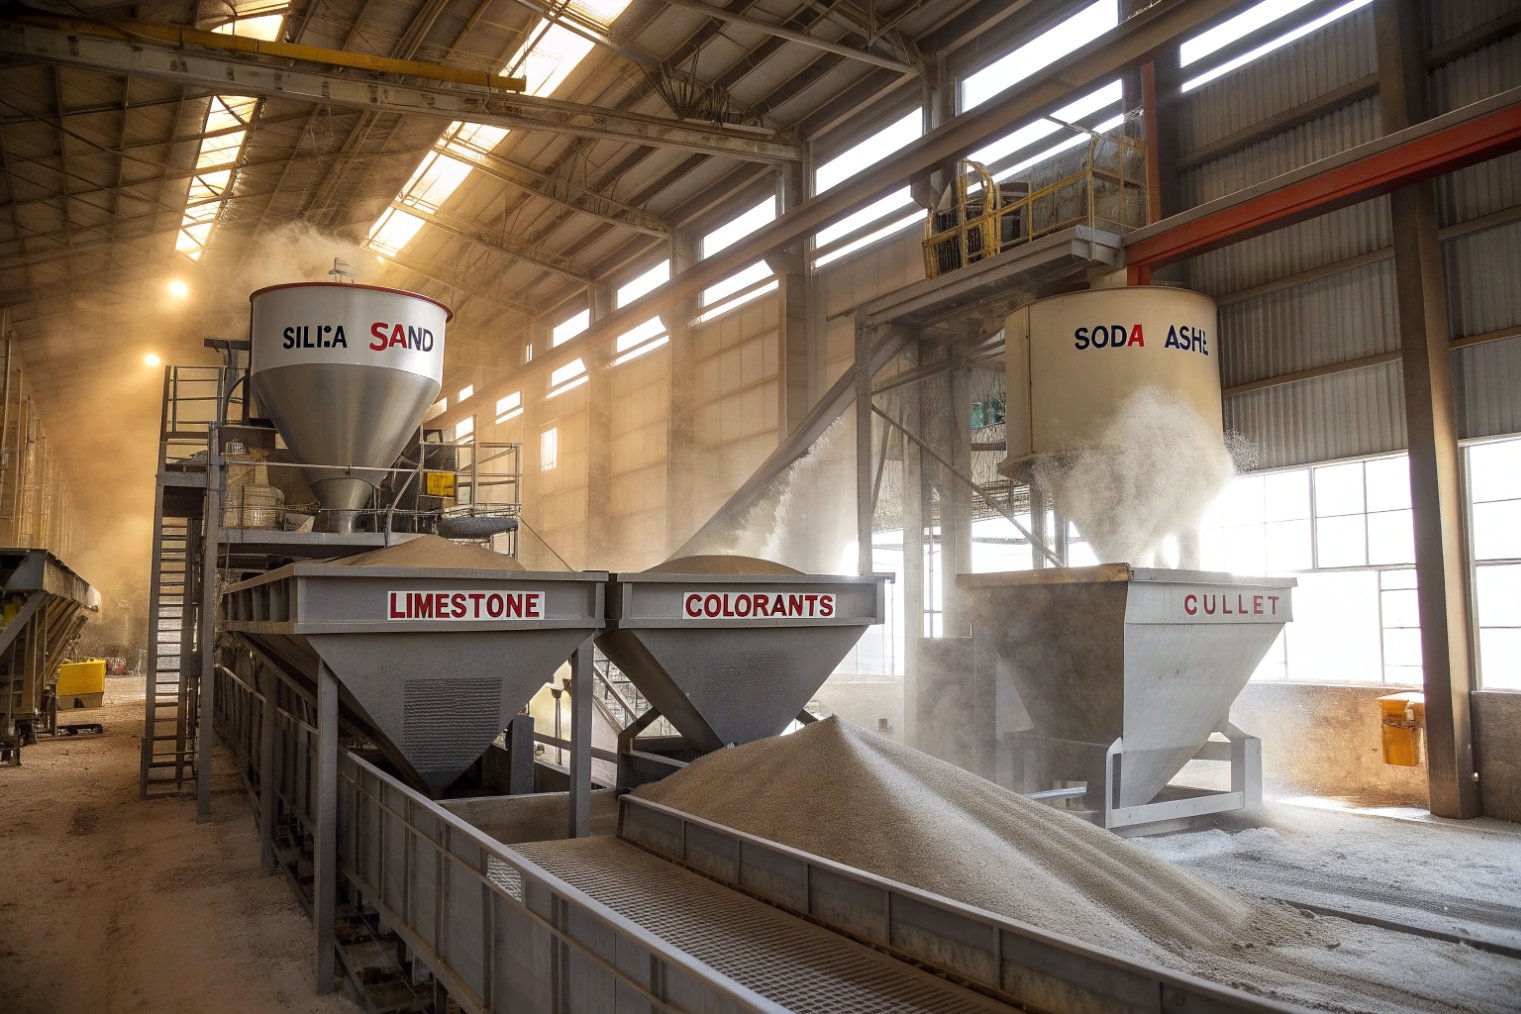
The story starts in the batch house. We weigh:
- Silica sand as the main network former
- Soda ash to lower melting temperature
- Limestone and other stabilizers
- Colorants if we need amber, green, or other shades
- Cullet (recycled glass), which can be 30–80% or more
Accurate batching is not only about the right recipe. It also stabilizes furnace behavior. When silica sand, soda ash, limestone and cullet 1 are balanced and consistent, the melt behaves more predictably and defects drop. When cullet improves furnace efficiencies 2, energy use drops and the melt clears faster. For a brand that pushes sustainability, this is one of the most powerful levers.
The mixed batch enters a large regenerative or oxy-fuel furnace. Inside, temperatures run roughly 1,500–1,600 °C for soda-lime glass. The batch melts, reacts, and becomes a continuous pool of molten glass. Fining and bubbling help remove gases and homogenize the melt, so we do not carry bubbles or cords into the forming area.
Conditioning the melt and feeding the IS machine
From the main furnace, the glass flows into the forehearth 3. Here the goal shifts. We no longer chase full melting. We chase uniform temperature and viscosity. Typical forehearth temperatures sit around 1,050–1,200 °C. Burners and cooling systems along the channel keep the glass at the right forming condition.
We can also adjust color in the forehearth with color feeders for flint, green, or other tones, as long as the design allows it.
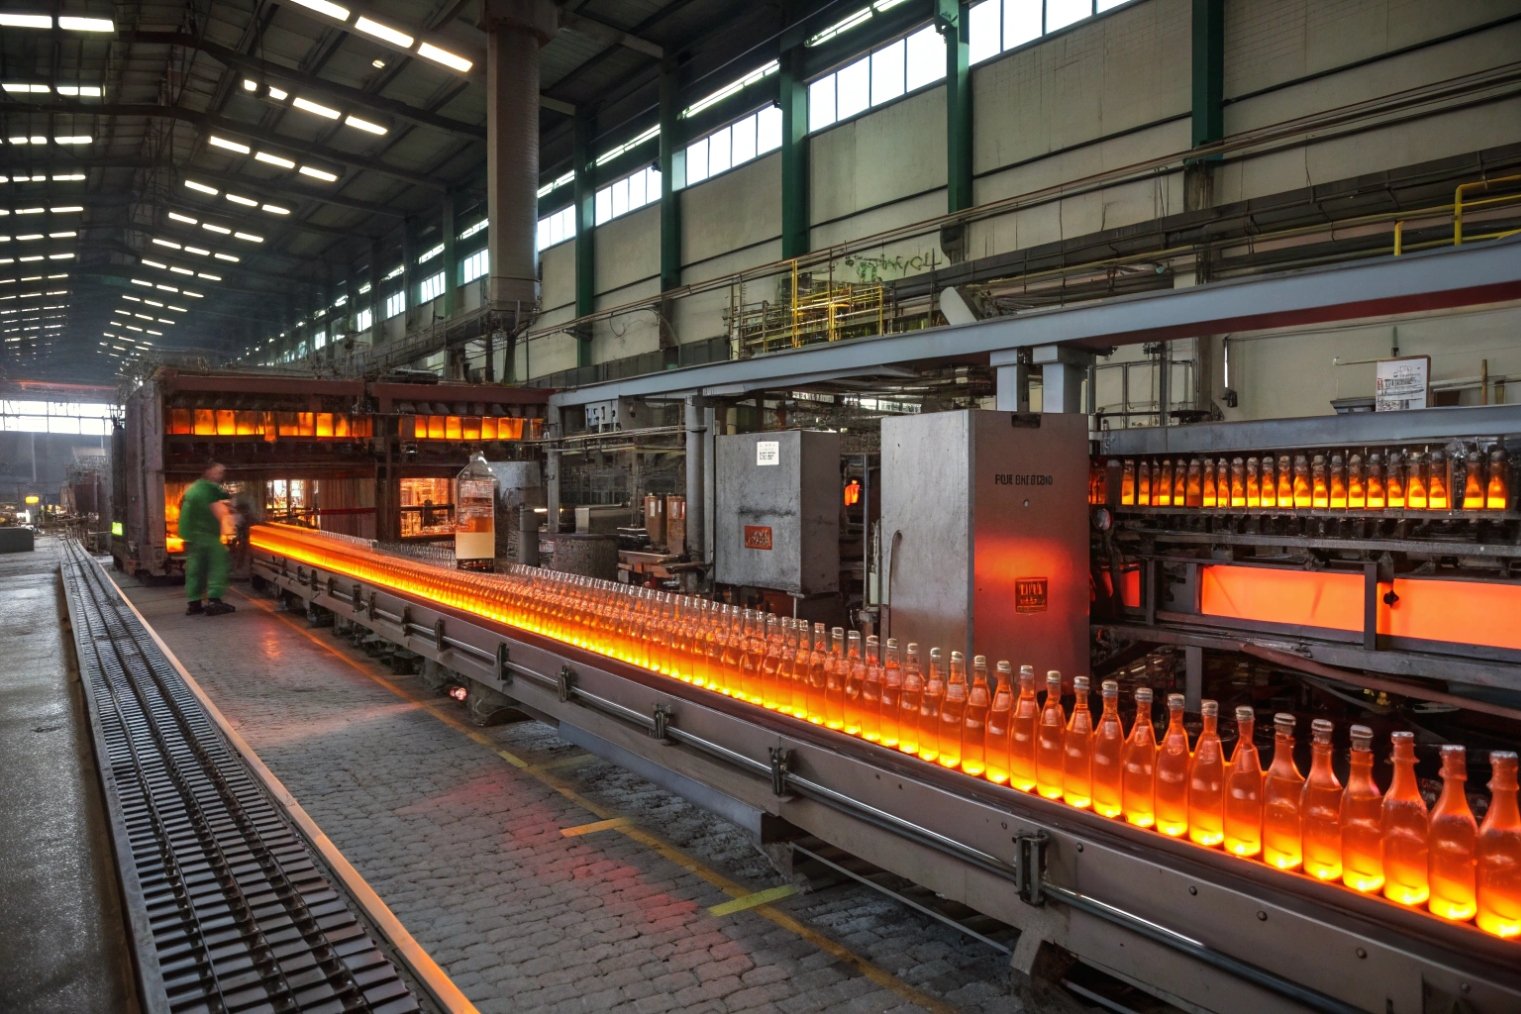
At the spout, the glass flows down and forms a stream. Mechanical shears cut this stream into “gobs.” Each gob is a weighed piece of molten glass. The gob’s weight and shape must match the bottle design and the forming process.
These gobs then enter the IS (Individual Section) machine 4. Each section works like a mini factory, handling its own gobs, molds, and timing. The gob falls into the blank mold, where we create a parison, and then moves to the blow mold for the final shape. The finish (the top, where the closure will seal) is formed in the blank mold, so this step is critical for later sealing performance.
When batching, melting, conditioning, and gob delivery work in sync, the IS machine has a stable “diet.” This is the base for dimensional control and low defect rates.
How do mold design and gob weight control capacity accuracy?
Many brand owners care about “500 ml” on the label but do not realize that the mold and gob design are the real “capacity tools.” If these are wrong, no amount of inspection can fix the problem.
Mold design sets the bottle’s internal volume, while consistent gob weight and controlled distribution of glass ensure wall thickness and capacity stay within tight tolerances for every cavity and section.

The link between mold, gob, and capacity
Every bottle design starts as a 3D model. We define:
- Target capacity at a reference fill point
- External height, diameter, and shoulder shape
- Neck and finish design for the closure
- Wall thickness targets for each area
From this, engineers design a parison and blow mold set. Parison design is often the secret weapon for even wall thickness. For narrow-neck containers, we use blow-and-blow or narrow-neck press-and-blow (NNPB). For wider mouths, we use press-and-blow.
Here is a simple comparison:
| Forming method | Typical use | Capacity and wall control |
|---|---|---|
| Blow-and-blow | Many narrow-neck bottles | Good, but more sensitive to gob and timing |
| Narrow-neck press-and-blow | Lightweight narrow-neck bottles | Very good, suited for lightweighting programs |
| Press-and-blow (wide) | Jars, wide-mouth bottles | Good volume control, strong finishes |
Gob weight must match the internal volume plus the target wall thickness. If the gob is too heavy, we get overweight bottles or thick walls. If it is too light, walls become thin in critical areas and may fail pressure or impact tests.
Fine-tuning capacity and weight on the line
In real production, we do not only set gob weight once and forget it. We measure:
- Bottle weight by cavity
- Actual brimful and fill-point capacity
- Wall thickness patterns (with thickness gauges or sectional checks)
If a cavity is heavy and capacity is low, too much glass sits in the walls or the base. We can adjust gob weight, mold temperature, or timing to move glass into the shoulder or body. If capacity is high but weight is low, we may risk thin shoulders or weak impact zones, so we tune again.
Mold design also includes venting and engravings. Good venting lets air escape so glass flows and forms details without blisters or short shots. Capacity marks or branding engravings must not trap glass or create stress points.
When we lightweight a design, the role of gob weight and NNPB becomes even more important. A few grams removed from each bottle reduces cost and CO₂, but it also shrinks the safety margin. So the cooperation between mold engineer, forming team, and QA becomes very close. We usually run trial lots, check capacity distribution, adjust, and then lock the settings into the job file for repeat orders.
Why is annealing critical to reduce residual stress and breakage?
A freshly formed bottle looks solid. Inside, it may be full of locked-in stress. If we skip proper annealing, these invisible stresses show up later as sudden cracks on the filling line or in the customer’s hands.
Annealing slowly reheats and cools bottles around the glass annealing point so internal stresses relax; this reduces spontaneous breakage, improves thermal shock resistance, and stabilizes dimensional behavior over the bottle’s life.
What happens in the annealing lehr
After forming, bottles leave the IS machine on a conveyor. They are very hot, but the surface and the interior do not have the same temperature. The outside cools faster, which creates stress between the skin and the core.
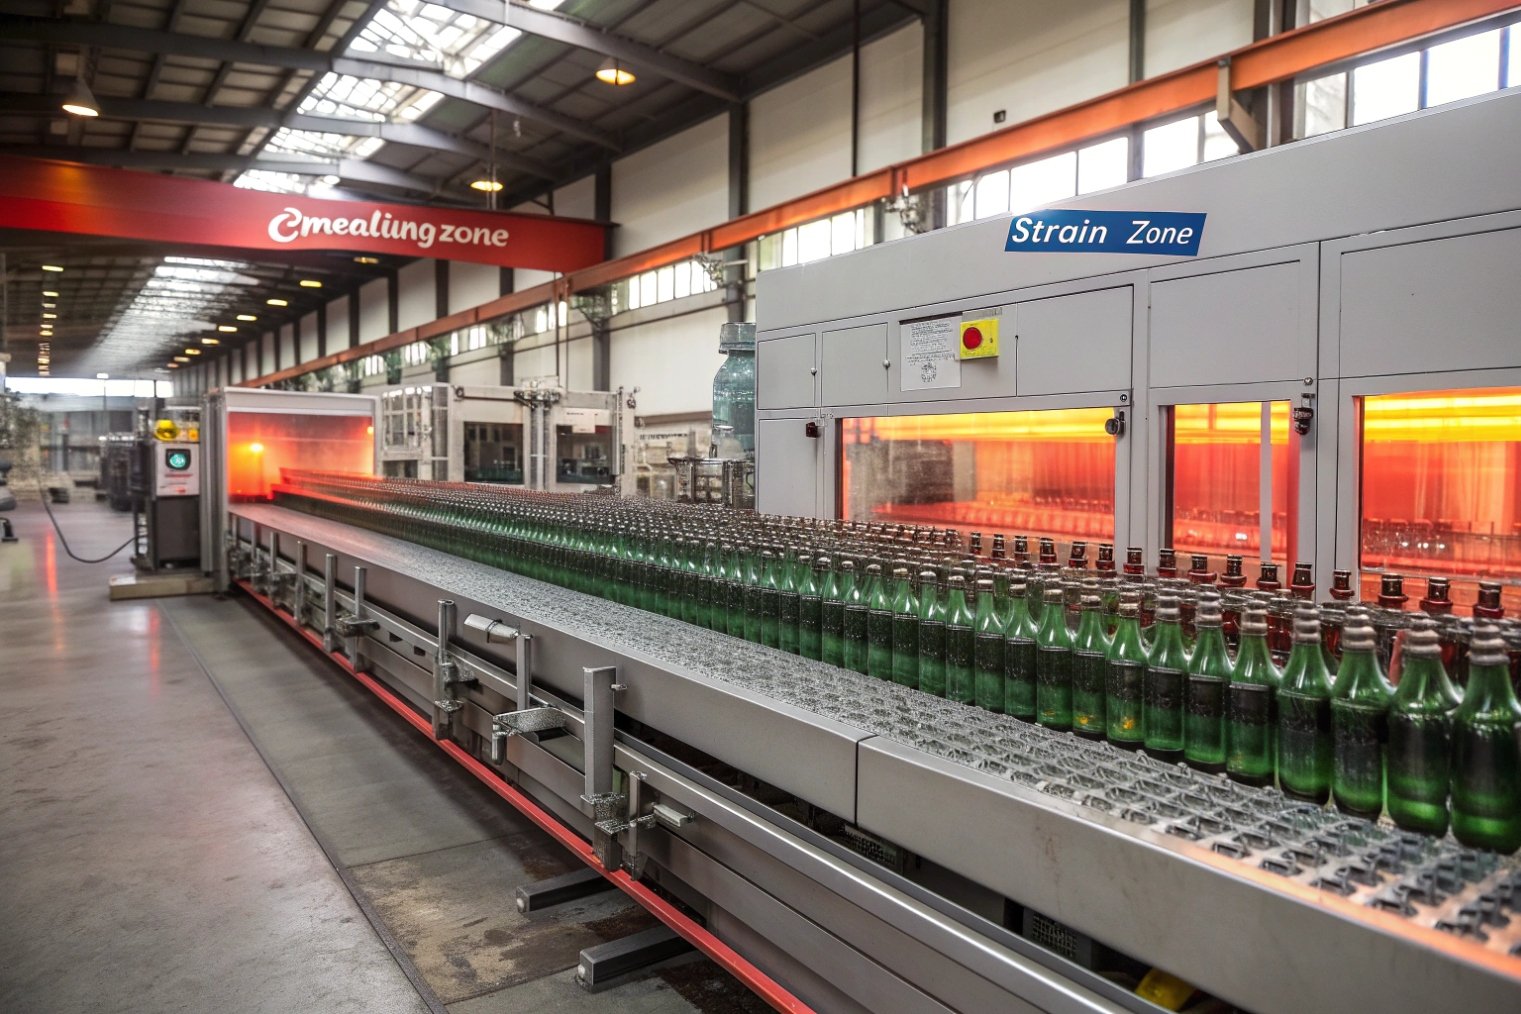
The annealing lehr 5 is a long tunnel oven. Its job is simple on paper:
- Bring bottles to a uniform temperature near the annealing point of the glass.
- Hold them long enough for stress to relax.
- Cool them slowly through the critical zone.
- Then cool faster to room temperature.
The exact temperatures and times depend on glass composition, bottle weight, and wall thickness. A tall, heavy wine bottle needs more gentle cooling than a small sauce bottle. If the lehr is too cold or too fast, stress does not relax. If it is too hot or too slow, we waste energy and lower output.
How annealing connects to breakage and coatings
Residual stress makes bottles sensitive to:
- Thermal shock (hot fill, pasteurization, cold water)
- Mechanical impact (conveyors, packing, transport)
- Surface damage (scratches, abrasion)
Good annealing reduces tension inside the glass. This improves both thermal and mechanical performance.
Right after forming, many plants apply a hot-end tin-oxide coating. This thin layer strengthens the surface. After annealing, a cold-end polyethylene or wax coating goes on to reduce bottle-to-bottle friction and scratching. These hot-end and cold-end bottle coatings 6 only work well when annealing is stable—because high stress plus a small scratch is a common path to breakage.
We check annealing quality with polariscopes. These devices show colored patterns where stress exists. With experience, we can “read” these patterns and adjust the lehr to reach a clean, balanced result before we release the job to full production.
How are QA checks (dimensional, pressure, leakage) performed inline?
Many people still imagine glass inspection as one worker holding a bottle against the light. On a modern line, cameras, lasers, and sensors inspect every bottle in milliseconds.
Inline QA uses automatic inspection machines to check dimensions, finish geometry, wall thickness patterns, inclusions, cracks, pressure resistance, and leakage, so out-of-spec bottles are rejected before packing.
Inline dimensional and visual inspection
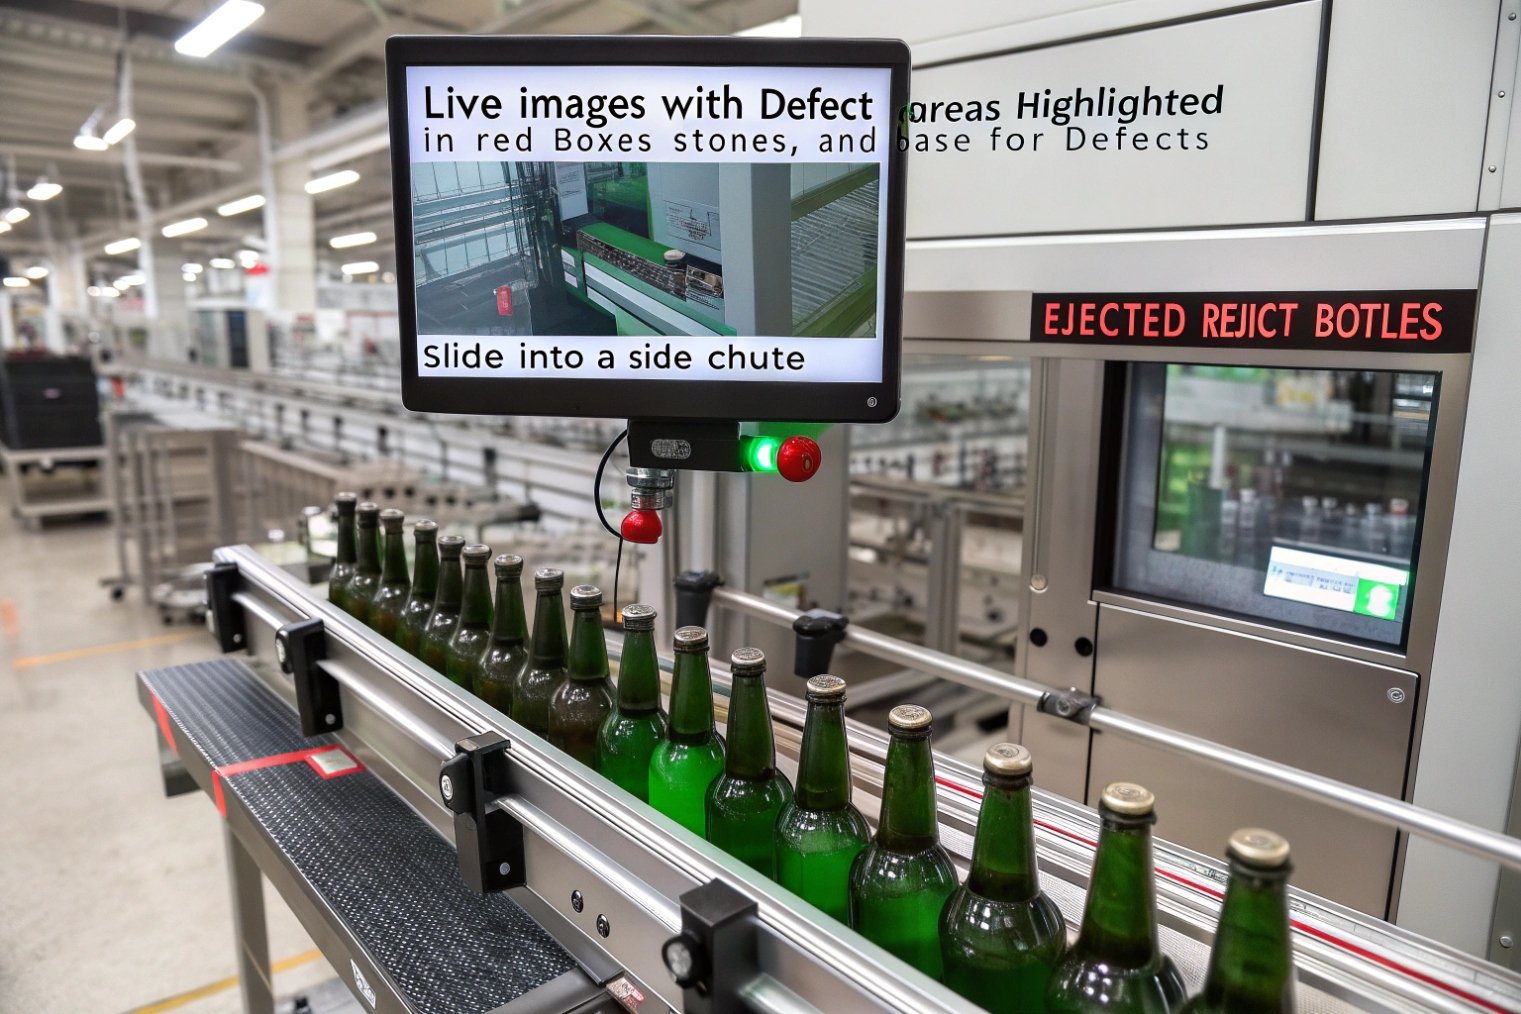
After annealing and cold-end coating, bottles pass through automatic inspection equipment. The exact setup depends on plant and product, but it often includes:
- Finish gauges to check thread, bore, and sealing surfaces
- Body and base vision systems to find blisters, stones, and cracks
- Dimensional checks for height, diameter, and lean
- Wall thickness or symmetry checks, sometimes with multiple cameras
Here is a simple view of what we look for:
| Check type | Main focus |
|---|---|
| Dimensional | Height, diameter, finish diameter, lean |
| Finish inspection | Chips, out-of-round, thread defects |
| Body / base defects | Stones, blisters, checks, sinks, swirls |
| Wall distribution | Thin spots, heavy sections |
| Stress patterns (sample) | Local stress, poor annealing |
These systems sort bottles by cavity. When one cavity is drifting out of tolerance, the machine can flag it. The forming team can then adjust that specific section, instead of guessing across the full machine.
Pressure, top-load, and leakage testing
For many beverage and food bottles, we also test mechanical performance. Not every single bottle passes through a destructive test, but we use sample testing and statistical control.
Typical tests include:
- Internal pressure test for carbonated or hot-filled products (often aligned to ASTM C147 internal pressure strength 7)
- Top-load test to see how much vertical force the bottle can handle on a pallet or filling line
- Thermal shock tests (sample based) to check resistance to temperature changes
- Leakage tests with closures, often done at the brand owner’s filling line
Some plants also run inline pressure testers that apply water pressure to each bottle and reject any that fail before packing.
When we combine these tests with good process data, we build a full picture:
- If pressure failures rise, we look at wall thickness, gob weight, and mold temperature.
- If leaks rise, we check finish dimensions, annealing, and cold-end coating.
- If dimensional rejects rise in one cavity, we adjust that section or remove it from production.
This closed loop between forming, annealing, and QA is what keeps breakage rates low and customer complaints under control. For long-term programs, we lock settings into job recipes so repeat orders run under the same conditions.
Conclusion
From batching and melting to gob control, mold design, annealing, and inline QA, every step in glass bottle manufacturing works together. When these steps stay in balance, the final bottle is strong, stable, and ready for your brand’s product.
Footnotes
-
Overview of the standard raw materials used to make container glass and why each matters. ↩ ↩
-
Explains how cullet supports energy savings and furnace stability in glassmaking. ↩ ↩
-
Clear definition of what a forehearth does between the furnace and forming machines. ↩ ↩
-
Practical explanation of gob delivery and IS forming steps (blank mold → blow mold). ↩ ↩
-
Simple guide to lehr zones and why controlled cooling prevents residual stress failures. ↩ ↩
-
Explains hot-end vs cold-end coatings and how they reduce scratching and breakage risk. ↩ ↩
-
Standard reference for measuring breaking strength of glass containers under internal pressure. ↩ ↩


