A shoulder crack feels surprising because the base gets all the blame. Then the same bottle breaks near the shoulder right after a heat step, and the root cause is missed.
Yes. Thermal expansion can cause shoulder breakage when temperature gradients create tensile stress in the shoulder transition. The shoulder is a high-curvature zone with thickness changes, so thermal stress can concentrate and trigger cracks, especially if residual stress or surface damage exists.

Shoulder failures are thermal-gradient problems plus geometry problems
The shoulder sits between the neck and the body. That transition is not just cosmetic. It changes wall direction, thickness distribution, and how heat flows. During hot-fill, the upper body and shoulder often heat quickly because hot liquid splashes and rises, and because headspace heat warms the upper zone. During cooling, the shoulder can cool unevenly due to air flow, rinses, and contact points near guides and starwheels.
If the shoulder heats or cools faster than the surrounding glass, it becomes a local expansion mismatch zone. Local mismatch creates tensile stress at the surface. Glass fails in tension, and the shoulder has several crack starters:
- curvature and stress concentration
- thickness gradients from forming
- embossing or labeling features near the shoulder
- higher likelihood of scuffs from line handling at guides
Shoulder cracks also get worse when residual stress exists from lehr imbalance. A bottle can leave the annealing lehr with stored tensile stress in the shoulder. Then a thermal cycle adds more tension. The total stress crosses the limit and a crack runs.
This is why shoulder fractures can appear after:
- hot-fill and early cool-down
- pasteurization cycling
- hot labeling (shrink sleeve) after cold fill
- warm warehouse storage followed by cold handling
| Shoulder crack trigger | Why it concentrates stress | What it looks like | What it often gets blamed on |
|---|---|---|---|
| hot-fill splash zone | fast heating of upper wall | shoulder checks | “bad glass” |
| uneven cooling air jets | one-side cooling | one-side shoulder split | “random breakage” |
| shrink sleeve tunnel | local hot band | ring cracks near shoulder | “label issue” |
| residual stress | lower margin | cavity-biased cracks | “capper problem” |
The sections below answer your questions in detail.
Why does the shoulder area develop high thermal stress during hot fill and rapid cooling?
The shoulder sees fast heat changes and it has geometry that turns those changes into stress.
The shoulder develops high thermal stress because hot-fill heating and rapid cooling create steep temperature gradients in a curved transition zone. The inside surface warms quickly from hot liquid and headspace heat, while the outside surface can cool unevenly from air, rinses, and contact. The curved shoulder geometry restrains expansion, creating tensile stress that can initiate cracks.
Heat-in factors unique to the shoulder
- Hot product can splash and wet the shoulder higher than the fill line.
- Headspace heat warms the shoulder from inside even above the fill line.
- The shoulder is often thinner than the base, so it warms quickly.
Cool-down factors unique to the shoulder
- Airflow around the shoulder can be uneven due to machine guards and guides.
- Shoulder zones can be hit by rinses or steam/air from nearby processes.
- Bottles can touch rails near the shoulder, creating localized cooling.
Why the curved transition raises stress
Curvature and thickness transitions constrain movement. When one part of the shoulder wants to expand, nearby glass resists. That creates a stress peak at the shoulder radius and at thickness step locations.
| Thermal condition | What happens in the shoulder | Stress outcome | Crack risk |
|---|---|---|---|
| fast heat-in | inner surface expands first | tension at outer surface | medium to high |
| fast cool-down | outer surface shrinks first | tension at outer surface | high |
| uneven one-side cooling | circumferential mismatch | bending stress | high |
Shoulder cracks are more common when rapid cooling begins before the shoulder temperature becomes uniform.
How do shoulder radius, thickness transitions, and bottle shape influence crack initiation at the shoulder?
The shoulder is a classic “stress concentrator” because of curvature. Design decides how sharp that concentrator is and whether thickness makes it worse.
A smaller shoulder radius increases stress concentration, abrupt thickness transitions create stress hinges, and bottle shapes with strong shoulders or flat panels increase constraint and uneven cooling. Smoother radii and gradual thickness transitions reduce the peak tensile stress that initiates cracks.

Shoulder radius: bigger and smoother is usually safer
A tight shoulder radius concentrates stress. A larger radius spreads stress across more area. It also reduces sensitivity to small surface flaws.
Thickness transitions: avoid step changes
Common shoulder thickness issues:
- thick neck ring transitioning to thinner shoulder
- uneven parison distribution causing one-side thickness
- embossed features creating local thick nodes
A step change behaves like a hinge. Thermal strain focuses at the step. Cracks start at the hinge line.
Bottle shape: design features that raise shoulder risk
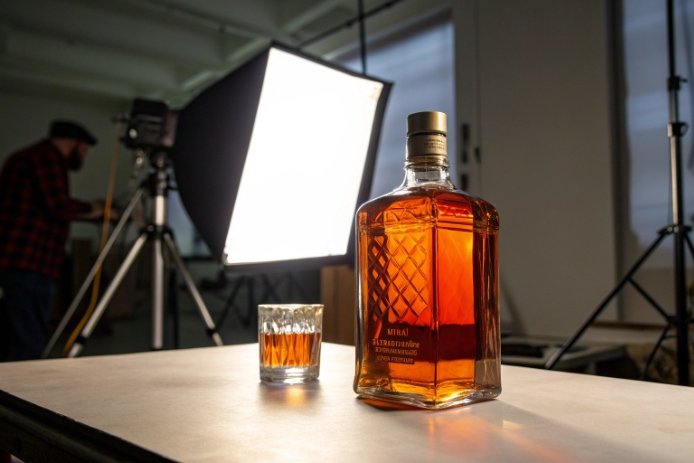
- squared shoulders and “whiskey-style” profiles
- strong shoulder angles
- flat panels that restrict expansion and create bending stress
- tall narrow shoulders that see more temperature gradient near headspace
A rounder shape is usually more forgiving under thermal cycling.
| Shoulder design feature | How it affects thermal stress | Typical crack pattern | Better alternative |
|---|---|---|---|
| tight radius | higher stress concentration | small checks at radius | larger blended radius |
| abrupt thickness step | stress hinge | ring crack line | gradual thickness gradient |
| one-side thick shoulder | uneven expansion | one-side vertical split | improved parison control |
| sharp square shoulder | constraint and local peaks | corner-origin cracks | softer shoulder geometry |
Design changes do not need to be dramatic. Even small radius increases and smoother blends can reduce shoulder crack rates sharply.
What role do residual stress and poor annealing play in shoulder fractures after thermal cycling?
Thermal cracking is easier when the bottle already carries stress. Poor annealing does exactly that.
Residual stress from poor annealing reduces the shoulder’s safety margin. If the lehr profile is too fast, uneven, or not tuned for the bottle’s mass distribution, tensile stress can remain locked in the shoulder. Thermal cycling then adds more stress, pushing cracks to initiate and grow, often showing cavity-to-cavity failure patterns.

Why shoulder residual stress can be high
- shoulder cools fast because it is thinner and exposed to airflow
- lehr airflow imbalance can cool one side more
- shoulder geometry may shield airflow, creating uneven cooling zones
Residual stress often shows as:
- cracks biased to one lane or one side of the lehr
- failures clustered in certain cavities
- cracks that happen at lower ΔT than expected
How residual stress combines with thermal stress
The total stress is additive in a practical sense:
- residual tensile stress + thermal tensile stress = higher crack risk
Even a small thermal event can trigger a crack if residual stress is high.
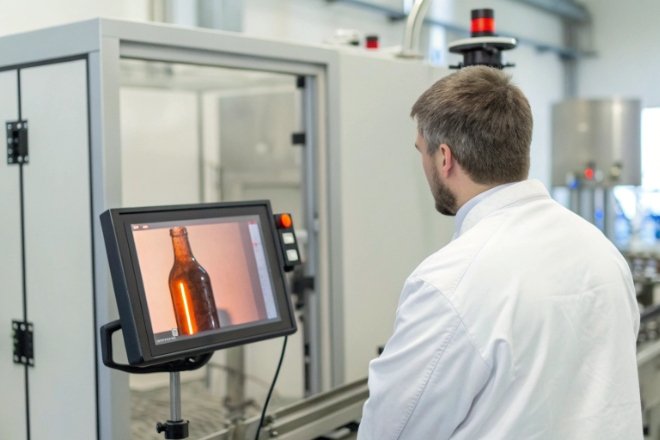
How to detect this before shipping
- polariscope inspection focused on shoulder zones
- trend tracking by cavity and shift
- correlation of shoulder failures with lehr adjustments and speed changes
| Annealing issue | Shoulder impact | What it looks like | Best fix |
|---|---|---|---|
| under-annealing | stored stress remains | cracks at low ΔT | increase soak or adjust speed |
| uneven airflow | one-side stress | one-side shoulder cracks | balance lehr airflow |
| uneven loading | temperature non-uniformity | lane-based failures | improve loading pattern |
| process drift | variable stress | “random” shifts | tighter lehr control limits |
A shoulder-safe bottle is usually the one with low, uniform stress patterns and tight cavity consistency.
How can you prevent shoulder breakage with design optimization, controlled cooling, and thermal shock validation tests?
Shoulder breakage prevention is a system job. It needs a safer geometry, lower residual stress, and a cooling curve that avoids sudden outer-wall shocks.
Prevent shoulder breakage by increasing shoulder radii and smoothing thickness transitions, tightening parison and thickness control to avoid one-side shoulders, improving annealing uniformity to reduce residual stress, and using staged cooling that avoids early cold shocks. Validate with thermal shock step tests plus hot-fill/pasteurization line simulations and crack-origin monitoring.
Design optimization actions
- increase shoulder radius and blend smoothly into neck and body
- reduce abrupt thickness steps between neck ring and shoulder
- avoid embossing and sharp features near high-heat zones
- improve wall thickness uniformity around circumference
Cooling and process optimization actions
- precondition bottles if they arrive cold
- control fill temperature window tightly
- delay strong cooling on the shoulder until temperature equalizes
- balance airflow and avoid one-side impingement
- manage stop-start events with a defined restart protocol
Annealing controls
- tune lehr profile for the bottle’s actual mass distribution
- monitor shoulder stress patterns with a polariscope
- enforce cavity-level controls and maintenance
Validation tests that catch shoulder risk
A robust validation stack includes:
- thermal shock step test to compare designs and batches
- hot-fill simulation including real cooling timing and air/rinse patterns
- pasteurization cycling if applicable
- polariscope stress inspection pre- and post-cycle
- thickness mapping at shoulder transition
- crack origin mapping and base/shoulder check monitoring after a 24h hold
| Control or test | What it prevents | What to look for | Pass signal |
|---|---|---|---|
| shoulder radius increase | stress concentration | fewer radius-origin cracks | crack origin shifts away |
| staged cooling | outer-wall shock | fewer early shoulder checks | defect rate drops after cooling change |
| polariscope monitoring | residual stress | stable low shoulder stress | no cavity outliers |
| thermal shock step test | low margin designs | ΔT threshold and origin | stable higher threshold |
| line simulation | real-world exposure | failures by station | no cracks after worst-case cycle |
Prevention works best when the plant uses one clear metric: shoulder crack origin rate per cavity per shift. When that number stays flat across seasons, the system is stable.
Conclusion
Thermal expansion can break bottles at the shoulder when gradients and geometry create tensile stress. Smooth shoulder design, low residual stress, staged cooling, and strong validation testing prevent shoulder fractures.


