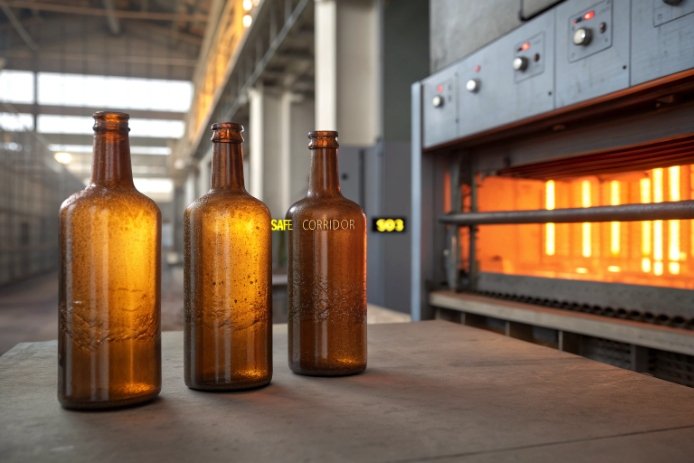
Bad amber happens fast: the bottle looks “kind of brown,” the melt runs sticky, and the next day the color drifts and cords show up.
Designing amber glass is a balance problem: lock a stable soda-lime base for viscosity, then tune the iron–sulfur–carbon system with furnace redox and SO₃ control so the shade stays inside spec, shift after shift.

A practical framework for balancing color, viscosity, and production stability
Amber is not “one ingredient.” It is a controlled redox color system sitting on top of a base glass that must still melt, refine, and form like a normal container glass. In practice, the workflow is simple: (1) pick a base composition window that gives the right working range in the forehearth and IS machine, (2) choose an amberant package that hits the target dominant wavelength and darkness at your bottle thickness, and (3) control oxygen potential and retained sulfur so the chromophore forms evenly and does not stripe.
Step 1: Build a base glass that gives a predictable viscosity window
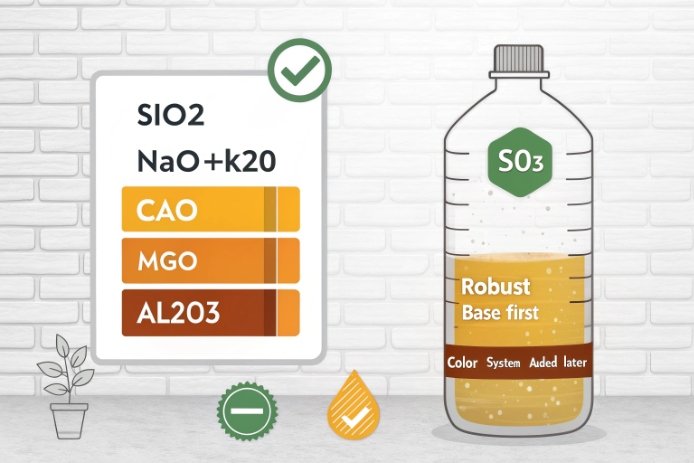
Most amber bottles still use soda-lime-silica chemistry, so the “big four” (SiO₂–Na₂O–CaO–MgO) do most of the viscosity work. SiO₂ and CaO push viscosity up and improve durability. Na₂O pulls viscosity down and helps melting. MgO sits in the middle: it can help durability and devitrification 1 control, but it also changes how the melt behaves in the working range.
| Oxide | Typical role in container amber | If increased too much | What I adjust first |
|---|---|---|---|
| SiO₂ | Backbone, durability, raises viscosity | Harder melting, higher fuel/electric demand | Add a touch of Na₂O or raise melting temp |
| Na₂O | Flux, lowers viscosity, speeds melting | Lower durability, more volatility/foam risk | Trade back with CaO/MgO, watch fining |
| CaO | Stabilizer, durability, raises viscosity | Higher liquidus risk, slower homogenization | Slightly increase Na₂O or MgO |
| MgO | Stabilizer, durability, affects liquidus | Can change devit behavior in forehearth | Balance with CaO and small Al₂O₃ |
Step 2: Treat amber as an “iron + sulfur + redox” product, not just Fe₂O₃ %
The visible brown comes mainly from an iron–sulfur chromophore that needs the right valence state during fining and cooling. Fe₂O₃ sets the available iron pool. Sulfur (often from Na₂SO₄ plus what comes in with cullet) sets the sulfur pool. Carbon (or other reducers) plus furnace atmosphere sets how much sulfur becomes sulfide and how much iron sits as Fe²⁺ vs Fe³⁺. If one leg moves, color moves.
| Target market | Typical amber direction | What actually drives it | Main risk |
|---|---|---|---|
| Beer | Darker, stronger blue-light cut | Lower transmission in 350–500 nm band | Over-reducing near the doghouse → streaks |
| Pharma | “Compliant amber” and inspectable | Meeting a defined UV window spec | Shade drift when cullet source changes |
| Cosmetics | Often lighter amber for branding | Appearance + “good enough” UV protection | Under-protecting blue light for actives |
Step 3: Lock production stability by controlling the variables that drift
Color drift in continuous furnaces usually comes from three places: cullet chemistry changes (iron and sulfur inputs), batch redox swings (carbon and organics), and SO₃ retention swings (sulfate carryover and fining temperature). When the melt has zones with different redox, cords and tint streaks appear because the chromophore forms differently in each zone.
| Drift source | How it shows up on bottles | The control habit that helps most |
|---|---|---|
| Cullet iron up/down | Amber density shifts without recipe change | Gate cullet by color + run quick iron checks |
| Organic contamination in cullet | Local dark streaks, cords | Better cullet cleaning + stable doghouse burn |
| Sulfate carryover swings | Over-ambering or “dirty brown” | Stabilize Na₂SO₄ feed and fining temperature |
| Combustion air ratio swings | Day/night shade movement | Track O₂ in exhaust and keep setpoints tight |
If these three steps are followed, the next sections become easier: base ratios become a “window,” amberants become “dose + redox,” and quality becomes “control charts and discipline,” not firefighting.
Now the deeper questions.
Which base glass ratios (SiO₂–Na₂O–CaO–MgO) and amberants (Fe₂O₃, sulfur, carbon/Na₂SO₄) achieve the target shade and melt viscosity?
When the bottle color misses spec, teams often blame Fe₂O₃ first. That is the slowest and most expensive knob to turn.
A better method is to hold a proven soda-lime base window for viscosity, then tune shade with small moves in Fe₂O₃ plus controlled sulfur and batch redox (carbon vs Na₂SO₄) so the iron–sulfur chromophore forms consistently.
A workable base window for most amber container bottles
For a stable melt viscosity and forming behavior, I like to start from a narrow base window and only shift inside it. A practical starting point (weight %) for the big four is:
-
SiO₂: 70.5–73.5
-
Na₂O: 12.5–14.5
-
CaO: 8.5–10.5
-
MgO: 2.0–4.0
This is not the whole glass. Small Al₂O₃ (often ~1–2%) helps durability and viscosity stability 2, and minor K₂O can ride along with raw materials. Still, if the big four are stable, the forehearth feels stable.
Amberant packages that actually hit color without breaking refining
Amber is usually built with iron + sulfur under reducing conditions. In container practice, sulfur input often comes from Na₂SO₄ (as fining + sulfur source) plus cullet. Reduction comes from carbon (coke/graphite) and furnace atmosphere.
Below is a practical “starting map” for 2–3 mm wall thickness bottles. The numbers are typical working ranges used in industry discussions; final settings must be tuned with your thickness, furnace, and cullet stream.
| Shade target | Fe₂O₃ in glass (wt%) | SO₃ retained (wt%) | Carbon addition style | Notes |
|---|---|---|---|---|
| Light amber (cosmetics branding) | 0.25–0.45 | 0.05–0.15 | Low, avoid strong reduction | Better inspection, less UV cut |
| Standard amber (general food/beer) | 0.35–0.65 | 0.10–0.25 | Moderate, stable redox | Most “classic” amber look |
| Dark amber (strong light protection) | 0.55–0.90 | 0.15–0.30 | Moderate–high but controlled | Watch cords and sulfide streaks |
How this ties back to melt viscosity
Fe₂O₃ at these levels does not move viscosity like SiO₂ or Na₂O do, but the redox package can change fining behavior, foaming, and heat transfer. A melt that foams or carries cords can feel “more viscous” at the machine because the temperature and homogeneity are not stable.
So the rule in my notebook is simple:
-
Fix viscosity with the big four and forehearth temperature profile.
-
Fix shade with Fe₂O₃ + sulfur + redox, not with temperature tricks.
-
Avoid “heroic carbon moves.” Use small, frequent corrections tied to redox measurements and color readings.
How do furnace redox (oxygen potential, Fe²⁺/Fe³⁺) and SO₃ control prevent cords and over-ambering?
Cords in amber glass are painful because the defect looks like a forming problem, but it often starts as chemistry and redox layering.
Stable amber needs a stable oxygen potential: keep Fe²⁺/Fe³⁺ and sulfur species uniform through melting and fining, and keep SO₃ retention steady so you do not build redox bands that turn into visible cords.
Why redox gradients create cords in amber
In amber, small local changes in oxygen potential can change which sulfur species exist in the melt and how iron valence balances. That means two nearby melt streams can cool into two slightly different absorption spectra. When those streams do not fully homogenize, the boundary becomes a cord.
Common “cord makers” in amber furnaces:
-
Doghouse reduction zones from organics in cullet or uneven combustion.
-
Batch blanket chemistry waves when Na₂SO₄ feed or carbon feed pulses.
-
Temperature waves that change sulfate decomposition and retained SO₃.
Practical control points that work in continuous production
I focus on three measurable levers:
1) Combustion and atmosphere control
-
Keep excess air and burner settings steady.
-
Use stack O₂ trends as a stability indicator.
-
Avoid sudden pull rate changes that force big air/fuel changes.
2) Batch redox control
-
Treat carbon as a trim, not a main engine.
-
Track a batch redox number 3 or an internal “redox index” tied to your raw materials.
-
Keep cullet organics low so carbon corrections stay small.
3) SO₃ / sulfate stability
-
Keep Na₂SO₄ addition consistent.
-
Keep fining temperature and residence time steady.
-
Watch for foaming events because they often signal sulfate chemistry swings.
A troubleshooting table for cords and over-ambering
| Symptom | Most likely chemistry cause | First correction | Second correction |
|---|---|---|---|
| Dark streak cords | Local over-reduction (organics/carbon) | Improve cullet cleaning + doghouse burn | Reduce carbon trim, tighten feed control |
| Overall amber too dark | Redox shifted reducing or SO₃ retention up | Reduce reducer or raise oxidation slightly | Trim Na₂SO₄ and stabilize fining temp |
| Amber too light/greenish | Too oxidizing or sulfur too low | Add controlled reducer or sulfur source | Verify cullet color mix and iron input |
| Bubbles + color drift | Sulfate fining unstable | Stabilize Na₂SO₄ and temperature | Review residence time and pull swings |
The goal is not “maximum reduction.” The goal is uniform redox. Uniform redox produces uniform chromophore formation, and that kills cords at the root.
What cullet percentage and refining/decolorizing choices keep amber color stable in continuous production?
Cullet saves energy and improves melting, but it can also move amber color faster than any other input because it brings iron, sulfur, and unknown organics.
For stable amber in continuous runs, use the highest cullet percentage your supply can support without color contamination, then choose refining that does not fight your redox (often sulfate-based fining with disciplined control).
A realistic cullet range for amber container lines
In many container plants, amber can run with medium to high cullet shares when the cullet stream is well sorted by color. A practical operating band many teams use is 30–70% cullet, with higher levels possible when in-house cullet quality is excellent and color contamination is low.
The key is not the single number. The key is the variance in cullet chemistry. A stable 55% can be safer than an unstable 35%.
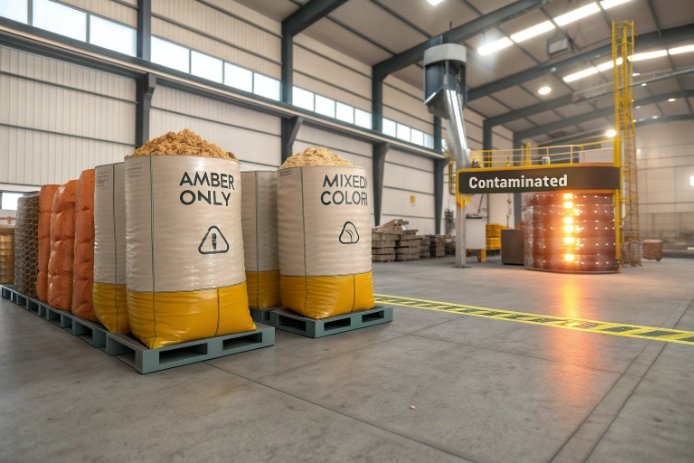
Sorting strategy matters more for amber than for flint
Amber is forgiving about tiny iron increases, but it is not forgiving about mixed-color cullet that changes the redox balance or the sulfur input. In practice:
-
Use dedicated amber cullet whenever possible.
-
Limit flint/green contamination with tight supplier specs.
-
Track incoming cullet moisture and organics because both push reduction and foaming.
Refining choices that do not destabilize color
Amber container glass often relies on sulfate fining (Na₂SO₄) because it fits soda-lime melts 4 and supports bubble removal. The catch is that sulfate fining and amber coloration share sulfur chemistry, so changes in fining can change color.
I prefer refining choices that keep the redox system predictable:
-
Keep sulfate fining consistent and avoid big swings in carbon trim.
-
Consider physical aids like bubbling or mixing where available, because better homogenization reduces cord visibility.
-
Avoid decolorizing systems meant for flint glass (like selenium/cobalt balancing) in amber lines unless you have a very specific reason. They can move hue in ways that are hard to control.
| Production goal | Cullet approach | Refining approach | What I avoid |
|---|---|---|---|
| Maximum color stability | 40–60% well-sorted amber cullet | Stable Na₂SO₄ + stable fining temp | Mixed cullet with organics |
| Low cost / high recycle | 60–80% with strict incoming controls | Add homogenization help (bubbling/mixing) | Large carbon “rescue” additions |
| Easy inspection amber | Moderate cullet + tighter iron control | Keep redox slightly less reducing | Over-darkening to hide defects |
The shortest path to stable amber is boring: consistent cullet, consistent feeds, consistent furnace conditions.
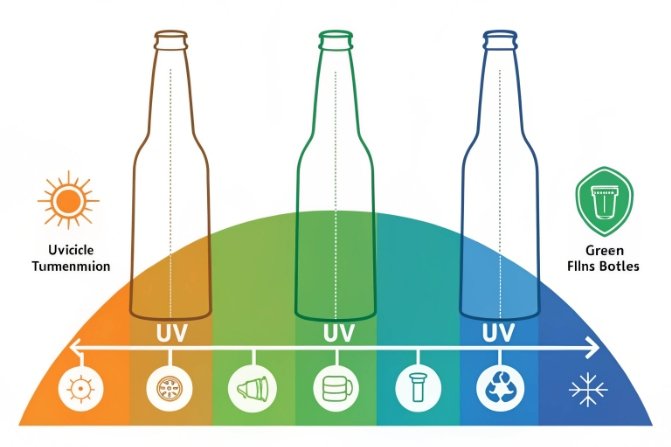
What UV–visible transmittance targets should beer, pharma, and cosmetics meet with amber glass?
Many teams talk about “UV protection,” but the damaging light band depends on the product. Beer is very sensitive in the blue-violet region, pharma often targets a defined UV window, and cosmetics depends on the active ingredients.
Set transmittance targets by product risk: beer needs strong blocking in the 350–500 nm band, pharma often targets strict limits in 290–450 nm, and cosmetics should copy pharma targets when actives like retinoids or vitamins are present.
Beer: protect against blue-violet light, not only “UV”
Beer lightstruck reactions 5 are efficient in the blue part of the spectrum, so amber has value because it cuts that band. For beer, I like targets that are easy to verify and linked to shelf-life risk:
-
At 400–450 nm: keep transmission very low for hop-forward beers.
-
At 350–400 nm: aim for near-zero transmission where practical.
-
Consider reporting an integrated metric over 350–500 nm, since that band drives flavor damage.
Pharma: meet a defined compendial window
Pharma amber glass is often judged by a compendial spectral transmission 6 requirement across a UV-to-blue window. This pushes amber to be functional, not only pretty. If the bottle is meant to be “light-protective,” the target is typically expressed as a maximum transmission limit across the specified wavelength range.
Cosmetics: match the target to the active ingredients
Cosmetics is the wild west. Some brands want a light amber for aesthetics, but actives like retinoids 7 and some vitamins can degrade under UVA and blue light. When the formula has a real light sensitivity risk, I suggest using a pharma-like UV window target and then checking blue light in the 400–450 nm band too.
| Segment | Practical target spec to request from a supplier | Why it is reasonable |
|---|---|---|
| Beer (hoppy / light-sensitive) | Very low transmission in 350–500 nm, with extra focus on 400–450 nm | This band drives lightstruck flavor reactions |
| Pharma (light-resistant pack) | Max transmission limit across 290–450 nm (supplier should state the exact compliance basis) | This window is used in pharmacopeial testing 8 |
| Cosmetics (actives present) | Use 290–450 nm control plus a check in 400–450 nm | UVA/blue light can degrade some actives |
| Cosmetics (low sensitivity) | Lighter amber acceptable if shelf-life tests pass | Branding may matter more than maximum blocking |
The most important habit is to tie transmittance targets to your wall thickness, because a “good” spectrum at 3 mm can fail at 1.8 mm. So I always ask for spectral data 9 at the real bottle thickness, not a generic brochure curve.
Conclusion
A stable amber bottle comes from discipline: a tight base-glass window, a controlled iron–sulfur–redox system, clean cullet 10, and clear transmission targets tied to real bottle thickness.
Footnotes
-
Devitrification is the unwanted crystallization of glass during cooling, which can be managed by controlling MgO levels. ↩
-
Maintaining stable viscosity is crucial for consistent forming behavior in automated glass bottle production. ↩
-
Calculating the batch redox number helps predict the final oxidation state of the melt, essential for amber color control. ↩
-
Soda-lime glass formulations are standard for containers, providing a reliable balance of meltability and durability. ↩
-
Lightstruck reactions in beer, often called skunking, occur when blue-violet light interacts with hop compounds. ↩
-
Spectral transmission analysis confirms whether glass packaging meets specific light-blocking standards for sensitive products. ↩
-
Active cosmetic ingredients like retinoids are sensitive to light degradation, requiring protective amber packaging. ↩
-
Pharmacopeial testing standards define strict light transmission limits for glass containers holding light-sensitive drugs. ↩
-
Accurate spectral data measurement on the actual bottle thickness ensures the packaging meets shelf-life requirements. ↩
-
Clean, well-sorted cullet is vital for maintaining amber color stability and preventing redox drift in the furnace. ↩


