A label that lifts, wrinkles, or skews makes the whole product look cheap. It also triggers rework, returns, and angry distributors. Most failures start with small prep mistakes.
Correct glass bottle labeling comes down to three things: a truly clean, dry surface with verified surface energy, the right label system for the bottle geometry, and controlled application conditions with simple QC checks to stop defects early.

Labeling is not only “stick the label on.” It is a system that includes glass cleanliness, coatings, adhesives, humidity, temperature, and how bottles move on the line. When the system is controlled, label problems drop fast and the brand looks consistent on every shelf.
How should glass be prepped, and what dyne levels actually matter?
Most label problems get blamed on the adhesive. In reality, the bottle surface is often the issue. Oil mist, mold release carryover, cold-end coatings, and fingerprints can all block wet-out.
Clean, dry glass usually labels easily because glass has high surface energy, but contamination can drop it below what PSA adhesives need. A practical target is to keep the labeled zone behaving like ≥40 dynes/cm and verify it with quick dyne pen checks and water-break behavior.
What “clean enough” looks like on glass
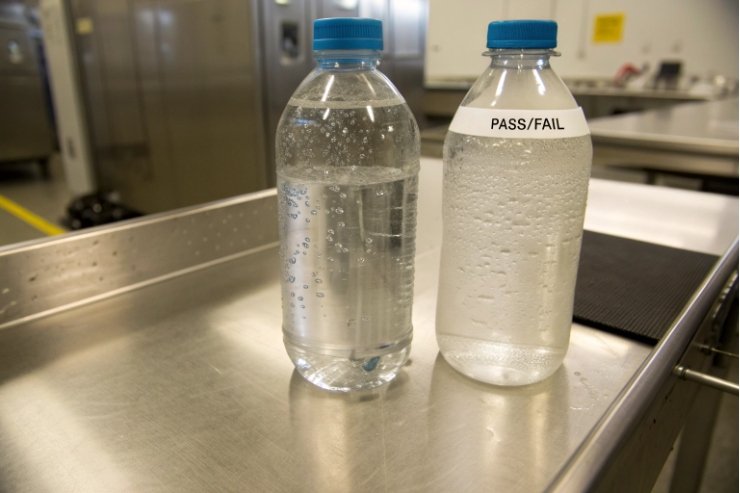
A label adhesive needs to flow into the micro-texture of the bottle. If the surface has oil or detergent film, the adhesive sits on top like it is on wax. The fastest visual test is a simple water-break check 1:
- On clean glass, water sheets and holds as a uniform film.
- On contaminated glass, water beads or breaks into islands.
For small batches, wiping with isopropyl alcohol (IPA) 2 and a lint-free cloth is a practical start. For production, a controlled rinse or air-ionized blow-off is often better, because hand wiping can re-deposit oils.
Dyne level: how to use it without over-thinking it
Glass normally has high surface energy, so dyne checks are mostly a contamination alarm, not a glass limitation. A useful workflow is:
1) Test bottles at receiving (random sampling).
2) Test bottles after your rinse/blow-off step.
3) Test again if labels start lifting.
Use dyne pen checks for surface energy 3 as a fast pass/fail screen. If dyne drops in only one zone, that often points to a coating or handling transfer at that zone (for example, shoulder rub or heel ring contact).
What to do when dyne is “good” but adhesion still fails
This is common on coated, frosted, painted, or metallic-decorated bottles. The surface energy can look fine, but the coating can be soft, dusty, or low-energy in real life. In those cases, the best fixes are:
- change the adhesive grade (higher tack acrylic systems often help)
- increase application pressure and dwell time
- avoid labeling on heavy curves, emboss, or seams
- add a primer only if the label supplier recommends it
| Prep step | Why it matters | Quick pass/fail sign | Common correction |
|---|---|---|---|
| Dust removal | stops bubbles and edge lift | no fibers in label edge | filtered air blow-off |
| Degrease (IPA or alkaline wash) | removes oil and silicone | water sheets on panel | adjust wash dwell/temp |
| Drying | prevents immediate lift | no condensation at touch | keep bottle above dew point |
| Dyne/water-break check | confirms wet-out potential | ≥40 dyne behavior | find contamination source |
A simple SOP that works for most glass bottles
- Handle bottles with clean gloves.
- Do not label bottles right after cold storage.
- Keep the label panel dry, warm, and dust-free.
- If a bottle has heavy cold-end coating, validate the exact adhesive with a trial, not assumptions.
Which label type fits which bottle geometry: PSL, paper, or shrink?
A label can be perfect on a straight cylinder and fail on a tapered shoulder. The label construction must match the bottle shape and how the bottle will be used.
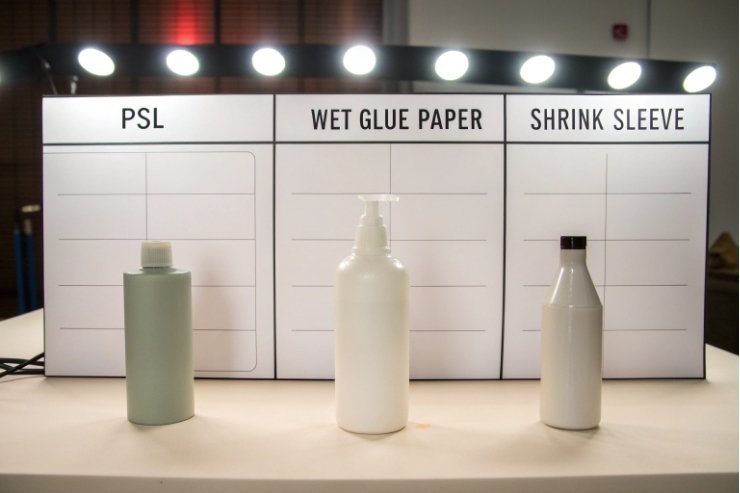
PSL (pressure-sensitive labels) are best for flat or gently curved panels with tight registration. Paper wet-glue labels are cost-effective for high-speed lines on standard shapes. Shrink sleeves handle complex shapes and full-body branding, but they add steps and can complicate recycling and scuff control.
How to choose based on shape and handling
PSL labels are the “default premium” choice because they can look sharp and feel clean. They also work well on small runs. Still, PSL needs a stable panel and consistent application pressure. If your team is aligning definitions and materials, this overview of pressure-sensitive labels 4 is a useful baseline.
Wet-glue paper labels can be very economical at scale. They can also tolerate slight panel imperfections because the glue can bridge small texture. But paper labels are sensitive to moisture, and artwork can look softer if the paper swells. Many high-speed lines run these on cold-glue labellers 5 where glue and bottle handling settings heavily influence wrinkles and skew.
Shrink sleeves solve geometry problems. If the bottle has heavy taper, embossing, or a non-round cross section, a sleeve can be the easiest way to get full coverage. The trade-off is heat shrink control, possible distortion, and extra work to keep the sleeve from scuffing in cartons. If recyclability is a requirement, align sleeve choices to the APR Design Guide 6 early so you don’t redesign late.
Match label choice to real-life conditions
Ask one honest question: will this bottle sit in ice buckets, refrigerated displays, or humid bars? If yes, paper and some adhesives need upgrades. A “dry shelf” label may fail fast in wet service.
Avoid the “wrong zone” problem
Even a great label fails if it is placed on:
- sharp shoulder transitions
- heavy taper zones
- raised seams
- deep emboss areas
If the bottle design forces labeling on a curve, consider:
- a smaller label with more margin from the curve
- a more conformable label stock
- a softer adhesive that can flow under pressure
- or switching to a sleeve
| Bottle condition | Best label option | Why it works | Watch-outs |
|---|---|---|---|
| Straight panel, premium look | PSL | crisp edges and alignment | needs clean, dry glass |
| Standard wine bottle, high volume | wet-glue paper | cost and speed | moisture can wrinkle paper |
| Heavy taper / non-round body | shrink sleeve | conforms to shape | shrink distortion, recycling issues |
| Frosted or coated bottle | PSL with matched adhesive | controlled bond | coating can lower adhesion |
| Ice bucket service | PSL + water-resistant stock | holds in wet use | test condensation and rub |
One practical tip that prevents 80% of misalignment
Use a fixed reference. The vertical seam is the simplest. If the bottle has no visible seam, use an emboss mark or a molded dot. When the reference is consistent, label skew drops immediately.
What temperature, humidity, and torque limits prevent edge lift and bubbling?
Labels fail when the adhesive cannot wet out, or when the bottle surface changes after labeling. Condensation, rapid cooling, and high humidity can all push labels into lift.
Label in a stable environment and keep bottles above the dew point. A practical target is 18–24°C with 40–60% RH, and bottles should sit long enough after labeling to build bond strength before refrigeration or case packing. Torque does not “stick” the label, but capping forces and twisting can scuff or wrinkle labels if timing and bottle handling are not controlled.
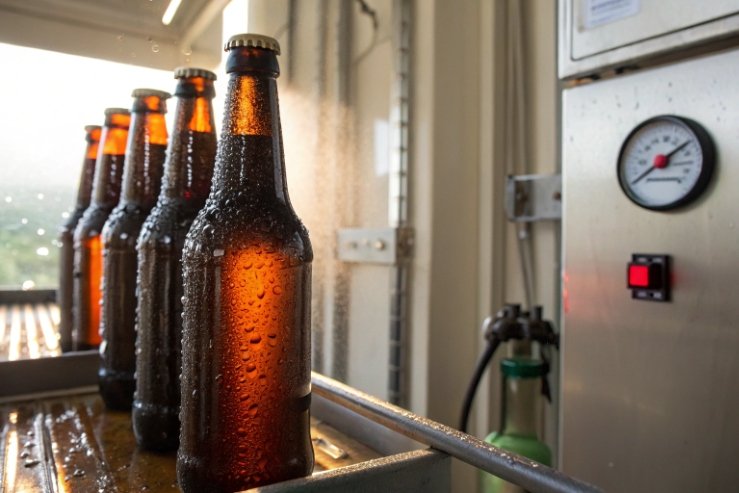
Condensation is the silent label killer
Cold bottles sweat. That thin water film blocks adhesion and causes corner lift. The easiest rule is simple: if the bottle feels cool and the room is warm, wait. Keep bottle surface temperature at least a few degrees above the dew point 7.
Adhesive dwell time matters more than people think
Many PSA adhesives build strength over hours, not seconds. If bottles go straight into cartons or cold storage, edge lift appears later. A simple practice is to hold labeled bottles for a dwell period before:
- refrigeration
- ice bucket testing
- high-speed conveyance rub
- tight case packing
Torque and handling: where the real link is
Torque can matter indirectly:
- If labeling happens before capping, the bottle can twist in chucks and wrinkle a label if the label is too high or overlaps a grip zone.
- If labeling happens after capping, capper discharge rails and back-pressure zones can rub the label edges and start lift.
- If the closure system needs very high torque, the bottle often sees more scuff and rotation on the line.
So the control is not “torque number only.” It is the full sequence: label position, cure time, and line contact points.
| Risk factor | What it causes | How it shows up | Prevention |
|---|---|---|---|
| High humidity | paper swell, edge lift | soft wrinkles, curling | control RH, use wet-strength materials |
| Cold bottles | condensation | corners lifting in hours | keep bottles above dew point |
| Fast case packing | adhesive not set | lift after shipping | add dwell time and pressure burnish |
| Back-pressure on conveyors | rub damage | scuffed edges, bubbles | reduce pressure, add guides/rollers |
| High capping twist | label shear | skew or tear | label lower, avoid overlap zones |
A short “do this every time” checklist
- Apply labels at room temperature.
- Do not label wet bottles.
- Burnish edges with a roller or firm squeegee.
- Avoid labeling across the seam if possible.
- Let the adhesive set before cold or high-rub handling.
Which QC checks catch bubbles, misalignment, and early lift before shipment?
Small defects look minor in the factory and become big problems after shipping. A basic QC routine catches most issues without expensive tools.
Use a simple three-layer QC: in-process visual checks for alignment and bubbles, quick adhesion checks (rub and edge-lift), and a short stress test that matches real distribution (humidity, condensation, and carton rub).
Visual QC: fast and strict
For manual runs, check every bottle early until the process is stable. For machine runs, inspect at a fixed interval. Look for:
- skew vs seam reference
- trapped bubbles
- wrinkles at the trailing edge
- lifted corners
- label overlap and gap control (if wrap labels)
A light table or strong side light makes bubbles and wrinkles easier to see.
Mechanical QC: simple tests that predict field failure
Two quick tests are practical:
- Burnish and peel check: rub the label, then try to lift the corner with a fingernail. If it lifts easily right away, it will lift in distribution.
- Thumb rub test: rub across the edge. If it “catches,” the edge is not seated.
For premium programs, add a short hold test:
- apply labels
- wait a defined dwell time
- then do a cold/condensation exposure and re-check edges
Registration QC: keep a reference and measure it
Even with great operators, drift happens. Keep a master bottle and measure:
- top-of-label distance from a reference ring
- front label position vs seam
- back label alignment (if dual labels)
| QC check | What it catches | Frequency | Pass rule |
|---|---|---|---|
| Seam-to-label alignment | skew and rotation errors | start-up + hourly | within your position window |
| Bubble/wrinkle scan | air traps and tension issues | start-up + hourly | no visible bubbles in panel zone |
| Edge-lift fingernail test | poor wet-out or contamination | each lot | corners stay seated |
| Condensation challenge | ice bucket failures | per SKU change | no lift after chill exposure |
| Carton rub check | scuff and edge burnish loss | per pack change | no edge whitening or curl |
The fastest correction loop when QC fails
- If bubbles increase: check dust and application pressure.
- If corners lift: check condensation and bottle cleanliness first.
- If skew increases: re-lock the seam reference and bottle spacing.
- If random failures appear: check for oily residue and coating drift on the bottle.
Conclusion
Correct labeling is controlled cleaning, the right label system for the bottle shape, stable temperature and humidity, and quick QC that catches lift and misalignment before bottles leave the factory.
Footnotes
-
Explains the water-break test and what beading vs sheeting means for cleanliness. ↩ ↩
-
Safety and properties reference for isopropyl alcohol used in wipe-down cleaning before labeling. ↩ ↩
-
How dyne pens indicate minimum surface energy and help diagnose contamination before labeling. ↩ ↩
-
Defines pressure-sensitive labels and their construction to help choose stock and adhesive for glass bottles. ↩ ↩
-
Overview of labeler variants (cold-glue, pressure-sensitive, sleeves) to match label type to equipment and handling. ↩ ↩
-
Design guidance on labels and components affecting recyclability, including shrink sleeves and removability expectations. ↩ ↩
-
Clear explanation of dew point and why condensation forms on bottles when surface temperature drops below it. ↩ ↩


