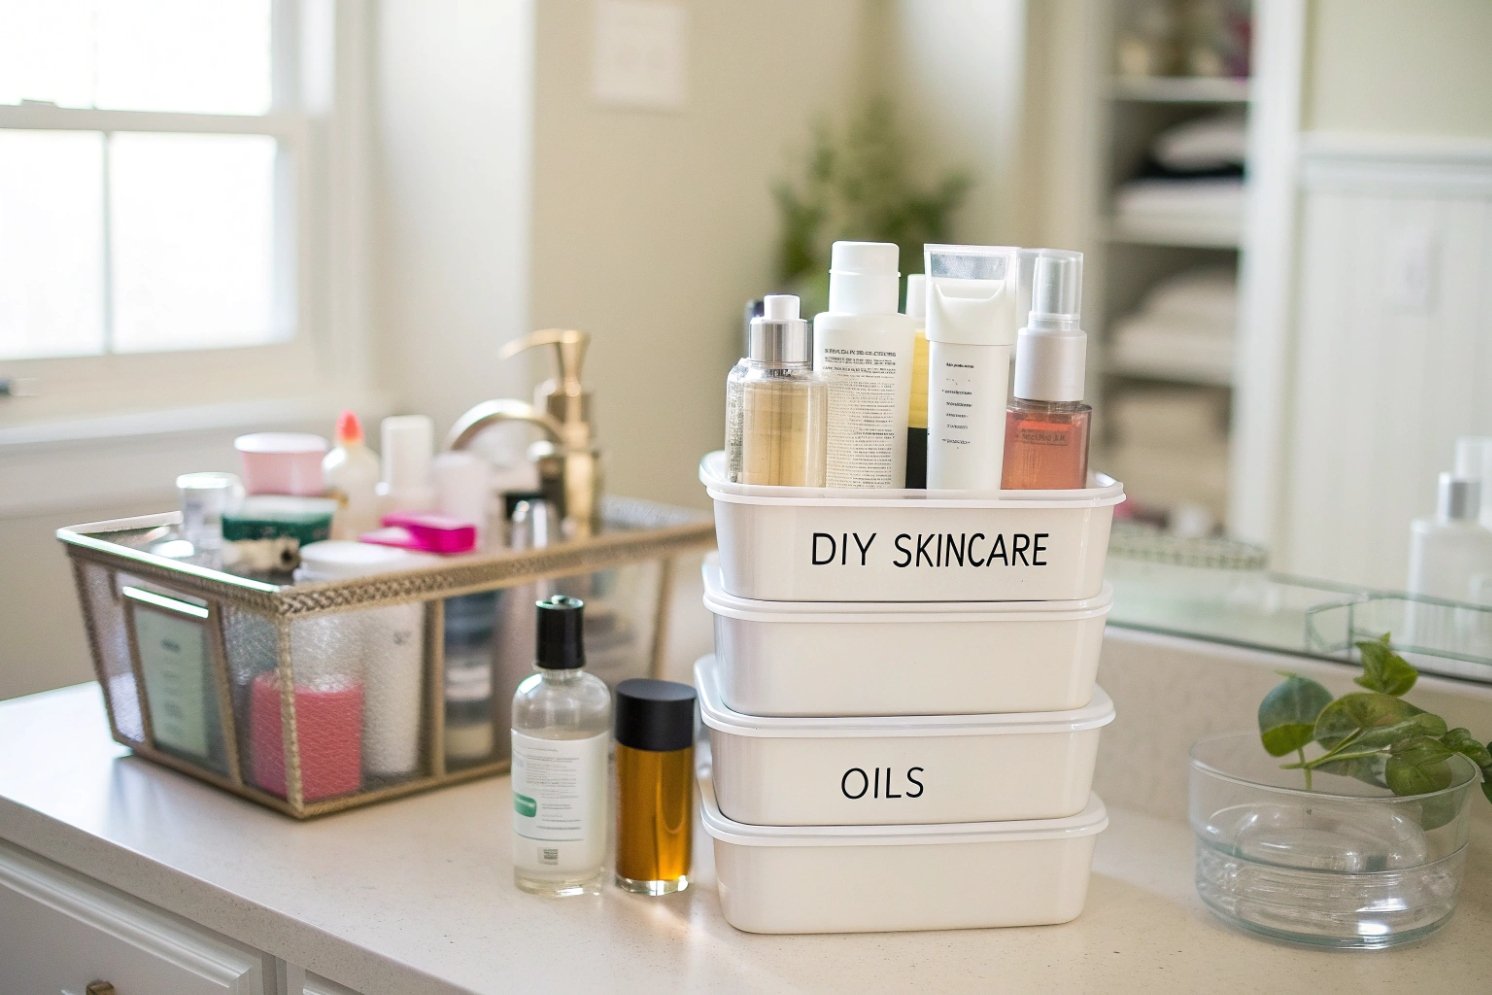
Too many pretty jars and bottles go straight into the trash. That wastes money, materials, and good design that still has a long life ahead. It also skips the reducing and reusing basics 1 that keep packaging in circulation longer.
You can safely reuse old cosmetic containers by cleaning and sanitizing them well, choosing the right packs for refills, removing labels and odors fully, and knowing when to stop reusing and recycle instead.

When containers are cleaned the right way, they become a small refill station at home. When they are not, they can grow bacteria or ruin your next formula. The difference is in the details, not in luck.
What cleaning and sanitizing steps make containers safe for refill or DIY use?
Dirty jars look innocent, but traces of old cream or perfume can spoil your new product fast. This can cause bad smells, texture changes, or even skin irritation. FDA notes that cosmetics can become harmful when contaminated with harmful microorganisms 2 such as pathogenic bacteria and fungi.
To make containers safe to reuse, remove all product residue, wash with hot soapy water, rinse well, then sanitize with heat or alcohol depending on the material. Always let every part dry completely before refilling.
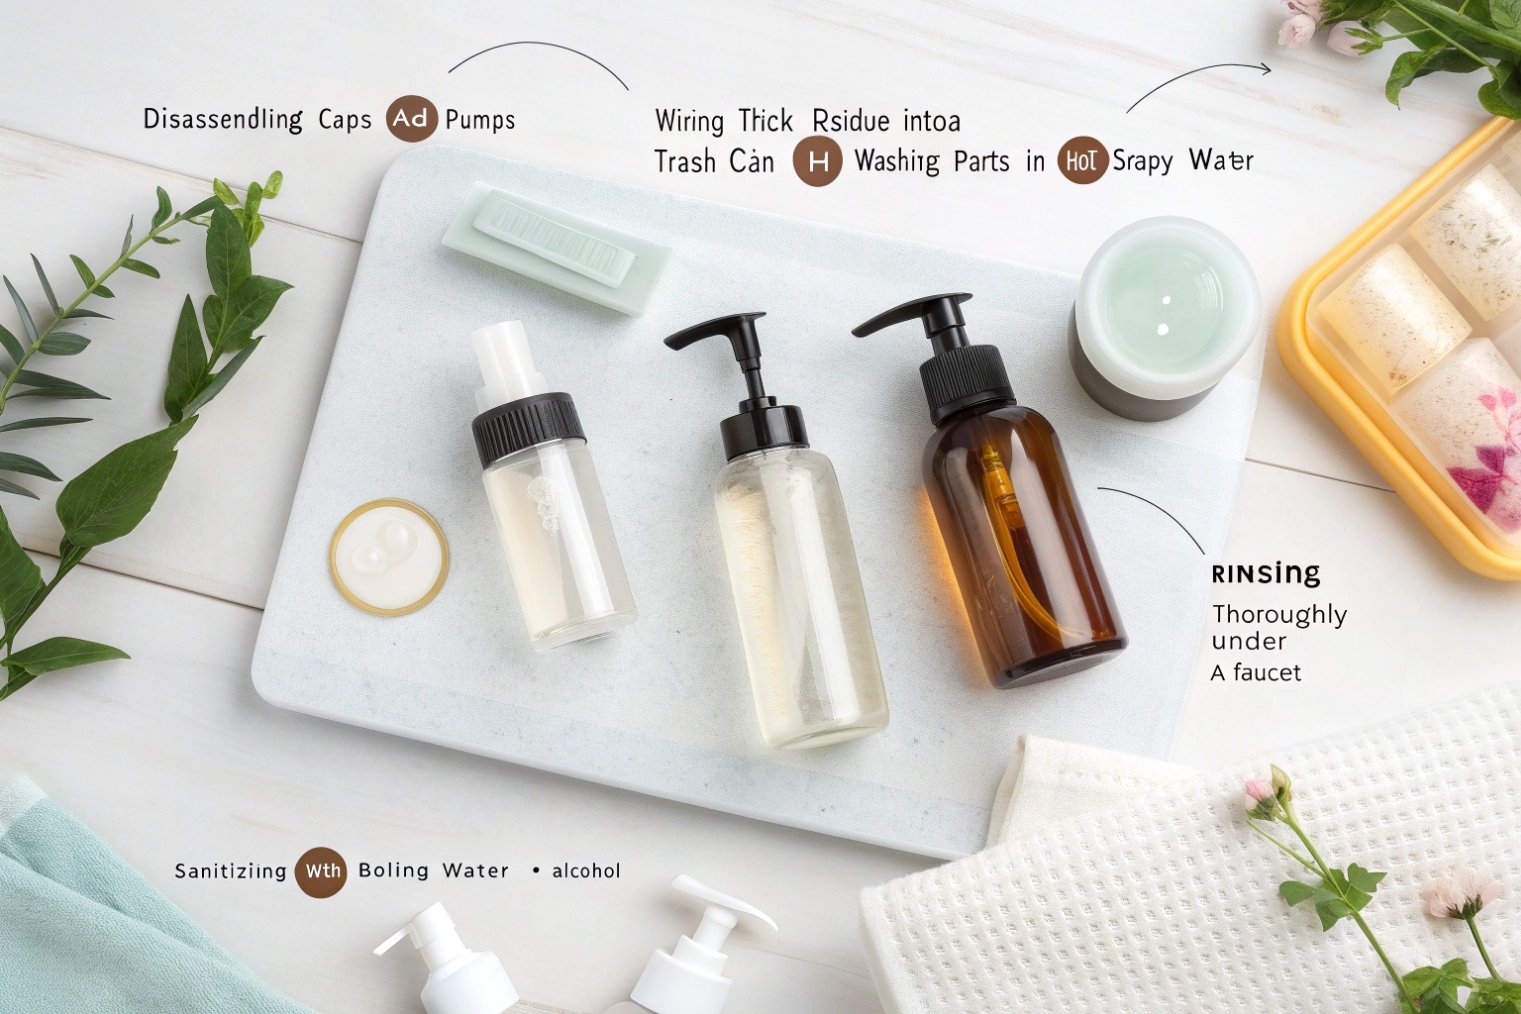
Step-by-step cleaning routine
For home use and simple DIY projects, a short but careful routine is enough.
-
Disassemble everything
Take off caps, pumps, droppers, roller inserts, sifters, and inner lids. Separate glass, plastic, metal, and rubber parts. -
Pre-wipe heavy residue
Use a tissue or paper towel to wipe out thick cream, balm, or lipstick. This keeps your sink and pipes happier. -
Hot soapy wash
- Use warm to hot water with mild dish soap.
- Clean inside with a small bottle brush or cotton swab.
- Pump soapy water through pumps and sprayers several times.
-
Rinse very well
Any soap left inside can foam or react with your next product. Rinse until water runs clear and the surface feels squeaky, not slippery. -
Sanitize by material
| Material / part | Safe home method | Notes |
|---|---|---|
| Glass bottles / jars | Boil 5–10 minutes or steam in a steamer | Remove labels first, avoid sudden cold shock |
| Metal caps | Dip in near-boiling water, dry fully | Watch for rust; discard peeling inner coatings |
| Plastic caps / pumps | Rinse, then spray or soak with 70% isopropyl alcohol 3 | Do not boil; heat can warp parts |
| Droppers / pipettes | Wash with soapy water, flush with alcohol | Squeeze bulb with alcohol, then with clean water |
- Air dry completely
Place everything on a clean towel, upside down. Moisture trapped in caps or dip tubes can water down new product or grow microbes.
When to be extra strict
For face products, eye area, and anything that may sit on a warm bathroom shelf:
- Use only containers that look perfect: no cracks, cloudiness, or strong stains.
- Avoid reusing very old plastic that feels soft or sticky.
- For high-risk areas (eye creams, lip gloss for shared use), consider reusing containers only for non-cosmetic storage instead.
For home use on your own skin, this level of cleaning is usually enough. For products you plan to sell, you must follow Cosmetic Good Manufacturing Practices 4 (often aligned with ISO 22716:2007 5) and often use new, certified packaging instead of reused ones.
Which packs—glass jars, dropper bottles, misters—are easiest to repurpose without leakage?
Not every empty container is worth the effort. Some packs clean easily and seal well after reuse. Others fight back with trapped product, weak seals, or hard-to-clean pumps.
Glass jars, dropper bottles, and simple misters are usually easiest to repurpose because they disassemble well, clean thoroughly, and reseal tightly. Complex airless and cheap pumps are more likely to leak or fail after reuse.
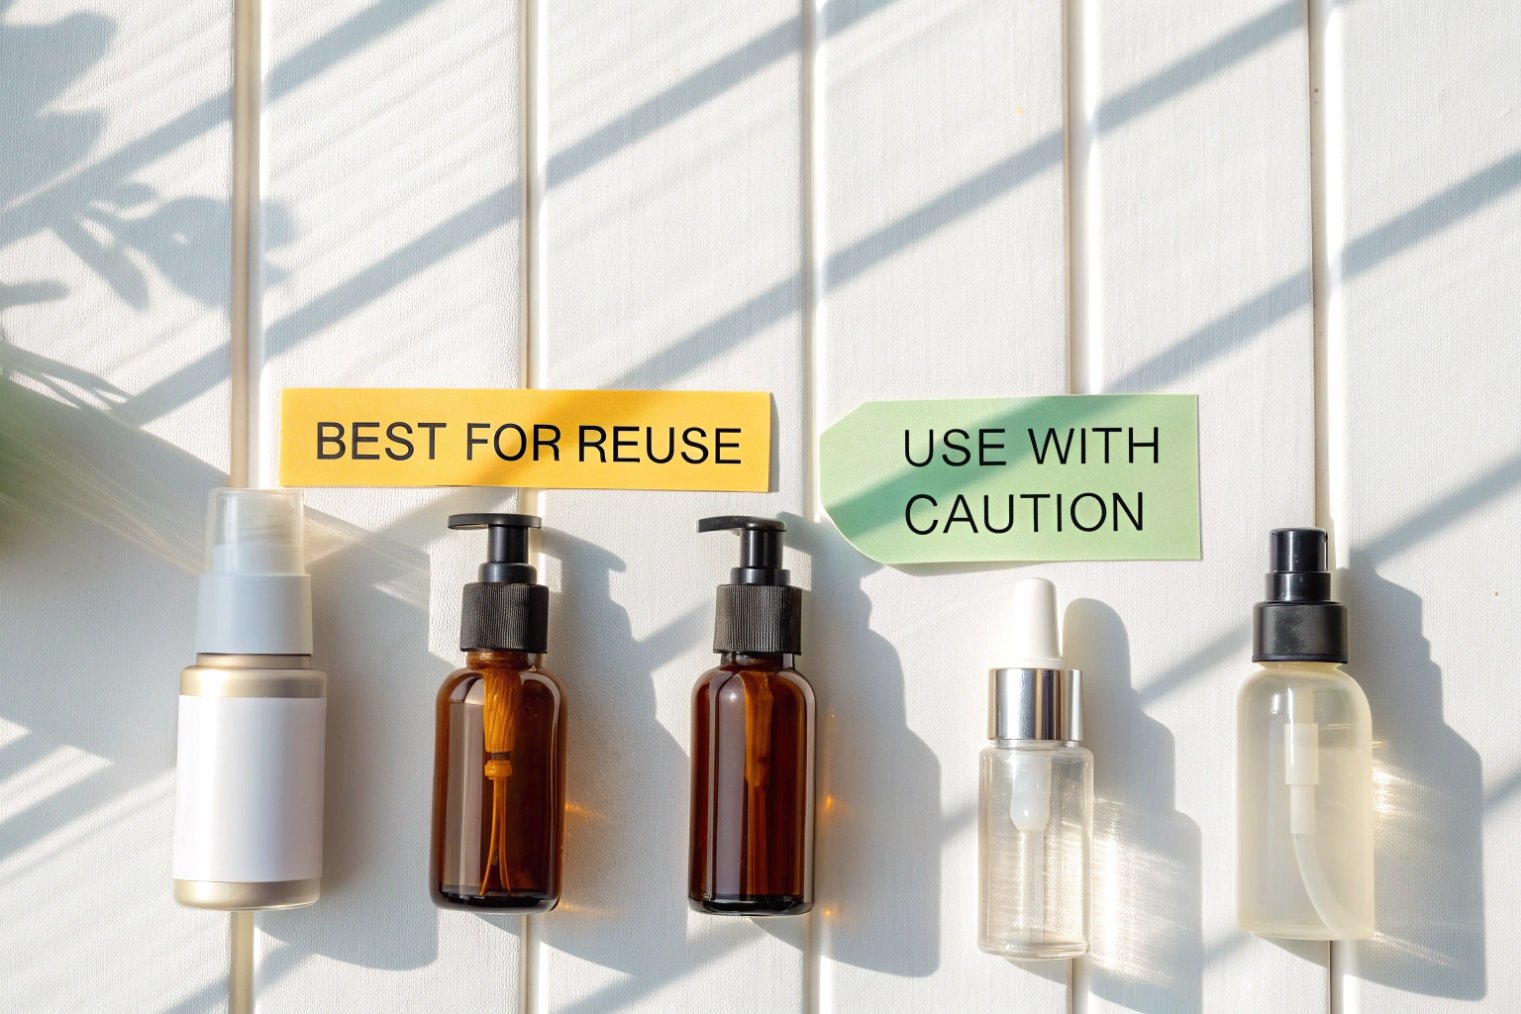
Best candidates for refills and DIY projects
Here is a simple view of which packs tend to work best when reused.
| Pack type | Reuse difficulty | Good for | Notes |
|---|---|---|---|
| Glass jars | Easy | Balms, solid perfumes, scrubs | Wide mouth, simple lid, easy to deep clean |
| Glass dropper bottles | Easy–medium | Oils, serums, DIY tinctures | Check droppers for wear and sticky bulbs |
| Spray / mist bottles | Medium | Face mists, room sprays, toners | Flush sprayer well; test spray pattern |
| Roller bottles | Medium | Oil blends, perfume oils | Clean ball + housing very carefully |
| Lotion pumps | Hard | Liquid soap, light lotion only | Internal parts can trap residue |
| Airless pumps | Hard | Only if you can fully disassemble | Often better to recycle and buy new mechanism |
Why glass often wins
Glass bottles and jars have some clear advantages:
- They tolerate hot water and even boiling.
- They do not absorb oils or dyes.
- Threads stay stable, so caps still fit after many cycles.
- Amber or cobalt glass also protect light-sensitive DIY blends.
Dropper bottles and roller bottles shine for precise dosing. They are ideal for:
- Essential oil blends
- Spot treatments
- Perfume oils
- Cuticle and nail treatments
Before you commit a reused pack to a new formula, always run a simple leak test:
- Fill with water.
- Close as normal.
- Shake and lay on its side on a tissue for a few hours.
- Check for damp spots and look at threads and seals.
If a pack fails a water test, it will almost certainly fail with thin oils or alcohol-based products. At that point, it is better to demote it to dry storage (pins, beads, paper clips) or send it to recycling.
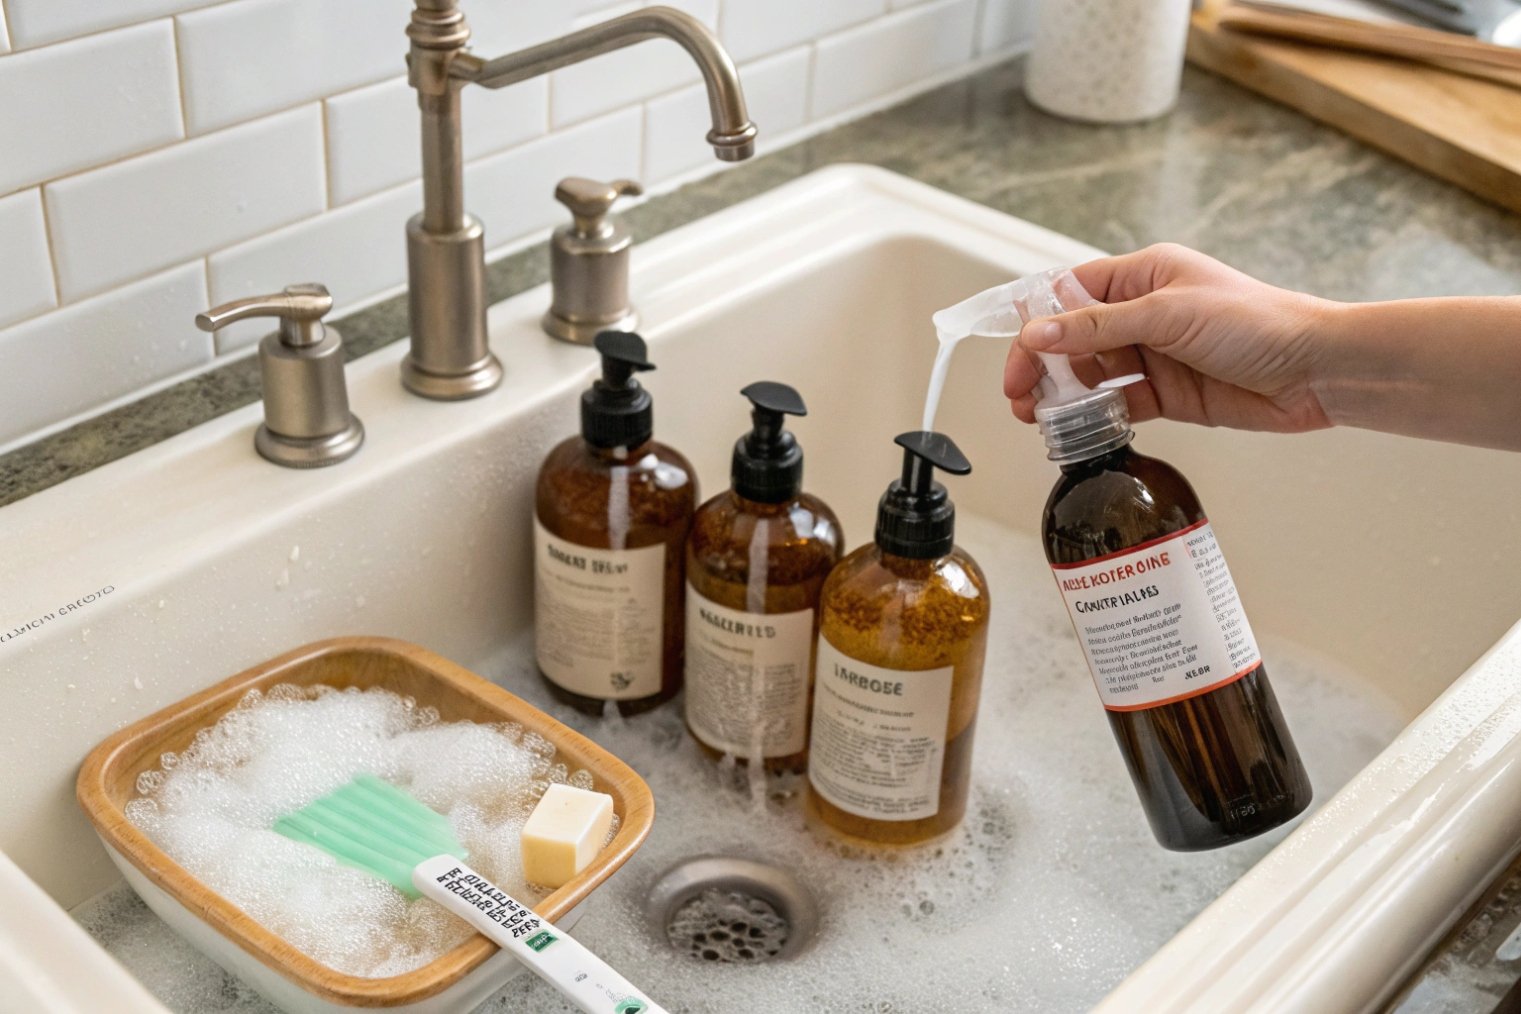
How do you remove labels, odors, and residue to avoid cross-contamination?
A jar may look clean, yet still smell like the last cream you used. Old perfume notes, essential oils, or active ingredients can cling to surfaces and spoil the next product.
To avoid cross-contamination, fully strip labels and glue, remove every trace of scent and color, and throw away any parts that still smell after deep cleaning, especially for face and eye products.
Removing labels and glue
Different labels need different tricks, but the flow is simple.
-
Peel what you can by hand
Lift a corner with your nail or a blunt tool. Go slow to avoid scratching glass. -
Soak to soften adhesive
- Place glass jars and bottles in warm soapy water for 15–30 minutes.
- For stubborn glue, add a bit of vinegar or baking soda.
-
Use an oil-based remover
Oils help break down many label adhesives.
| Remover type | How to use | Best for |
|---|---|---|
| Cooking oil | Rub on glue, let sit, wipe off, then wash | Everyday sticky residue |
| Commercial goo remover | Apply, wait, scrape gently, then wash well | Very stubborn label glue |
| Rubbing alcohol | Wipe with cloth, repeat | Ink marks, some adhesives |
- Final wash
After glue removal, wash again with hot soapy water to strip oil and remover traces.
Killing leftover scent and color
To reuse for a new formula, especially one with a different scent or no fragrance, you want a “neutral” container.
Try this simple order:
-
Baking soda soak
Fill the jar with warm water and a spoon of baking soda. Let it sit overnight. This helps pull out many odors. -
Vinegar rinse
Rinse with a mix of one part vinegar and three parts water. Vinegar helps cut perfume residue. -
Alcohol wipe
Swirl a small amount of 70% alcohol inside glass containers. Let it sit for a few minutes, then pour out and air dry.
If you still smell the old product after all this, change the plan:
- Use that container for something non-cosmetic (paper clips, dried flowers, seeds).
- Avoid using it for active skincare, lips, or eyes.
Reducing cross-contamination risk
To keep your DIY space safer:
- Keep one set of reused containers only for oil-based products and another for water-based formulas.
- Do not reuse containers that once held strong medicated actives (e.g., high-strength acne treatments) for other cosmetics.
- Label the new contents clearly with what it is and when you filled it.
A few extra minutes with labels and odors now will save you from “mystery smell” jars and failed batches later.
When should containers be recycled instead of reused for safety and compliance?
Not every empty jar deserves a second life with product inside. Some containers are tired, damaged, or risky for anything that touches skin.
Recycle containers when they are cracked, badly scratched, warped, or still smell after deep cleaning, or when regulations require new packaging, such as for products you sell or for high-risk formulas.
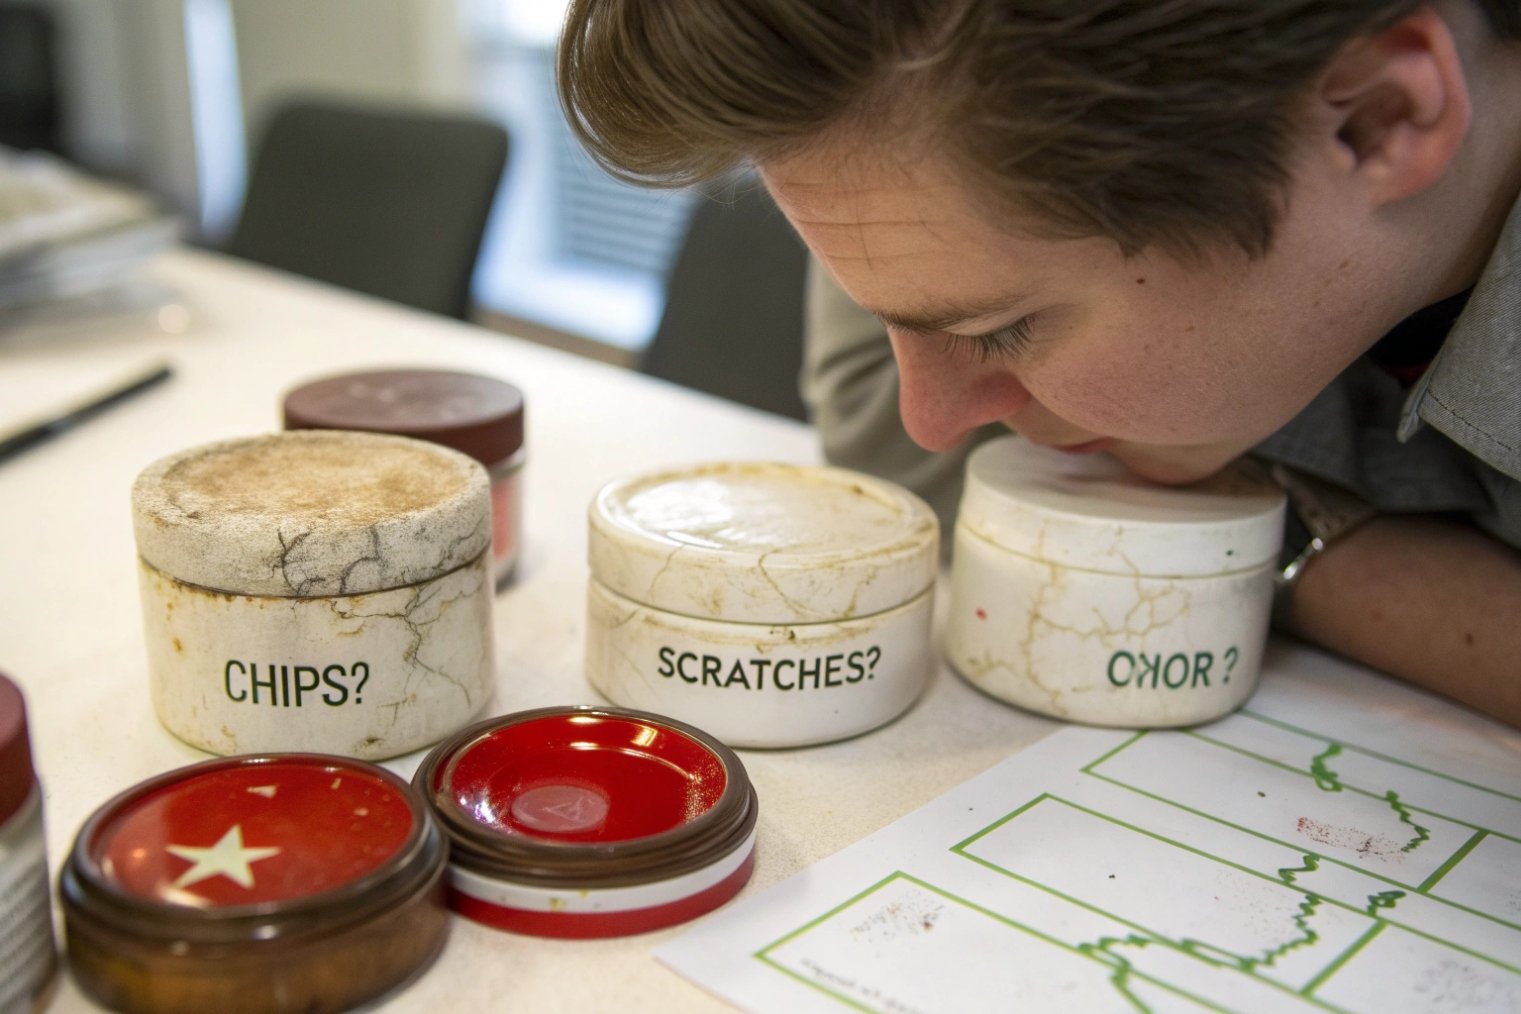
Clear signs a container should retire
Here are easy checks before you reach for the refill funnel.
| Warning sign | Why it matters | What to do |
|---|---|---|
| Cracks or chips in glass | Risk of breakage, sharp edges, leaks | Recycle the glass, discard the cap |
| Deep scratches inside plastic | Bacteria can hide and grow | Do not reuse for cosmetics |
| Warped or loose threads | Caps and pumps will not seal properly | Use for dry storage only or recycle |
| Rusty metal parts | Can stain product and cause irritation | Discard metal, keep glass if intact |
| Strong lingering odor | High cross-contamination risk | Reuse only for non-cosmetic storage |
| Cloudy or sticky plastic | Possible material breakdown | Recycle; do not refill |
If you are not sure whether a container is safe for skin products, treat it as storage for non-cosmetic items or send it to recycling.
Safety and compliance for selling products
At home, you have more freedom. For commercial use, rules get tighter.
Most brands that sell finished cosmetics:
- Use new, certified packaging that meets contact material regulations.
- Validate their packaging with compatibility and shelf-life tests 6.
- Follow GMP guidelines that make reuse of random consumer containers almost impossible.
So, if you are making products only for yourself and friends, reuse is fine with good cleaning. If you plan to sell them, talk with a packaging supplier and use fresh containers.
Recycling smart
When it is time to recycle:
- Rinse containers first to help sorting and avoid smell.
- Separate materials where possible: glass bottle, plastic cap, metal cover.
- Check local rules: some areas accept pumps and droppers, others do not.
Resources from the Glass Recycling Foundation explain that glass can be recycled endlessly 7 with no loss in quality or purity. By recycling containers that are no longer safe to reuse, you still support a better loop for packaging.
Conclusion
Reusing cosmetic containers works well when you clean them deeply, choose the right packs to refill, remove every trace of the past product, and know when to stop and recycle instead.
Footnotes
-
EPA explains practical ways to reduce and reuse packaging waste at home. ↩︎ ↩
-
FDA overview of how cosmetics get contaminated and why microbial safety matters. ↩︎ ↩
-
CDC details uses and limits of 70% isopropyl alcohol as a disinfectant. ↩︎ ↩
-
FDA draft guidance on current Cosmetic Good Manufacturing Practice expectations. ↩︎ ↩
-
ISO summary of ISO 22716 guidelines for cosmetic production, control, storage, and shipment. ↩︎ ↩
-
Intertek explains cosmetic packaging testing, including compatibility and chemical migration risks. ↩︎ ↩
-
Glass Recycling Foundation explains the glass recycling loop and why recycled glass supports new bottles and jars. ↩︎ ↩


