Leaky plastic tubs and ugly stained boxes kill the joy of meal prep, and they do nothing for an “eco” brand story.
Glass lunch boxes balance style and practicality when shape, dividers, lids, and finishes all serve real daily habits: carry, reheat, wash, repeat—without leaks or visual fatigue.

When I design or source a new glass lunch box line, I do not start from colors or Instagram shots. I start from the realities of bags, fridges, microwaves, and dishwashers. Style comes from solving those problems cleanly.
How should you choose shapes and dividers for real-life meals?
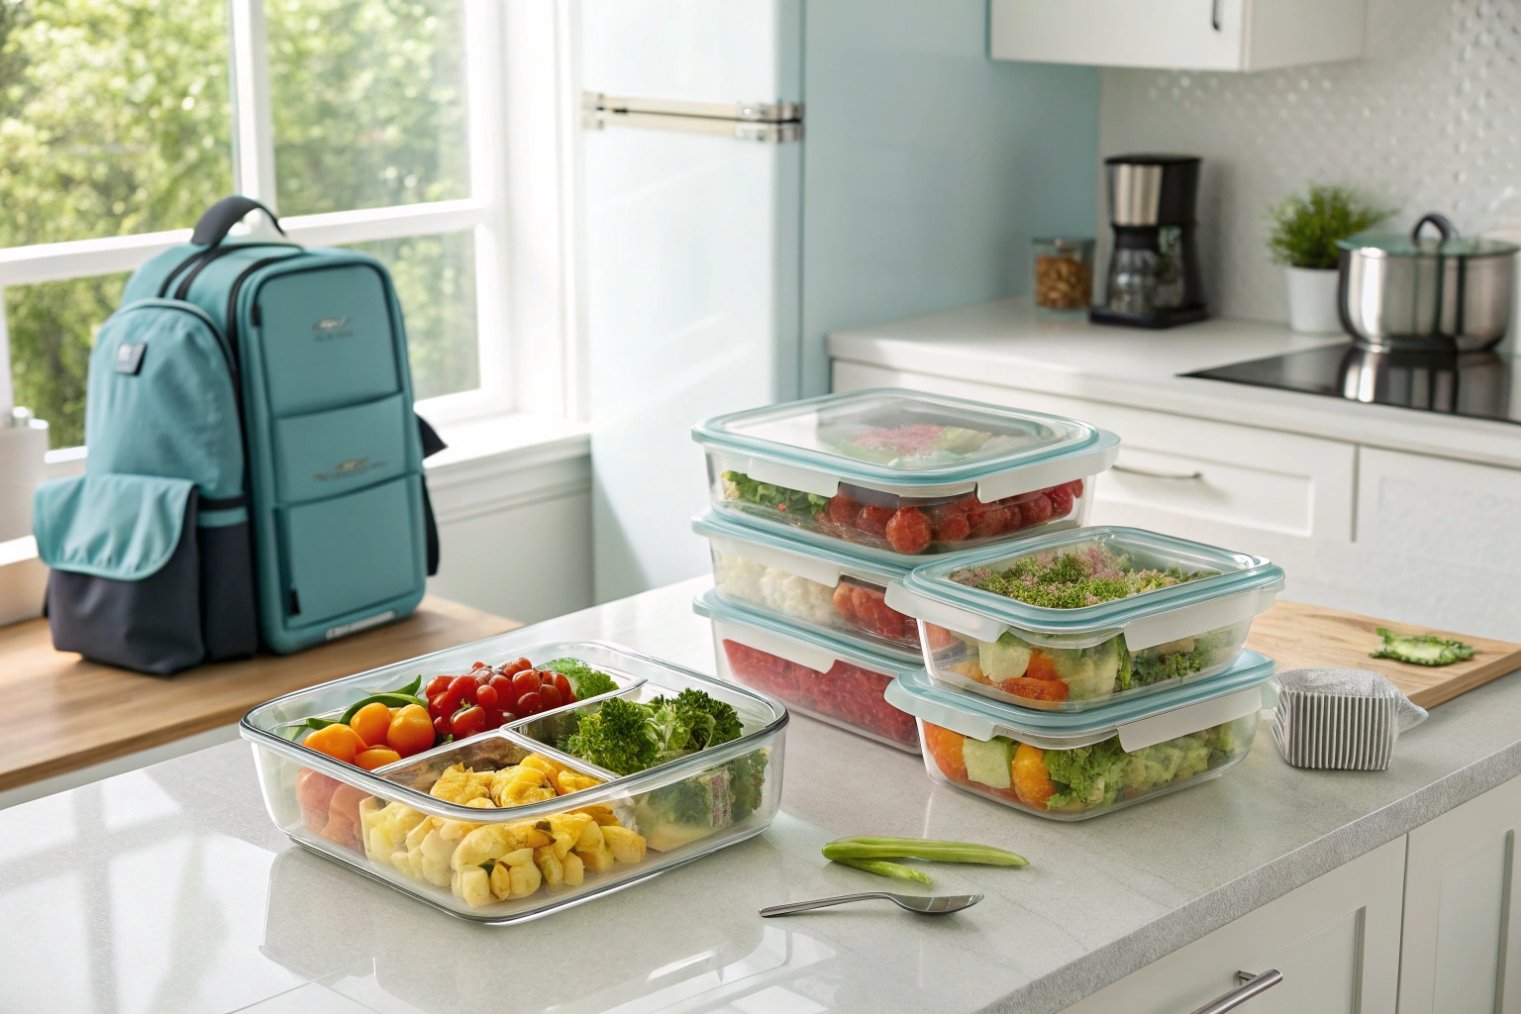
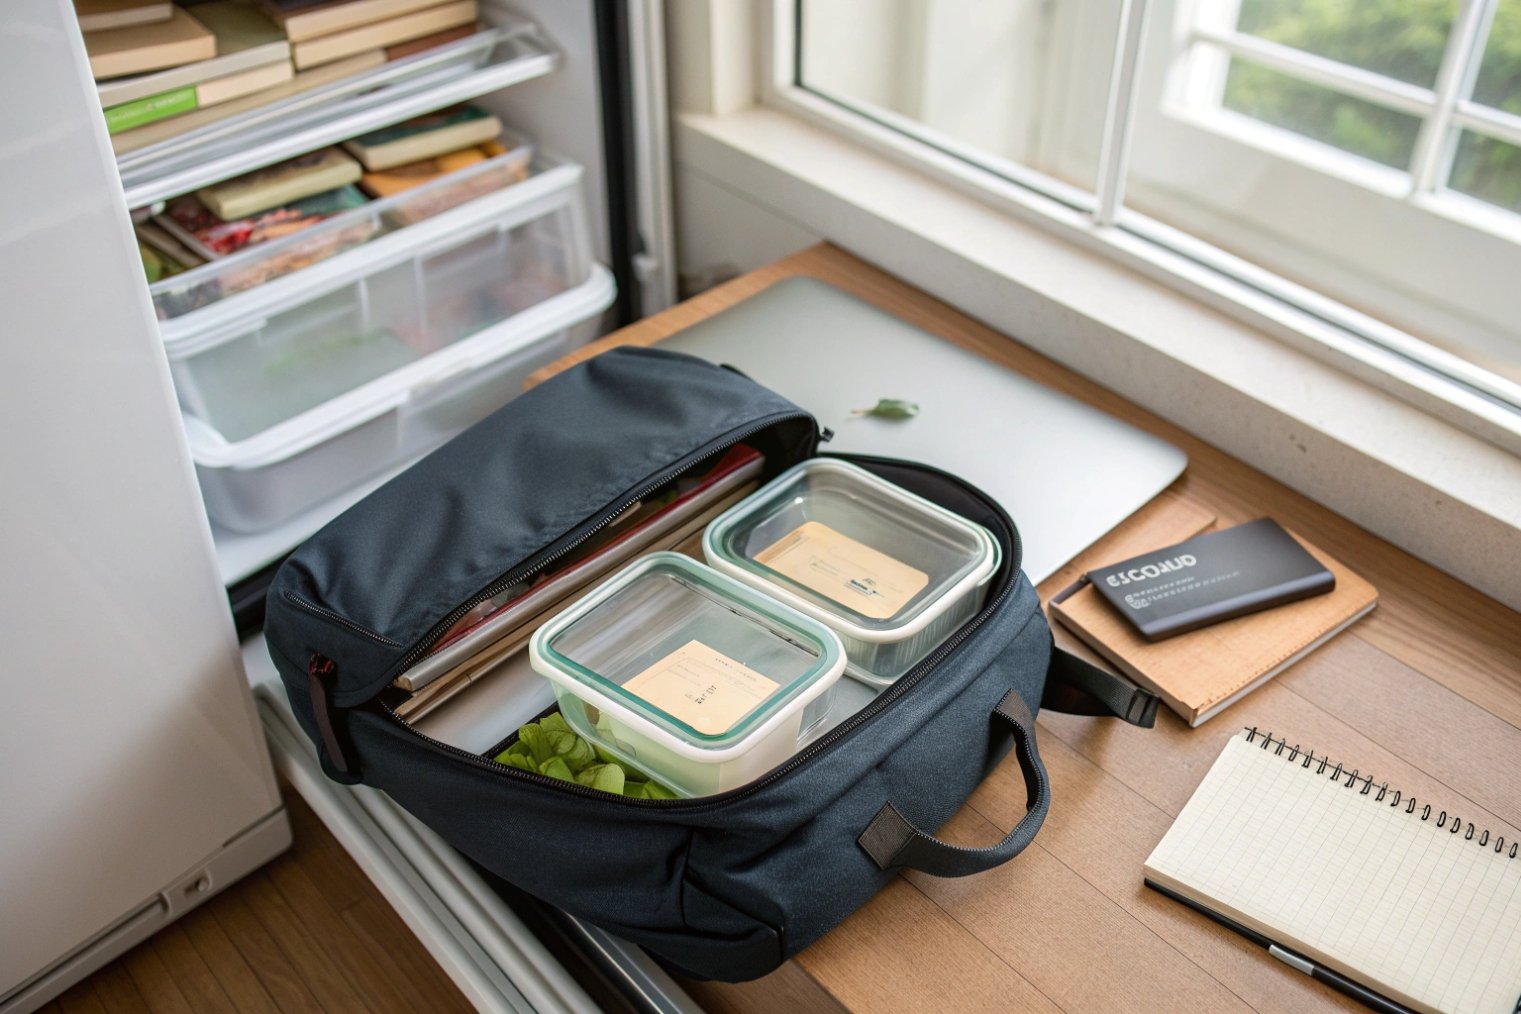
An elegant box that does not fit in a backpack or fridge is just a prop. Shape and layout decide if people use it every day or only once a week.
Rectangular, low-profile glass bases with smart dividers stack better, portion better, and fit bags and fridges more efficiently than cute but awkward shapes.
Shape, footprint, and stacking
For daily use I give priority to rectangular or slim oblong shapes. They:
- Slide into laptop bags and totes without bulging.
- Line up neatly on fridge shelves.
- Sit well in meal-prep rows for the week.
Round containers look friendly, but they waste space when you stack or line them up. A low profile also matters. Very tall boxes tip in bags and feel clumsy on small desks.
I usually plan a modular footprint 1: for example, one “large” base and one “half-size” that is exactly half that footprint. Two smalls can stack on a large. Lids stay the same outer size. This reduces chaos in cupboards and makes it simple to grab the right set each morning.
Here is a simple portioning ladder:
| Use case | Typical glass base volume | Notes |
|---|---|---|
| Snacks / fruit | 300–400 ml | Square or half-rectangular |
| Light lunch / side | 500–650 ml | Great for salads or noodles |
| Full meal prep | 800–1000 ml | Main + sides in one or divided container |
Fixed vs removable dividers
Dividers look neat in photos, but the wrong layout can waste food space or annoy users.
I usually separate them into:
- Fixed glass dividers: built into the base. Easy to clean, oven-safe, and robust. They are perfect when you always use a similar meal pattern (for example, one main + two sides).
- Removable inserts: glass or stainless trays that drop into a plain base. These give the most flexibility. You can lift a cold insert out, reheat only the main compartment, or remove dividers when you need one big space.
Plastic divider inserts are light, but I only accept them when they are clearly high-temp and BPA-free, and when they can be removed before oven use. Glass dividers inside a borosilicate base are ideal if you want full oven and microwave freedom.
A simple comparison:
| Divider type | Pros | Cons |
|---|---|---|
| Fixed glass | Strong, simple, oven-safe, easy to wash | Less flexible, layout fixed forever |
| Removable glass | Flexible, premium, oven-safe | Added parts, higher cost |
| Removable plastic | Lightweight, cheap | Not oven-safe, can age faster |
| No dividers | Maximum flexibility, easy to scrub | Food can shift and mix |
For “style”, the best option is often a clean, rectangular base with either no dividers or one removable insert. You keep a minimalist look, but users can still separate grains, sauces, and crunchy elements when they need to.
What lid materials and seals actually prevent leaks?
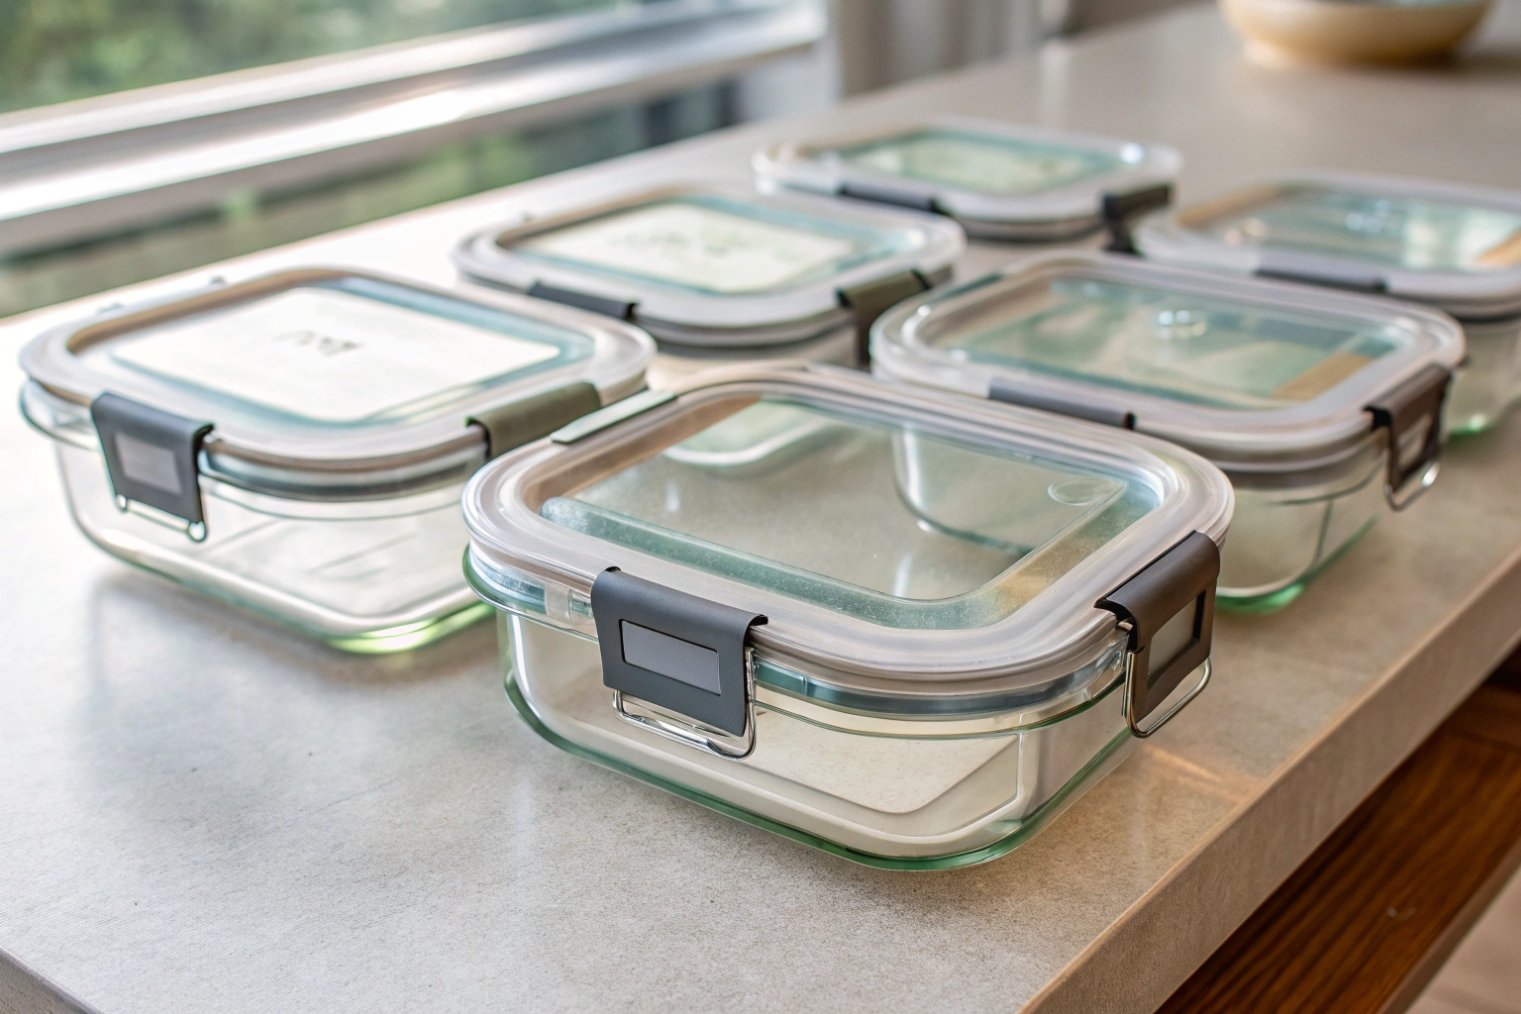
The glass base can be perfect, but the lid turns a lunch box into a hero or a villain. Almost every complaint from commuters starts with leaks.
For real leakproof performance, combine a rigid lid (PP or Tritan) with a continuous silicone gasket and solid locking points; avoid complex hinges and tiny parts that trap food or break in daily use.
Lid materials and locking designs
I focus on three lid material families:
- PP (polypropylene): light, tough, easy to color, usually dishwasher-safe, and stable under normal microwave reheating when vented.
- Tritan or similar clear copolyesters: glass-like clarity and premium feel, very durable, slightly higher cost.
- Stainless-steel lids: strong and stylish for eco lines, but require careful design of gasket and any vents.
If you want a simple, durable everyday lid material, polypropylene plastic 2 is often the most forgiving starting point. If you want a clearer “glass-like” lid for premium sets, Tritan™ copolyester 3 is commonly used for tough, clear food-contact parts.
Most leakproof lids use either:
- Four side-clips that flex over the rim and pull the lid down.
- Snap-on designs with a deep rim that grips around the glass edge.
Side-clips feel safer to many users, but they add moving parts. Snap-on lids are simpler and faster to open. For soup or oily foods, I trust four clips more, as long as the clips are thick enough not to snap after many opens.
Gaskets, valves, and real-world leak tests
A food-grade silicone gasket 4 that runs all around the lid edge is almost non-negotiable for leakproof claims. Key details:
- The gasket should be removable for cleaning, otherwise sauces and soap build up in the groove.
- The seal area on the glass rim must be smooth and wide enough for good contact.
- A small lip or step in the lid design helps compress the gasket evenly.
Vacuum-style lids with a central press button or valve can hold freshness longer, but they must stay simple. If the valve is too small or delicate, it will fail under real cleaning habits. For an “eco” lunch box that must last, I prefer one-piece silicone valves that pop out for washing.
Before launching a design, I like to simulate normal abuses:
- Fill with water and oil, close, then shake and invert.
- Leave in a backpack or tote at different angles.
- Chill in the fridge and then warm slightly to see if pressure changes break the seal.
A basic lid comparison:
| Lid style | Best for | Things to watch |
|---|---|---|
| PP lid + silicone gasket + 4 clips | Commuters, soups, sauces | Clip strength, easy gasket removal |
| Tritan lid + snap fit + gasket | Premium, visible food | Rim tolerances, keep design simple |
| Steel lid + gasket | Strong eco image | Heat in microwave, tight fit for sealing |
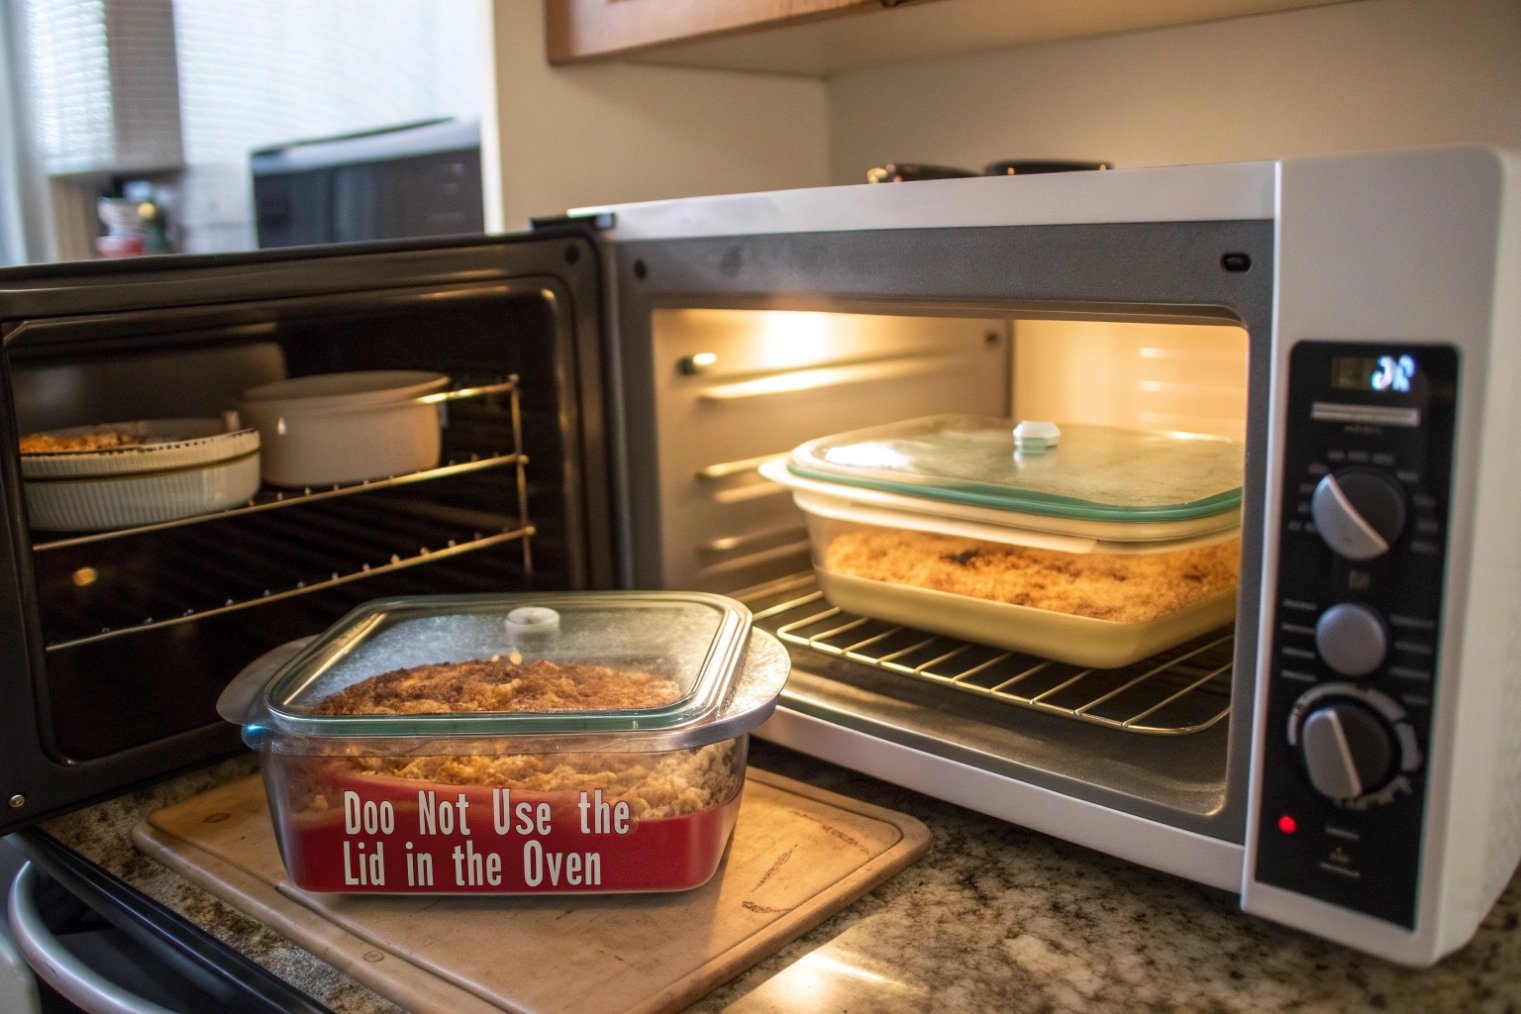
In all cases, I treat the lid as a separate spec from the base: most glass bases are oven-safe; most lids are not. Clear icons and text on the base and lid help avoid customer damage and complaints.
How do thermal-shock ratings change microwave and oven use?
One big selling point for glass lunch boxes is “cook, store, reheat in the same container”. This promise only works if the glass handles heat changes without cracking.
Borosilicate glass bases with clear thermal-shock ratings handle freezer-to-microwave and oven reheating better than ordinary soda-lime, but you still need simple user rules to avoid extreme hot–cold jumps.
Borosilicate vs soda-lime in daily use
Borosilicate glass has a lower thermal expansion than soda-lime. That means when you heat or cool it, it changes size less. Less movement equals less internal stress. For lunch boxes this brings real benefits:
- You can take a box from fridge to microwave with far less risk.
- You can use the base in a home oven for reheating or even light baking.
- Walls can be thinner yet still safe, so the box stays lighter for daily carry.
When makers publish clear thermal-shock ratings 5, it becomes much easier to write honest “freezer-to-oven” guidance instead of vague marketing.
Soda-lime containers can still be microwave-safe, but they dislike strong shocks. For example, taking a box from the freezer and pouring boiling liquid in is asking for problems.
A practical table:
| Glass type | Good for | Caution points |
|---|---|---|
| Borosilicate glass bases 6 | Fridge → microwave → dishwasher, light oven use | Avoid direct from freezer to very hot oven |
| Soda-lime tempered | Room temp → microwave, normal fridge | Avoid heavy oven use and hard freezer-to-heat jumps |
When I spec a line, I prefer to label bases clearly:
- Icons for oven, microwave, freezer, dishwasher on the base.
- Text like “Glass only. LID NOT OVEN SAFE.” to avoid nasty surprises.
Simple user rules that extend service life
Even with borosilicate, I like to support retailers and horeca buyers with simple care notes, for example:
- Let hot bases cool a little before placing on very cold surfaces.
- Do not pour boiling water into a box just out of the fridge.
- Remove lids and gaskets before oven use to avoid warping.
These rules do not kill the “eco and easy” story. They actually support it. Long life and fewer broken boxes are core to sustainability.
If you want to go further, you can add anti-slip silicone feet or sleeves around the base. They act as soft landing zones on counters and oven racks, and they add a layer of safety against small knocks.
Which finishes and colors fit an eco-lifestyle brand?
People buy glass lunch boxes not only for function, but also to say something about how they live. Colors and finishes can tell that story without becoming loud or childish.
Eco-lifestyle branding works best with clear glass bases, soft matte lids, and calm, nature-inspired colors that feel reusable, repairable, and timeless rather than seasonal or disposable.
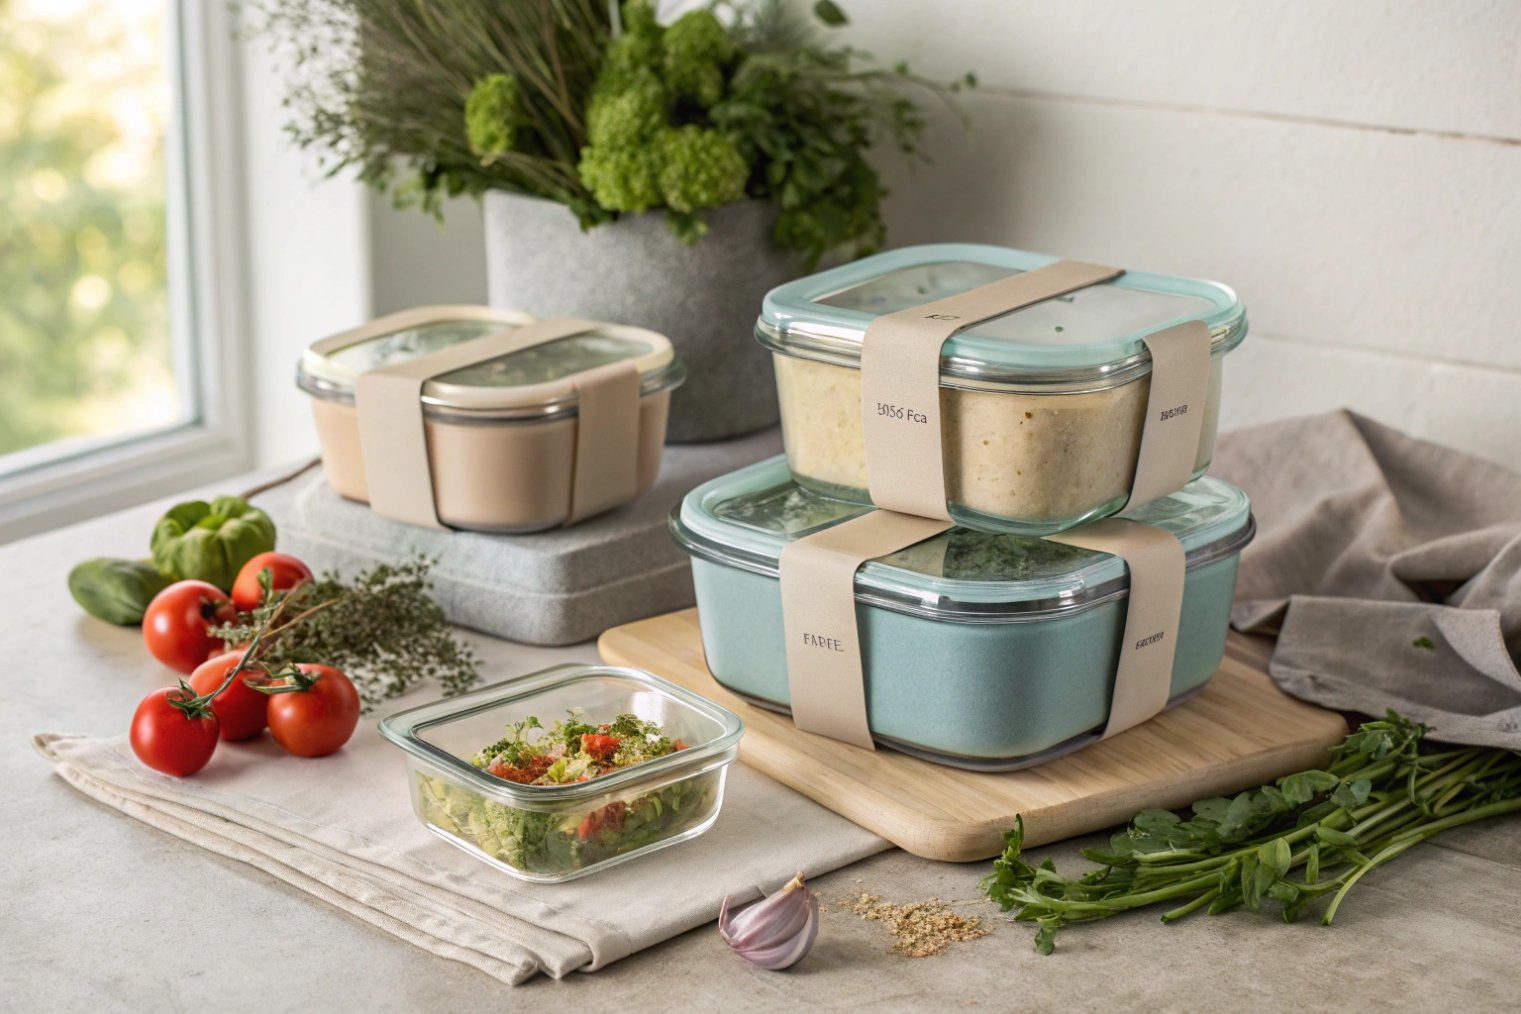
Keep the glass honest, add style on the lid
The base itself is usually crystal clear. That transparency is part of the eco story:
- You see real food, not hidden plastic.
- You check freshness at a glance.
- You avoid duplicated containers because contents are visible.
Style lives mostly in:
- Lid color
- Silicone gaskets and sleeves
- Occasional subtle printing or engraving on the glass
I tend to avoid huge logos on the glass. A small, discreet mark near the base feels more premium and less “promotional”. The rest of the branding lives on cartons and inserts.
Color palettes that signal “eco” not “plastic toy”
For an eco-focused line, I like desaturated, calm tones:
- Warm sand, clay, olive, or forest greens
- Soft grey, stone, or charcoal
- Gentle pastels like sage, dusty blue, or a light “sakura” pink
These colors:
- Pair well with many kitchen interiors.
- Age gracefully across seasons.
- Work across sizes for simple color-coding of meal types (for example, green lids for salad, sand for grains, blue for snacks).
A quick color and finish map:
| Element | Finish / color choice | Brand signal |
|---|---|---|
| Glass base | Clear, glossy | Clean, safe, easy to recycle |
| Lid | Matte or satin PP/Tritan | Soft touch, reduced fingerprints |
| Silicone parts | Matching muted tones | Coordinated system, calm eco feel |
| Printing | Small, simple, 1-color logo | Understated, long-term, not trend-chasing |
Protective silicone sleeves are also a style layer. Transparent or semi-opaque sleeves in those calm tones add grip and impact resistance, but they still let food color shine through. Because silicone is high-heat resistant, it usually remains microwave-safe, which keeps practicality intact.
If the brand wants to push the eco story harder, you can:
- Specify recycled container glass 7 where local regulations allow.
- Highlight plastic-free contact for the main food area (glass + silicone).
- Use plastic-free printed cartons with simple line art rather than heavy lamination.
Every detail supports the idea that this lunch box will live in a cupboard for years, not months.
Conclusion
A good glass lunch box does not force a choice between style and practicality; it quietly supports real meals, real commutes, and a long, reusable life while still looking good on any table.
Footnotes
-
Background on modular design principles for building stackable, space-efficient container families. ↩ ↩
-
Quick reference on polypropylene properties that explain why PP lids handle daily flexing and heat well. ↩ ↩
-
Eastman’s safety overview for Tritan copolyester used in clear, tough, dishwasher-safe food container lids. ↩ ↩
-
Regulatory text for rubber articles (including silicone) intended for repeated food-contact use. ↩ ↩
-
Simple lesson explaining thermal shock and why low expansion and strength matter for glass containers. ↩ ↩
-
Technical datasheet with borosilicate 3.3 properties (including CTE) to compare heat-change tolerance. ↩ ↩
-
Facts on cullet and how recycled glass reduces energy use and emissions in container production. ↩ ↩


