Glass dishes look pretty and go from oven to table, but they also confuse bakers who worry about shattering or over-browning.
Yes, you can bake a cake in an oven-safe glass dish. Use slightly lower heat, allow a bit more time, and protect the dish from sudden temperature changes.

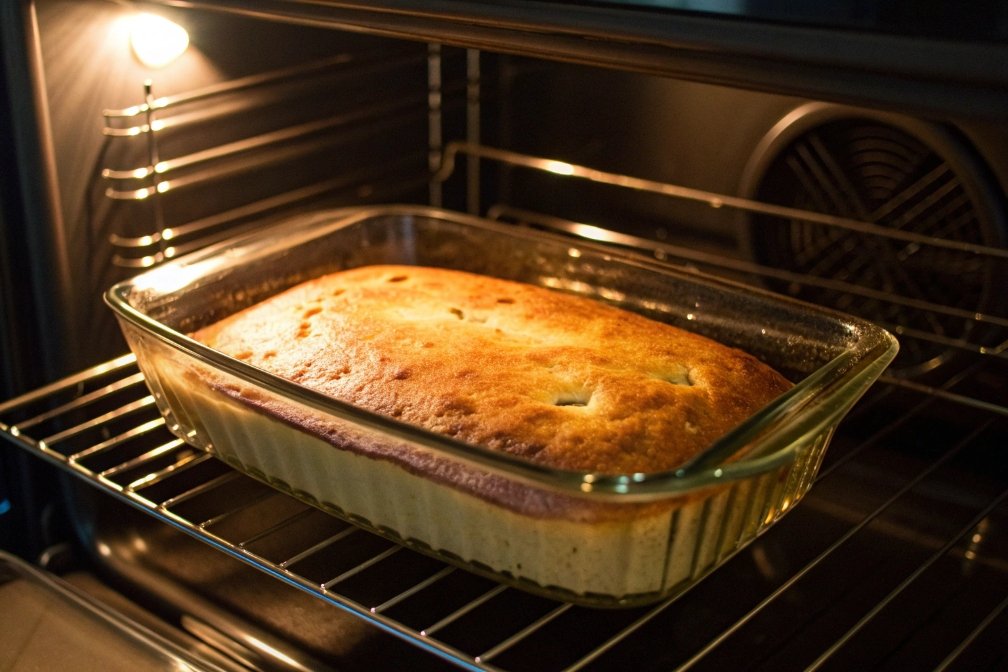
Glass changes how heat moves through the cake. The pan warms more slowly than metal, but it holds that heat longer, which affects browning, rise, and carryover cooking. With a few adjustments, cakes in glass turn out moist, evenly baked, and easy to unmold.
What temperature adjustments prevent thermal shock and over-browning?
The moment many people switch to glass, their cakes come out dark at the edges and pale in the center.
Drop the recipe temperature by about 25°F (15°C) in glass, start checking at the original bake time, and avoid extreme temperature jumps to prevent cracking and burnt edges.
How glass changes the way heat moves
Glass conducts heat more slowly than metal. So the batter near the sides warms a bit later. But once glass heats up, it holds that heat very well. This means the edges and bottom stay hot even after you open the oven door or remove the pan.
In a metal pan, heat moves in and out more quickly. The cake may reach doneness sooner, and the pan cools a bit faster, which limits carryover cooking. With glass, the “after-bake” matters more. The cake keeps baking from the sides for a few minutes on the counter.
This is the main reason you often see:
- Slightly darker edges and bottom.
- A center that seems to lag behind.
- Cakes that dry out if left in the oven too long.
So the trick is simple: treat glass as slower to heat but quicker to over-brown once hot, and plan your temperature and time accordingly.
Simple rules for oven temperature and time
When you swap a metal pan for a similar glass dish, a common approach is the “reduce oven temperature by 25°F” guidance for glass pans 1:
- Lower the oven temperature by about 25°F (≈15°C).
- Begin checking for doneness at the original recipe time.
- Expect the final bake to run 5–15 minutes longer, depending on pan depth and batter.
For example, if a recipe calls for 350°F in a metal 9×13 pan for 30–35 minutes, try:
- 325°F in a 9×13 glass dish.
- Start checking at 30 minutes.
- Plan for up to 40–45 minutes, but stop when visual cues say “done.”
Key doneness signs:
- Center springs back when lightly touched.
- Toothpick or skewer comes out with a few moist crumbs, not wet batter.
- Edges are just pulling away from the glass.
Remember that glass keeps cooking the cake after you pull it from the oven. It is better to remove the pan when the center is just set than to wait for a dry crumb.
| Pan material | Oven setting vs recipe | Bake time vs recipe | What to watch closely |
|---|---|---|---|
| Metal | As written | As written | Fast baking, lighter edges |
| Glass | 25°F (15°C) lower | +5–15 minutes | Edge browning and carryover |
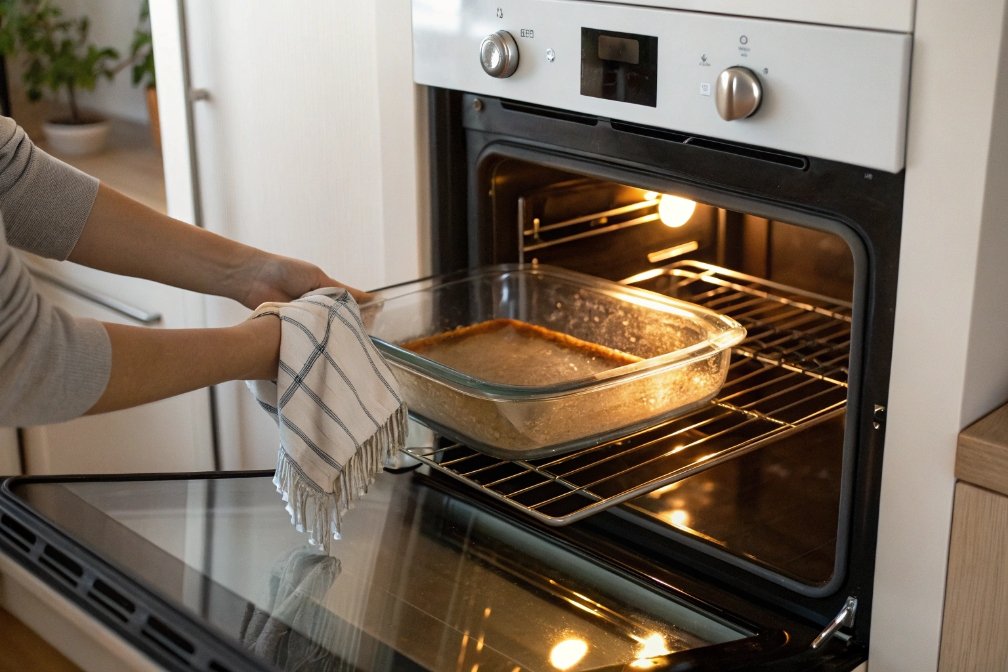
Avoiding thermal shock when baking in glass
Thermal shock is the sudden stress that happens when glass jumps between extreme temperatures. That is when it is most likely to crack or shatter. Many makers warn against these “avoid sudden temperature changes” thermal-shock conditions 2.
Simple habits lower the risk:
- Do not move a cold glass dish straight from fridge or freezer into a hot oven.
- Let chilled batter in glass sit on the counter for a short time before baking.
- Do not preheat an empty glass dish, then add cold batter.
- Do not pour cold liquid into a very hot glass pan.
- Place hot glass on a dry towel, wooden board, or cooling rack, not on a cold or wet surface.
If you need to bake something straight from the fridge, consider starting in a slightly cooler oven and let the pan and batter warm up together. A gentle heat ramp is kinder to glass than a sudden blast.
Do borosilicate and soda-lime glass perform differently in ovens?
Names like Pyrex and borosilicate make glass sound complicated, and online stories about shattering do not help.
Both borosilicate and tempered soda-lime glass can bake cakes safely when labeled oven-safe, but borosilicate resists thermal shock better while everyday performance inside the oven is very similar.
What each type of glass is made for
Two main types of glass show up in bakeware:
- Borosilicate glass is used in labware and some European bakeware. It handles big temperature swings better. If you want the quick background on brand confusion and materials, this Pyrex vs. pyrex explanation 3 is a helpful overview.
- Tempered soda-lime glass is more common in modern kitchen products, especially in North America. It is strengthened by tempering, and it’s typically based on the soda-lime glass composition 4.
Both types can be very safe when they are made and labeled for the oven. The key is not the brand name, but the actual markings like “oven-safe” or specific temperature limits printed or molded into the dish.
Vintage, decorative, or thin glass that lacks clear markings should stay out of the oven and broiler. It is better to use those pieces for serving and storage only.
In the oven: what you actually notice while baking
For a normal cake, baked between 325–375°F (160–190°C), borosilicate and tempered soda-lime behave in almost the same way. You still need the same basic adjustments:
- Slightly lower oven temperature than metal.
- A bit more time to reach the center.
- Attention to edge browning and carryover.
From a baker’s point of view, the biggest difference is thermal shock resistance:
- Borosilicate tolerates larger sudden changes.
- Tempered soda-lime is still strong, but it prefers smaller jumps.
Still, neither type is happy with extreme shifts like freezer to hot oven or broiler-level heat. The safe habits for both are almost the same.
| Property | Borosilicate glass | Tempered soda-lime glass |
|---|---|---|
| Thermal shock resistance | Higher | Lower, but still good when used right |
| Typical use | Labware, some premium bakeware | Most everyday kitchen glassware |
| Oven performance for cakes | Very good | Very good |
| Broiler / stovetop use | Not recommended | Not recommended |
| Availability | Less common in budget sets | Very common |
A simple safety mindset for both glass types
The safest way to think about glass bakeware, no matter the type, is:
- Look for “oven-safe” markings and follow the stated limits.
- Treat all glass as not broiler-safe.
- Avoid stovetops, open flames, and direct contact with heating coils.
- Avoid dramatic temperature swings, even if the brand says “tough.”
How should you grease, line, and cool glass pans for clean release?
Baking in glass feels great until the cake refuses to leave the pan and breaks in chunks.
For clean release in glass, use a thin layer of fat plus flour or parchment, match the batter volume to the pan, and let the cake cool before turning out.
Preparing a glass pan so the cake does not stick
Glass is smooth and non-porous, but it still needs help for clean release. Butter alone can brown and bind to sugar in the batter, which makes sticking more likely.
A simple routine works for most butter or oil cakes:
- Lightly grease the bottom and sides with neutral oil or softened butter. Avoid thick, uneven blobs.
- Dust the greased surfaces with flour (or cocoa for chocolate cakes), then tap out the excess.
- For very sticky batters, use a light spray of baking spray with flour along with parchment.
If you want a reliable baseline technique, this step-by-step guide to greasing and flouring a baking pan 5 maps well to glass.
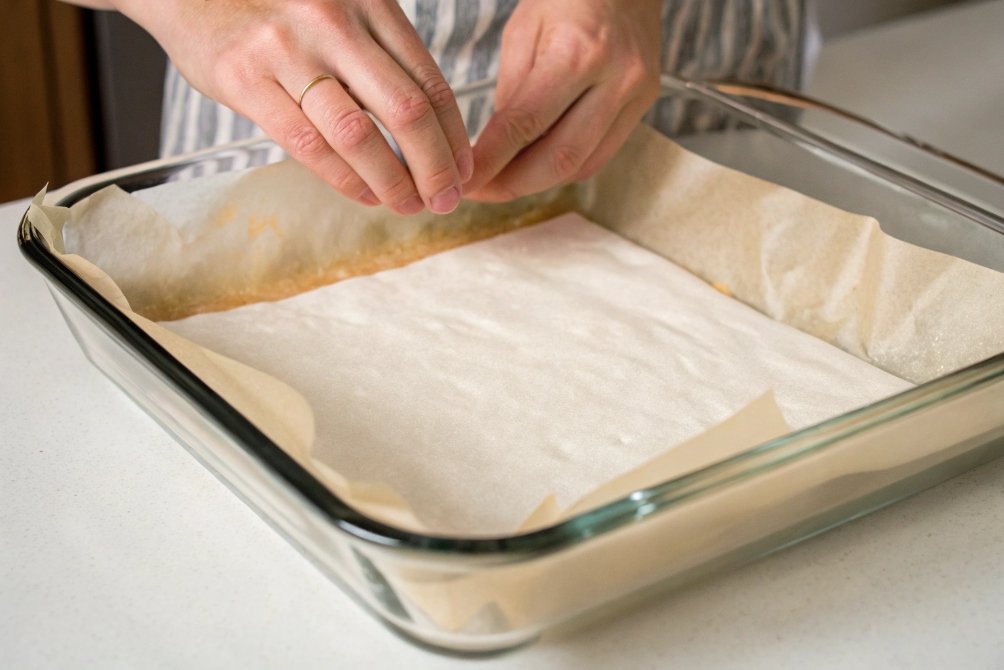
Lining with parchment for bars and snack cakes
For 9×13 snack cakes, brownies, and bar cookies in glass, parchment makes life easier:
- Cut a rectangle of parchment to cover the bottom.
- For a sling, leave long “handles” on two sides to lift the cake later.
- Lightly grease under and on top of the parchment so it stays flat and releases cleanly.
When matching batter to pan size, it helps to sanity-check volume. A 9×13 pan capacity reference chart 6 can prevent overflow surprises.
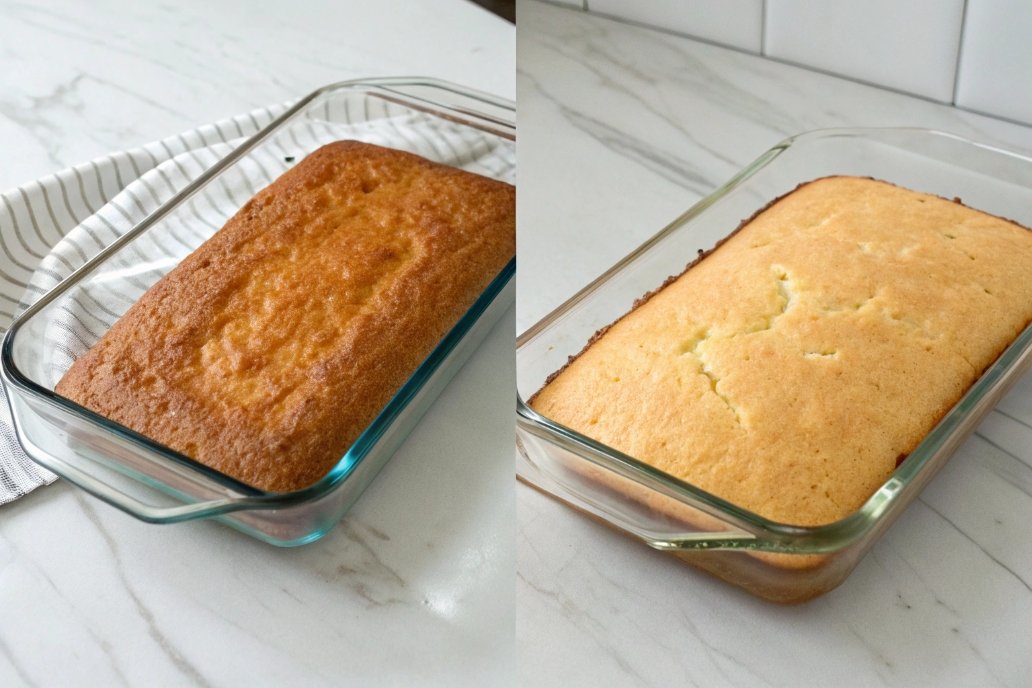
Cooling and releasing cakes from glass
Because glass holds heat, cooling and unmolding need a bit more patience:
- When the cake tests done, remove the pan to a dry cooling rack or dry towel.
- Let it cool for 10–20 minutes. During this time, the cake firms up and starts pulling away from the sides.
- Run a thin knife or offset spatula around the edges to loosen any stuck spots.
- For a single-layer cake you plan to invert, set a plate or rack on top, then flip. Lift the pan gently and peel off the parchment if used.
If you try to invert the cake while the glass is still very hot, the crumb may be fragile and the pan heavy. If you wait until the cake is fully cold, sugar at the edges can bond more strongly and stick. That warm-but-not-hot window in the middle is the sweet spot.
| Problem at unmolding | Likely cause | Simple fix next time |
|---|---|---|
| Cake sticks to bottom | No flour or parchment; too much sugar | Grease and flour; add parchment on bottom |
| Crumb tears at corners | Released while very hot and fragile | Wait 10–20 minutes before turning out |
| Pale center, dark edges | Oven too hot; glass pan, no adjustment | Reduce temp 25°F and extend time slightly |
| Cake too tall and overflows | Pan overfilled | Fill glass pan no more than about 2/3 full |
Is glass bakeware safe under broilers or only for baking?
Many bakers want one last deep golden color on top and wonder if the broiler is safe for glass.
Most home glass bakeware is not broiler- or stovetop-safe, so reserve it for regular baking and use metal or cast iron for direct high heat and close broiler work.
Why broilers are different from normal baking
A broiler is like an upside-down grill. Heat comes from a very hot element right above the food. Temperatures near that element can be extremely high and very uneven. Parts of the glass can get far hotter than other areas.
This creates the exact condition glass dislikes most: intense local heat and rapid expansion in one area. That is why many brands explicitly warn against using glass bakeware under a broiler or on a stovetop 7.
Normal baking surrounds the pan with gentler, more even heat. The oven cavity warms the air and the glass together, which puts much less stress on the material.
Better tools for browning and crisping
If you want extra browning on a cake or topping, it is safer to:
- Use a metal pan for recipes that need broiler finishing.
- Use cast iron or broiler-safe steel for quick color on toppings.
- Sprinkle sugar or toppings that brown at normal baking temperatures instead of relying on the broiler.
- For custards or meringues, use a small kitchen torch for spot browning rather than moving glass under a broiler.
| Heat source / method | Safe materials | Risk level for glass bakeware |
|---|---|---|
| Regular oven baking | Glass, metal, ceramic | Low, when used as directed |
| Broiler, close to coil | Metal, some ceramics | High risk for glass |
| Gas or electric burner | Metal, cast iron, steel | Very high risk for glass |
| Grill or open flame | Cast iron, grill grates | Not for glass |
A quick safety checklist for glass bakeware
To keep both cakes and pans safe, a short mental checklist helps:
- Oven-safe only: Use glass in the oven, not under broilers or on stovetops.
- Moderate positions: Bake on middle racks, away from direct contact with heating elements.
- Even surfaces: Place hot glass on dry racks, boards, or towels, never on cold or wet counters.
- No flames: Keep glass away from open flame and intense direct radiant heat.
Glass bakeware works best when it stays in its comfort zone: gentle, even baking, not aggressive charring.
Conclusion
Oven-safe glass pans bake moist, good-looking cakes when you lower the heat, protect against thermal shock, prepare the pan well, and keep glass away from broilers and burners.
Footnotes
-
Practical baking guidance for adjusting oven temperature and timing when using glass bakeware. ↩ ↩
-
Manufacturer safety notes on preventing thermal shock and avoiding risky temperature jumps. ↩ ↩
-
Clear explanation of borosilicate vs tempered soda-lime bakeware and why “Pyrex” confusion happens. ↩ ↩
-
Quick primer on soda-lime glass composition and why it’s common in everyday bakeware. ↩ ↩
-
Simple, repeatable method to grease and flour pans for clean cake release (works well with glass). ↩ ↩
-
Pan size and volume reference to prevent overflow when swapping between pans and materials. ↩ ↩
-
Broiler/stovetop warnings for glass bakeware and safer use boundaries for high direct heat. ↩ ↩


