When coating goes wrong, bottles slip badly in starwheels, scuff in cartons, or reject labels. The root cause usually hides in the way we prepare, activate, coat, and cure the glass.
A robust bottle coating process walks through four linked stages: controlled cleaning and activation, stable coating application, well-designed curing, and disciplined QA. Hot-end Sn/TEO and cold-end PE layers then become a strong base for any decorative stack.

So instead of asking “Which coating is best?”, it is smarter to ask “What does the glass experience from the IS machine to the final pallet?”. Once that journey is clear, each coating stage has a clear job—and defects finally make sense instead of feeling random.
What are the essential stages of the glass bottle coating process?
Uneven slip, patchy color, or weak adhesion rarely come from a single bad spray. They usually come from a missing or unstable stage in the process chain.
The essential surface-coating stages are: stabilize hot ware, apply hot-end coating, anneal, prepare and activate at lehr exit, apply cold-end coating, then add any decorative layers followed by controlled curing and QA. Skipping or rushing any stage always shows up later.
The full journey: from IS machine to finished decor
A typical high-volume bottle line follows a sequence like this:
-
Exit forming (the individual section glass forming machine 1)
Bottles leave the molds at high temperature and move onto the conveyor. Here it is important to:- Stabilize spacing so bottles do not hit each other.
- Remove loose cullet and dust with air knives.
This protects the fresh surface from early scratches before any coating is present.
-
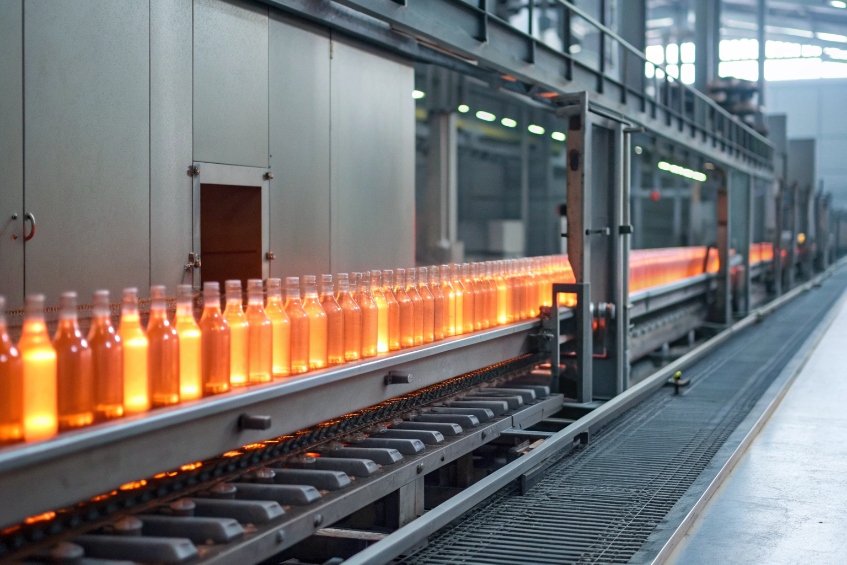
Hot-end coating (HEC)
At the hot end, a hot-end container glass coating 2 layer—commonly pyrolytic oxides—is applied in the 450–600 °C range using lances or manifolds:- Control gas flow, hood temperature, and dwell time.
- Aim for even areal density around each bottle.
The oxide bonds into the hot glass surface and becomes the foundation for cold-end slip and later decoration.
-
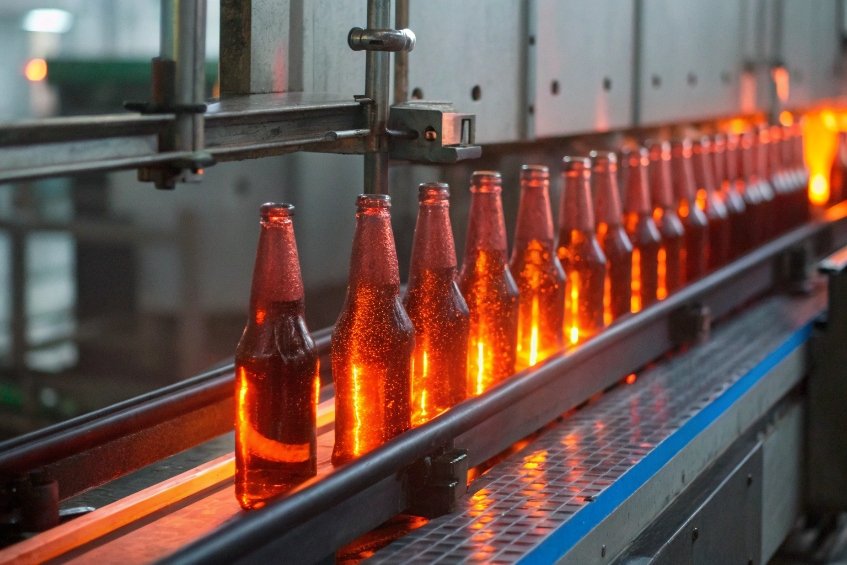
HEC set and cool-down
After the hot-end zone, the oxide needs time to nucleate and stabilize on the glass:- Avoid cold drafts that cause uneven cooling.
- Prevent condensation in transitional zones.
Disturbed cooling here leads to patchy Sn/TEO layers and unstable slip later.
-
Annealing in the annealing lehr 3
Bottles pass through the lehr with a defined soak and controlled cooling:- Relieve internal stresses from forming.
- Keep the hot-end layer intact; do not overshoot temperatures that could damage it.
Good annealing preserves both strength and coating integrity.
-
Pre–cold-end preparation at lehr exit
As bottles exit the lehr:- Check that the ware temperature is in the right window: warm, but dry.
- Use air knives or ionized blowers to remove moisture, dust, and static.
- Keep conveyors clean from caustic residue and cullet fines.
This stage sets surface cleanliness and energy before any polymer hits the glass.
-
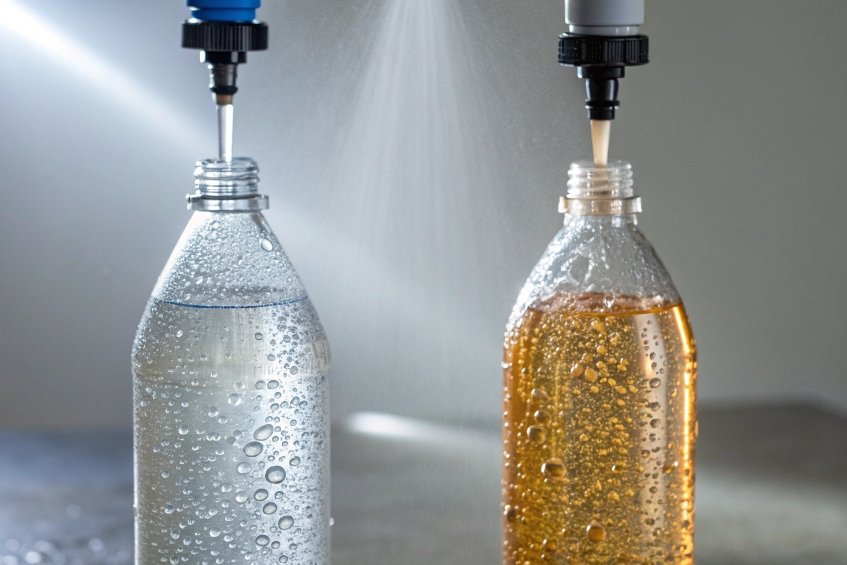
Cold-end coating (CEC) application
A dilute polymer or wax—most often PE, stearate, or organosiloxane—is sprayed onto the warm exterior. A common approach is a polyethylene wax cold-end coating applied as a water-based emulsion 4:- Use top and/or side nozzles with calibrated atomizing air and liquid pressures.
- Ensure 360° coverage; add rotation or extra guns for shoulders, heels, and threads.
- Match gun overlap to bottle pitch and line speed.
This layer defines conveyor slip, scuff resistance, and how labels will “feel” during application.
-
Drying and setting of cold-end layer
After spraying:- Provide enough flash time for water or solvent to leave.
- Manage booth temperature and humidity to avoid spotting and streaks.
- Avoid strong drafts that push coating away from critical zones.
A properly set film looks invisible but shows up in COF and scuff tests.
-
Decoration and protective topcoats (if used)
Once the base protection is stable, bottles may receive:- Screen or digital inks.
- Colored or frosted lacquers.
- Metallization with clear protective topcoats.
These layers must bond both to the coated glass and to each other, so adhesion stack-up is critical.
-
Final curing
Depending on chemistry:- Thermal bake in an oven.
- UV cure in a lamp tunnel.
- 2K ambient cure with controlled time and temperature.
Curves must allow leveling first, then crosslinking, without runs or orange peel.
-
In-line and lab QA
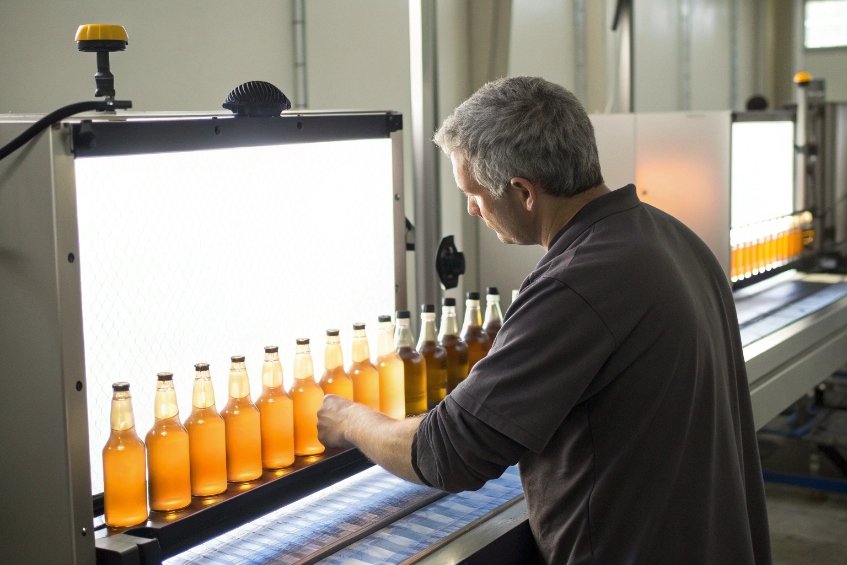
Throughout the process:- Visual/backlit checks for coverage and defects.
- COF and gloss spot tests.
- Periodic film-weight, XRF, or ellipsometry to confirm tin oxide (SnO₂/FTO) surface treatments 5 and cold-end load.
- Adhesion, hardness, and chemical-resistance tests for decorative systems.
When these stages are clearly defined and linked, the line stops fighting chronic coating issues and starts running on recipes and data.
Should corona or plasma activation be used before spray or dip coating?
Many coating problems come down to one thing: the liquid does not really “like” the glass surface. It beads up, crawls, or pulls away from certain zones.
Corona or plasma treatment is not mandatory on every bottle line, but it is very powerful when adhesion or wetting is marginal—especially before organic topcoats, sol–gels, or direct-on-glass printing.
When activation makes sense—and when it does not
For basic hot-end and cold-end coatings, the glass is still hot and the chemistry is tailored for that surface; extra activation is usually not needed. But once we move into more demanding layers, activation pays off:
-
Before organic decoration or clear-coats
When applying UV inks, solvent lacquers, or functional topcoats directly on glass or on oxide layers:- A plasma surface activation step 6 can increase surface energy.
- It improves wetting and reduces fisheyes and pinholes.
- Adhesion becomes more tolerant of small cleanliness variation.
-
Before sol–gel or hybrid coatings
Sol–gel systems depend on chemical bonding with the substrate:- Plasma/ corona cleans the surface and provides reactive groups.
- This improves scratch and chemical resistance by strengthening the interface.
-
On difficult geometries or after long storage
Bottles that have been stored for a long time can pick up low-energy contaminants (oils, atmospheric organics). Activation helps restore a uniform, high-energy surface before coating.
How to integrate activation without chaos
A practical activation step should:
- Sit after cleaning / blow-off and just before the critical coating.
- Cover the same 3D area that the coating will see (not only the panel).
- Be tuned to avoid overheating or causing micro-damage to delicate inks or previous layers.
Corona is often easier to integrate on high-speed lines; low-pressure plasma gives more flexibility in chemistry but adds complexity.
In short: hot-end Sn/TEO and cold-end PE usually do not need plasma. But decorative and functional topcoats benefit a lot, especially when customers want high adhesion with low-VOC chemistries on complex shapes.
How do hot-end and cold-end coatings integrate with decoration?
A coating stack is more than layers piled up. Each layer must bond to the one below and support the one above. If hot-end and cold-end are not designed with decor in mind, inks and lacquers will fail.
The hot-end (Sn/TEO) and cold-end (PE or siloxane) layers form a functional base that protects strength and provides slip—but they must be tuned so paints, inks, and labels still adhere.
Think in stacks, not single layers
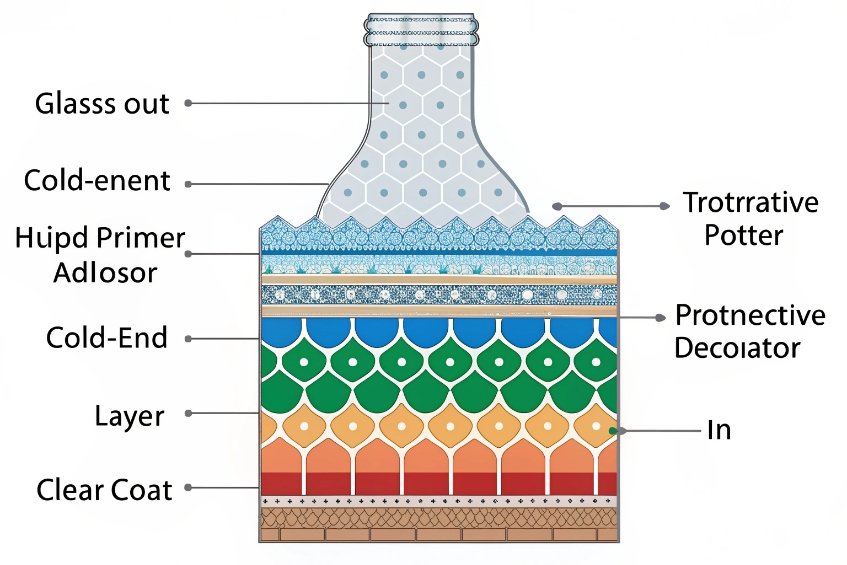
A typical bottle stack for decorated ware looks like this:
- Glass
- Hot-end coating (Sn/TEO)
- Cold-end slip layer (PE / wax / siloxane)
- Primer or activation (optional)
- Ink / decorative coating / metallization
- Protective clear-coat (optional)
- Label or direct print
The trick is to balance slip and adhesion:
- If the cold-end layer is too rich or too hydrophobic, inks and lacquers will not bond.
- If it is too weak or missing, bottles scuff badly and breakage increases.
Practical integration strategies
-
Adjust cold-end level for decor lines
Decorative lines often use a slightly different cold-end recipe or lower coating weight:- Enough slip to protect ware in handling.
- Not so much that labels or inks suffer.
COF and label/ink adhesion tests help define the right compromise.
-
Use primers or tie-layers
A thin primer or silane-based adhesion promoter can:- Bond well to the PE or oxide layer.
- Present a good surface for inks and topcoats.
This is especially useful when switching to new low-VOC or waterborne systems.
-
Local vs full-body treatment
Some lines:- Keep full cold-end coverage for logistics.
- Then locally activate or strip the slip layer in the decoration area (for example, by flame, solvent wipe, or plasma).
This protects the whole bottle but still gives clean adhesion windows.
-
Match cure sequences
Annealing and hot-end coat happen first.
Cold-end and decor cure later. It is important that:- Decor cure temperatures do not damage the cold-end slip layer.
- Topcoat bakes do not reflow or yellow earlier coatings.
A simple check matrix keeps the stack honest:
| Interface | Test used | What it tells us |
|---|---|---|
| Glass ↔ Hot-end | XRF, uniformity, strength tests | Adequate oxide build and coverage |
| Hot-end ↔ Cold-end | COF mapping, scuff tests | Stable slip and stack adhesion |
| Cold-end ↔ Ink/topcoat | Cross-hatch, tape, MEK rubs | Intercoat adhesion and cure compatibility |
| Topcoat ↔ Label/printing | Peel, flagging, aging tests | Label/print stability in real life |
When each interface passes, the whole stack behaves like a single engineered surface rather than a random pile of layers.
What QA checks confirm adhesion, hardness, and chemical resistance?
Coatings only help if they survive real use. That means they must stay attached, resist scratching and scuffing, and withstand washing, filling, and consumer handling.
A solid QA plan for coated bottles combines quick in-line checks (visual, COF, gloss) with lab tests for adhesion, hardness, and chemical resistance. The goal is to catch weak stacks long before the customer does.
Core QA tools for coated bottles
-
Visual and backlit inspection
Used in-line or at the lab:- Spots skips, runs, orange peel, and pinholes.
- Checks frosted and metallic effects for uniformity.
-
COF and slip tests
For hot-/cold-end and anti-scuff layers:- Measure COF at body, shoulder, and neck.
- Confirm it stays inside the defined window.
This ties directly to line efficiency and scuff resistance.
-
Gloss and haze measurements
At fixed positions:- Confirm gloss level is on target and consistent.
- Haze checks help verify matte or frosted effects.
Variation across the bottle often signals thickness or texture differences.
-
*Color and appearance (Lab, ΔE)**
Spectrophotometer checks:- Compare to master standards.
- Control batch-to-batch and within-bottle variation.
Essential for brand colors and metallic looks.
-
Adhesion tests
Cross-hatch and tape methods such as the ASTM D3359 tape test 7:- Run on body and shoulder; on complex shapes when needed.
- Grade according to how many squares lose coating.
These tests show if cure and surface preparation were adequate.
-
Hardness and scratch tests
Depending on coating:- Pencil hardness or similar instrumented tests.
- Taber or linear abrasion for more demanding applications.
This helps judge real-world resistance to scuffing and contact.
-
Chemical and wash resistance
For returnables, pharma, or cosmetics:- Caustic or detergent wash cycles (simulated or real).
- Solvent rubs (for example MEK) to check crosslinking.
- Product contact or simulant exposure for coatings that may meet splashes.
-
Structural and barrier tests (if relevant)
When barrier or safety functions are in play:- OTR or CO₂ tests for barrier-coated containers.
- Fragment containment checks for shatter-resistant coatings.
Turning tests into control, not paperwork
The most useful QA systems:
- Define clear acceptance limits for each property.
- Link test frequencies to process risk: start-up, changeover, and steady-state.
- Feed key measurements (COF, gloss, film weight, ΔE) into SPC charts with reaction rules.
That way, when adhesion or appearance drifts, the team adjusts cleaning, activation, spray, or cure before pallets are built. Coating becomes a controlled process, not a gamble on every run.
Conclusion
A good surface-coating process for glass bottles is not one magic chemistry. It is a stable chain: hot-end oxide, cold-end slip, optional activation, carefully applied decor, controlled cure, and hard QA. When every link is clear and measured, the bottles look better, run faster, and survive further.
Footnotes
-
IS machine basics and forming flow; useful context for where coating stages begin. ↩ ↩
-
Explains hot-end coating chemistry and temperature window that deposits tin oxide on containers. ↩ ↩
-
Overview of annealing lehr purpose and why correct temperature/cooling curves matter for container strength. ↩ ↩
-
Describes cold-end polyethylene wax coatings applied as water-based emulsions for slip and scratch protection. ↩ ↩
-
Technical notes on SnO₂ surface treatments and how they improve abrasion/sliding and cold-end adhesion. ↩ ↩
-
Plasma activation primer: how surface energy is increased to improve wetting and adhesion before coating/printing. ↩ ↩
-
Official ASTM D3359 reference for cross-hatch tape adhesion ratings and test method selection. ↩ ↩


