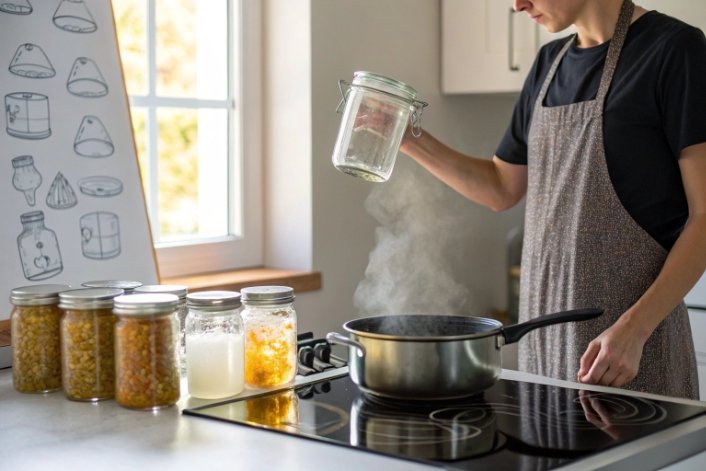
Microwaving is one thing. Boiling water is another. Glass looks strong, but fast heat change can turn a jar into a risk. Let’s set clear, safe rules.
Yes, jars can break in boiling water if heat changes too fast. Use real canning jars, warm them first, keep them spaced, and cool them slowly to prevent thermal shock.

Boiling is part of home canning 1, sterilizing, and prep. Breakage is not random. It follows a few simple physics rules. When we know them, we keep jars safe and food secure.
What causes glass jars to crack from thermal shock?
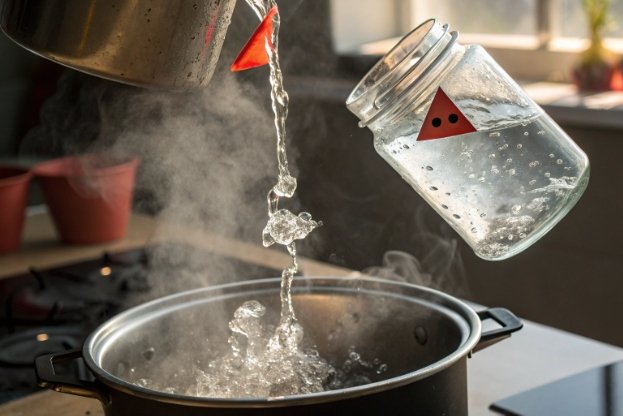
Cold glass meets boiling water. One part of the jar heats first. Another part lags behind. The hot area expands. The cool area resists. Stress builds along the wall, shoulder, and thread. A small flaw turns that stress into a crack.
Thermal shock 2 is the root cause. Rapid temperature change creates uneven expansion in the glass. Slow the change and the stress drops. Most breakage disappears.
Understanding the stress map
Thermal shock is not about “boiling” alone. It is about temperature difference. A jar that starts warm can sit in a rolling boil for minutes without issue. A jar that starts cold may crack even before the water boils. The worst cases happen when cold jars drop into boiling water, or when hot jars land on a cold counter. The shoulder is a common failure point because the wall thickness changes there. Threads and embossing also act as stress raisers.
Stirring inside the jar matters too. Liquids heat from the outside in. If the liquid near the glass wall gets much hotter than the core, the wall sees more expansion. A quick swirl or gentle shake evens the temperature. The base matters as well. Bare glass on the hot bottom of a pot takes a sharp hit of heat. A canning rack 3 spreads the load and blocks direct contact. Space between jars helps because collision chips cause micro-cracks that grow under stress.
One more quiet risk is trapped air. If a jar is sealed tight, internal pressure can rise as contents expand. The lid fights that pressure. The glass takes the load. This adds mechanical stress to thermal stress. That is why proper canning asks for fingertip-tight bands during processing. Air must vent. After processing, lids seal while cooling, not during the boil. When we respect these basics, the jar does what it was made to do.
Which glass types (soda-lime vs. borosilicate) handle boiling water better?
Not all glass is the same. Composition sets how much it expands with heat. The bigger the expansion, the bigger the shock under fast change.
Borosilicate handles sudden temperature shifts far better than soda-lime. Most Mason and canning jars are soda-lime, so they need gentle, gradual heating and cooling.
What the glass chemistry means in real use
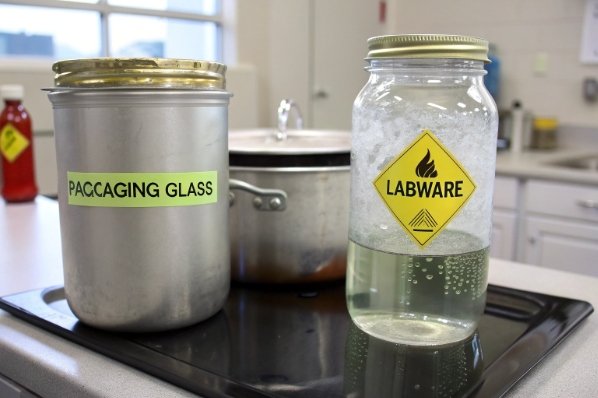
Soda-lime packaging glass 4 is the standard packaging glass. It offers strength, clarity, and cost control. It works well for water-bath canning because the process controls heat rise and cool down. The glass is often annealed and designed with a wall profile that survives the boil when we use racks and spacing. But soda-lime does not like sudden jumps. A cold pantry jar into a roaring pot is a classic fail.
Borosilicate glass 5 is a different story. Its thermal expansion is much lower. Lab beakers and some cookware use it because it tolerates rapid change. A borosilicate jar can go from hot to cold with less stress. Even so, impact and flaws still matter. No glass is immune to chips or deep scratches. And in food packaging, most mainstream Mason jars are not borosilicate. They are soda-lime with geometry and annealing tuned for the canning use case. So the right mindset is simple. Handle soda-lime with care. Warm it first. Take it up to the boil with the water. Let it cool slowly. If a vendor offers borosilicate jars, confirm the mark, the thermal-shock test data, and the intended use. Then match that product to the job.
Below is a quick view:
| Property | Soda-Lime Packaging Glass | Borosilicate Glass |
|---|---|---|
| Thermal expansion (CTE) | Higher | Lower |
| Thermal-shock tolerance | Moderate | High |
| Common use | Canning jars, bottles | Labware, some cookware |
| Cost and availability | Widely available | Less common in packaging |
| Best practice in boiling | Gradual heat/cool | Still avoid sudden shocks |
How can I sterilize jars in boiling water without breaking them?
Sterilizing sounds tough. It is not. The method is simple. Heat the jar gently. Keep it supported. Allow clean venting. Cool it without drafts.
Keep jars hot before filling, bring the canner to a boil with jars inside, use a rack, keep space between jars, and let them cool on a towel away from drafts.
A step-by-step play that protects the glass
- Sort and inspect. Discard any jar with chips, scratches, or hairline cracks. Pay extra attention to the rim and the base edge. Small flaws grow under heat.
- Wash and rinse. Clean jars with hot, soapy water. Rinse well to remove residue. Dry the outside so drops do not steam-spot the pot.
- Pre-warm. Keep jars hot before filling. About 180°F / 82°C is a good target. A sink of hot water or a preheated canner at a bare simmer both work. Hot jars match hot food.
- Rack and spacing. Place jars on a canning rack. Keep space between them so water can flow and jars do not bump. The rack prevents direct contact with the hot pot bottom.
- Cover depth. Submerge jars with at least 1 inch of water over the lids. This evens temperature and keeps the boil consistent.
- Time and altitude. For sterilizing empty jars, boil 10 minutes if you process less than 10 minutes later. Add 1 minute for every 1,000 feet above sea level. If your later process is 10 minutes or more in a water-bath canner 6, pre-sterilizing is not required.
- Lid practice. Do not boil the two-piece lids hard. Follow current guidance. Warm the flat lids if the maker suggests, but avoid a rolling boil. Keep bands dry and clean.
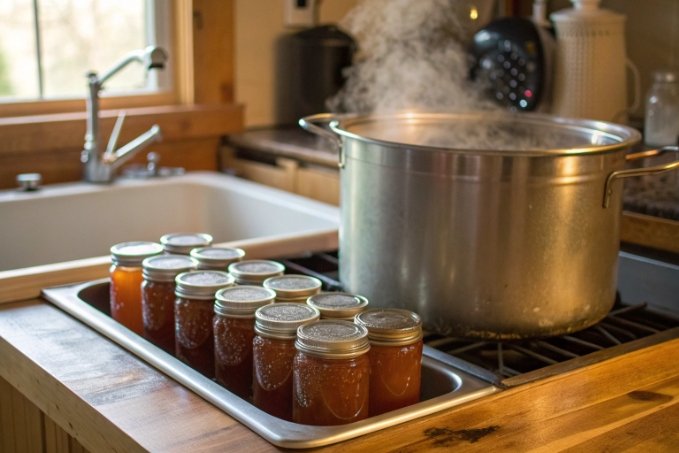
- Gentle cool-down. After processing, turn off the heat. Lift jars straight up. Place them on a dry towel or rack. Keep space between jars. Avoid drafts, fans, or cold countertops. Do not cover jars with towels while cooling.
- Hands off. Leave jars untouched until the vacuum forms and lids seal. Moving hot jars invites stress and siphoning.
This routine reduces shock at every step. It also fits good food-safety practice. It respects both the glass and the recipe.
Do jar thickness, defects, or tight lids increase breakage risk during a water bath?
Many breakages trace back to the jar itself or to how the closure is set. Small choices stack up. The result shows up as a crack at the worst time.
Yes. Thin or non-canning jars, chips, scratches, and overtightened bands all raise risk. Use purpose-built jars and apply bands only fingertip tight.
Reading the failure factors and how to control them
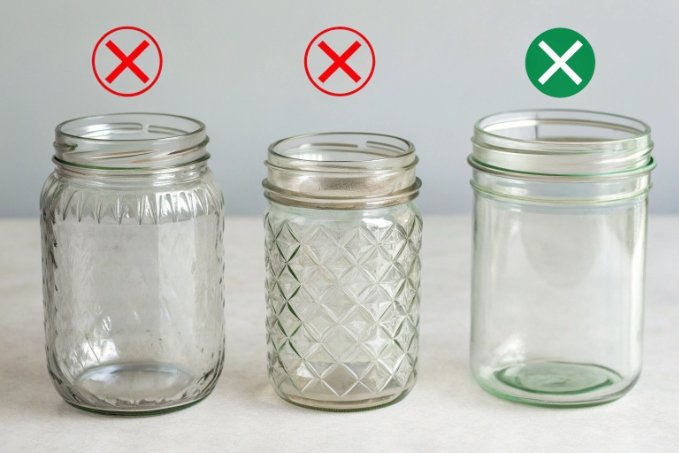
Thickness and design. Purpose-built canning jars use profiles that handle water-bath heat. Reused grocery jars 7 (like pasta sauce jars) are often thinner and not designed for repeated thermal cycles. They may seal once, then fail on the next heat. A heavier wall does not always mean safer. What matters is even geometry, proper annealing, and design for the job. When in doubt, stick to real canning jars from known makers.
Defects and wear. A chip on the rim is a classic leak and crack starter. Scratches act as stress concentrators. Logos, seams, and embossing can also concentrate stress if the jar is compromised. Inspect under bright light. Rotate slowly. If anything looks suspect, retire the jar to dry storage or décor.
Direct contact and impact. Jars that rest on the bare pot bottom see a hot spot. They also rattle more. A rack fixes both. Keep jars from banging into each other by leaving a finger of space. Do not overload the canner. Water needs room to move.
Band tightness. Bands should be only fingertip tight before processing. This allows air and steam to vent. Overtight bands force internal pressure to load the glass or warp the lid. That can lead to buckling or cracks. After processing, remove bands for storage once the seals set. This prevents trapped moisture and reveals any false seals early.
Temperature starts and stops. Do not start with cold jars and a hard boil. Place pre-warmed jars in hot (not yet boiling) water. Bring the pot up to a boil with the jars already inside. At the end, let the jars rest off heat for a short minute before lifting. Then move them to a towel in a calm spot. No cold air blasts. No fridge right away.
Here is a quick checklist:
| Risk Factor | Raises Breakage? | Control Action |
|---|---|---|
| Reused grocery jars | High | Use purpose-built canning jars |
| Chips, scratches, hairline cracks | High | Inspect and discard damaged jars |
| No rack / pot bottom contact | High | Always use a canning rack |
| Jars packed too tight | Medium | Leave space between jars |
| Overtight bands | Medium-High | Use fingertip-tight bands only |
| Cold-to-boiling transfer | High | Pre-warm jars; heat up together |
| Drafty cool-down | Medium | Cool on towel; avoid drafts |
Conclusion
Glass jars do fine in boiling water when heat moves gradually and gear is right. Warm first, use a rack, space jars, and cool slow. Chips and tight bands cause trouble.
Footnotes
-
National Center for Home Food Preservation overview of safe boiling-water canning at home. ↩︎ ↩
-
Technical explanation of thermal-shock resistance and how sudden temperature changes stress glass containers. ↩︎ ↩
-
Discussion of proper water-bath canners, racks, and jar spacing for safer home canning. ↩︎ ↩
-
Background on soda-lime glass properties, uses, and thermal-expansion behavior in packaging. ↩︎ ↩
-
Overview of borosilicate glass and why it resists temperature shock better than regular glass. ↩︎ ↩
-
US guidance on sterilizing jars, processing times, and when pre-sterilizing is unnecessary. ↩︎ ↩
-
Extension advice on why reused commercial jars are risky for home canning and water baths. ↩︎ ↩


